

Hi there, I'm Jen -- also known as @plannerfield -- I'm a member of the Archer & Olive Brand Delight Team. After using the rainbow notebook for a few weeks for daily journaling, I came up with this idea to take advantage of all the different colored pages.

Project Details
For this project I'll be trimming the edges of each colored page to create a stepped effect. Then I'll be adding quotes and sayings that inspire me to find my happy path and live each day with joy.

Materials
- Archer & Olive rainbow notebook
- Archer & Olive acrylograph pens
- scissors
- pencil
- eraser
Use code PLANNERFIELD10 for a discount on all your Archer & Olive supplies.

Rainbow Notebook Details
The Amy Tangerine rainbow notebook is 160 dot grid pages with five different colors. Each color section is 15 pages.
1| Trace Shape
Decide on what shape you'd like for your pages. I chose a curved design to mimic a rainbow. It helps to make a simple pattern on card stock.

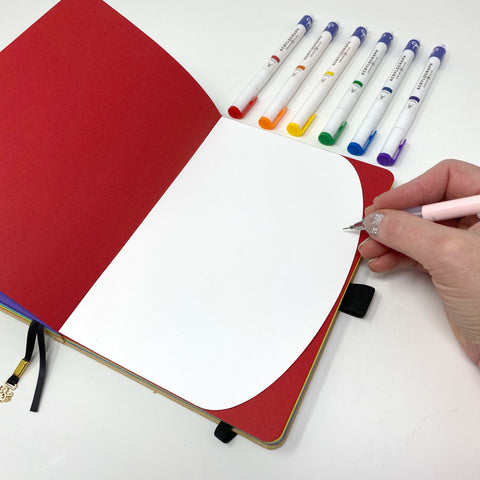
2| Cut Shape
Trim each page -- I found that I could easily cut two pages at a time to speed things up. You could also decide on a simple straight pattern, or even try tearing the pages for a completely different look.

3| Trim Each Color Smaller Than the Previous One
Make each group of colored pages slightly smaller than the previous one to create a stepped effect. You can use the dot grid to map out the design.

4| Results
After a few hours of trimming, you'll have a gorgeous rainbow and a truly unique journal! This makes for a great couch project.

5| Personalize Your Title Page
Yes, I know that "happyness" is misspelled -- I did that on purpose so that I would remember that my happiness doesn't come from being perfect.

6| Have Fun!
Find some inspirational quotes online, and design them with your own style. I like to do a google search and print out a bunch of quotes that speak to me. Then when I have time -- often early in the morning or late at night -- I practice different lettering techniques.

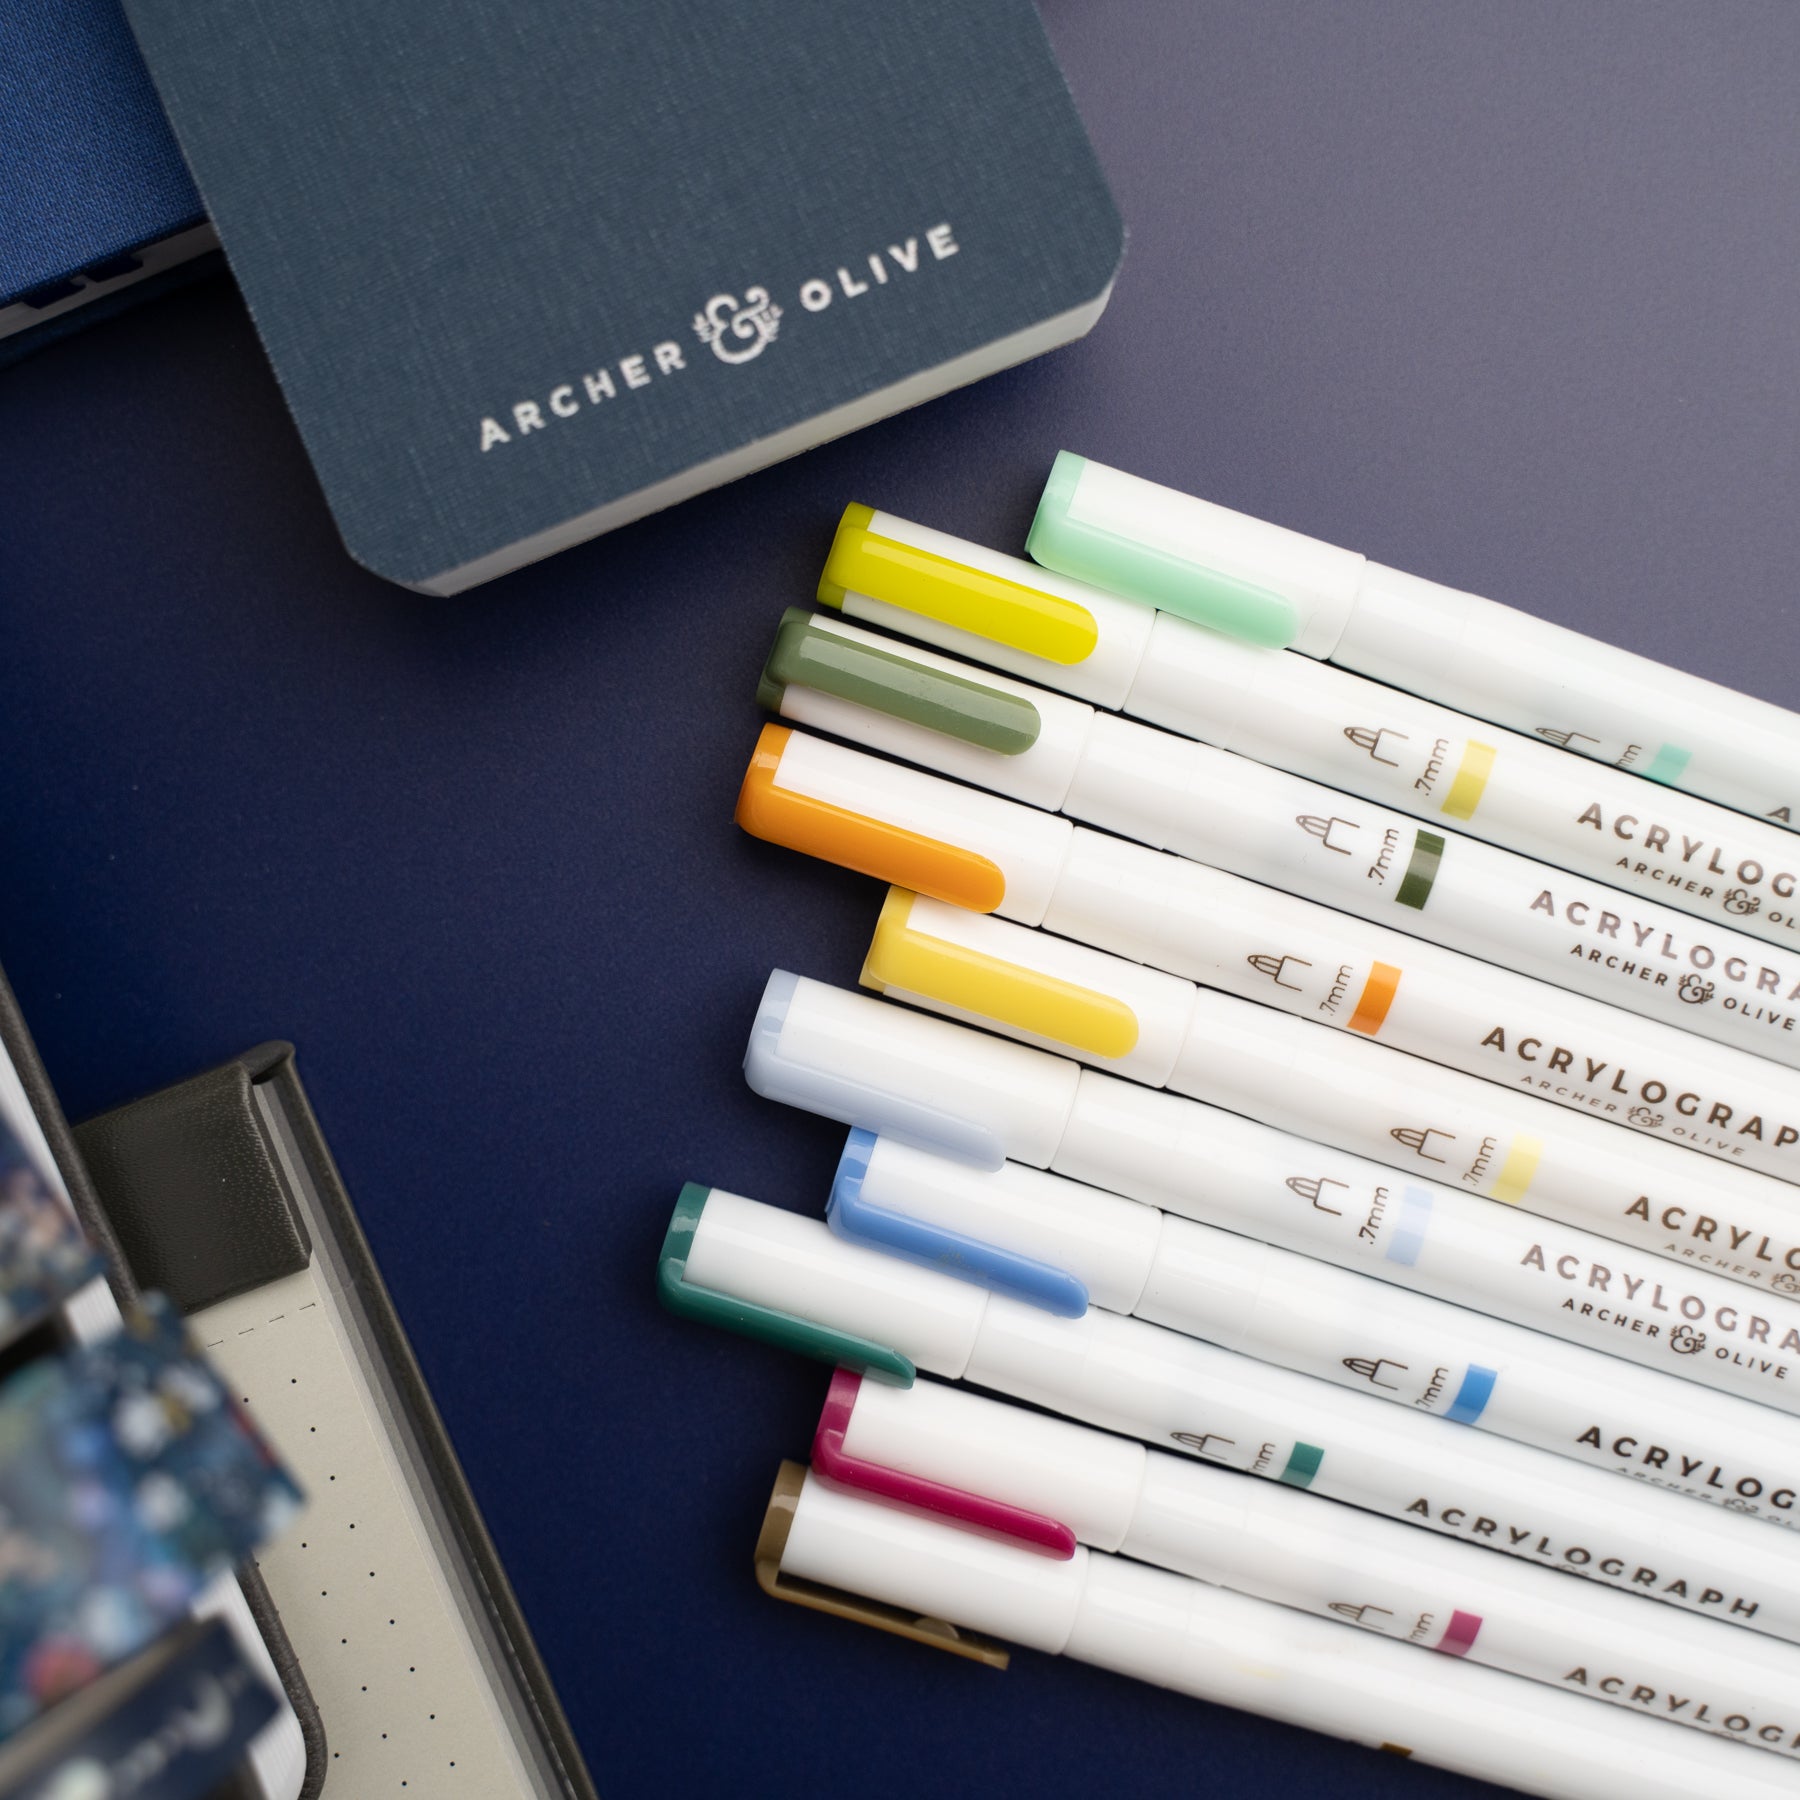
7| Acrylograph Pens are Amazing!
These opaque pens look SO good on the rainbow paper! I especially like the primary and tropical sets for this project.


8| Experiment
I started with simple lettering, and then got more confident to add patterns to my type. Save the scraps from trimming for swatching and experimenting with different patterns.


9| Keep Going!
Never stop creating! I'd love to see what you make -- tag me at @plannerfield and I'll feature your design in my stories.
Remember to use my affiliate code PLANNERFIELD10 on all your Archer & Olive purchases for a discount!


1 comment
This is absolutely stunning… and so creative. I would’ve never thought to cut the shape of my pages to alter the complete look of my journal!! I love this 🌈🌈🌈