


Hey guys, Masha here from Masha Plans.
With Christmas and New Year approaching, a lot of us will be starting a new journal. I’ll actually start a new one in December. So exciting!
When starting a Bullet Journal I always find that the first page is what gives the most trouble, so today we’ll be talking about one way you can create a super fun first page.
One of my favorite ideas for the first page is … a quote!
Starting a new year with a positive quote can be so powerful. So today we’ll be creating a quote page in your Bullet Journal.
Oh and quote pages aren’t just great for cover pages. You can use them to fill out an empty page you have, in your visual board, in your weekly spread - pretty much anywhere in your Bullet Journal!
So let's get started!
SUPPLIES
First, of course let’s walk through the supplies.
I’m finally using my square notebook which I got in a beautiful orange color. It’s my new creative journal and I’m excited to start it with this quote.
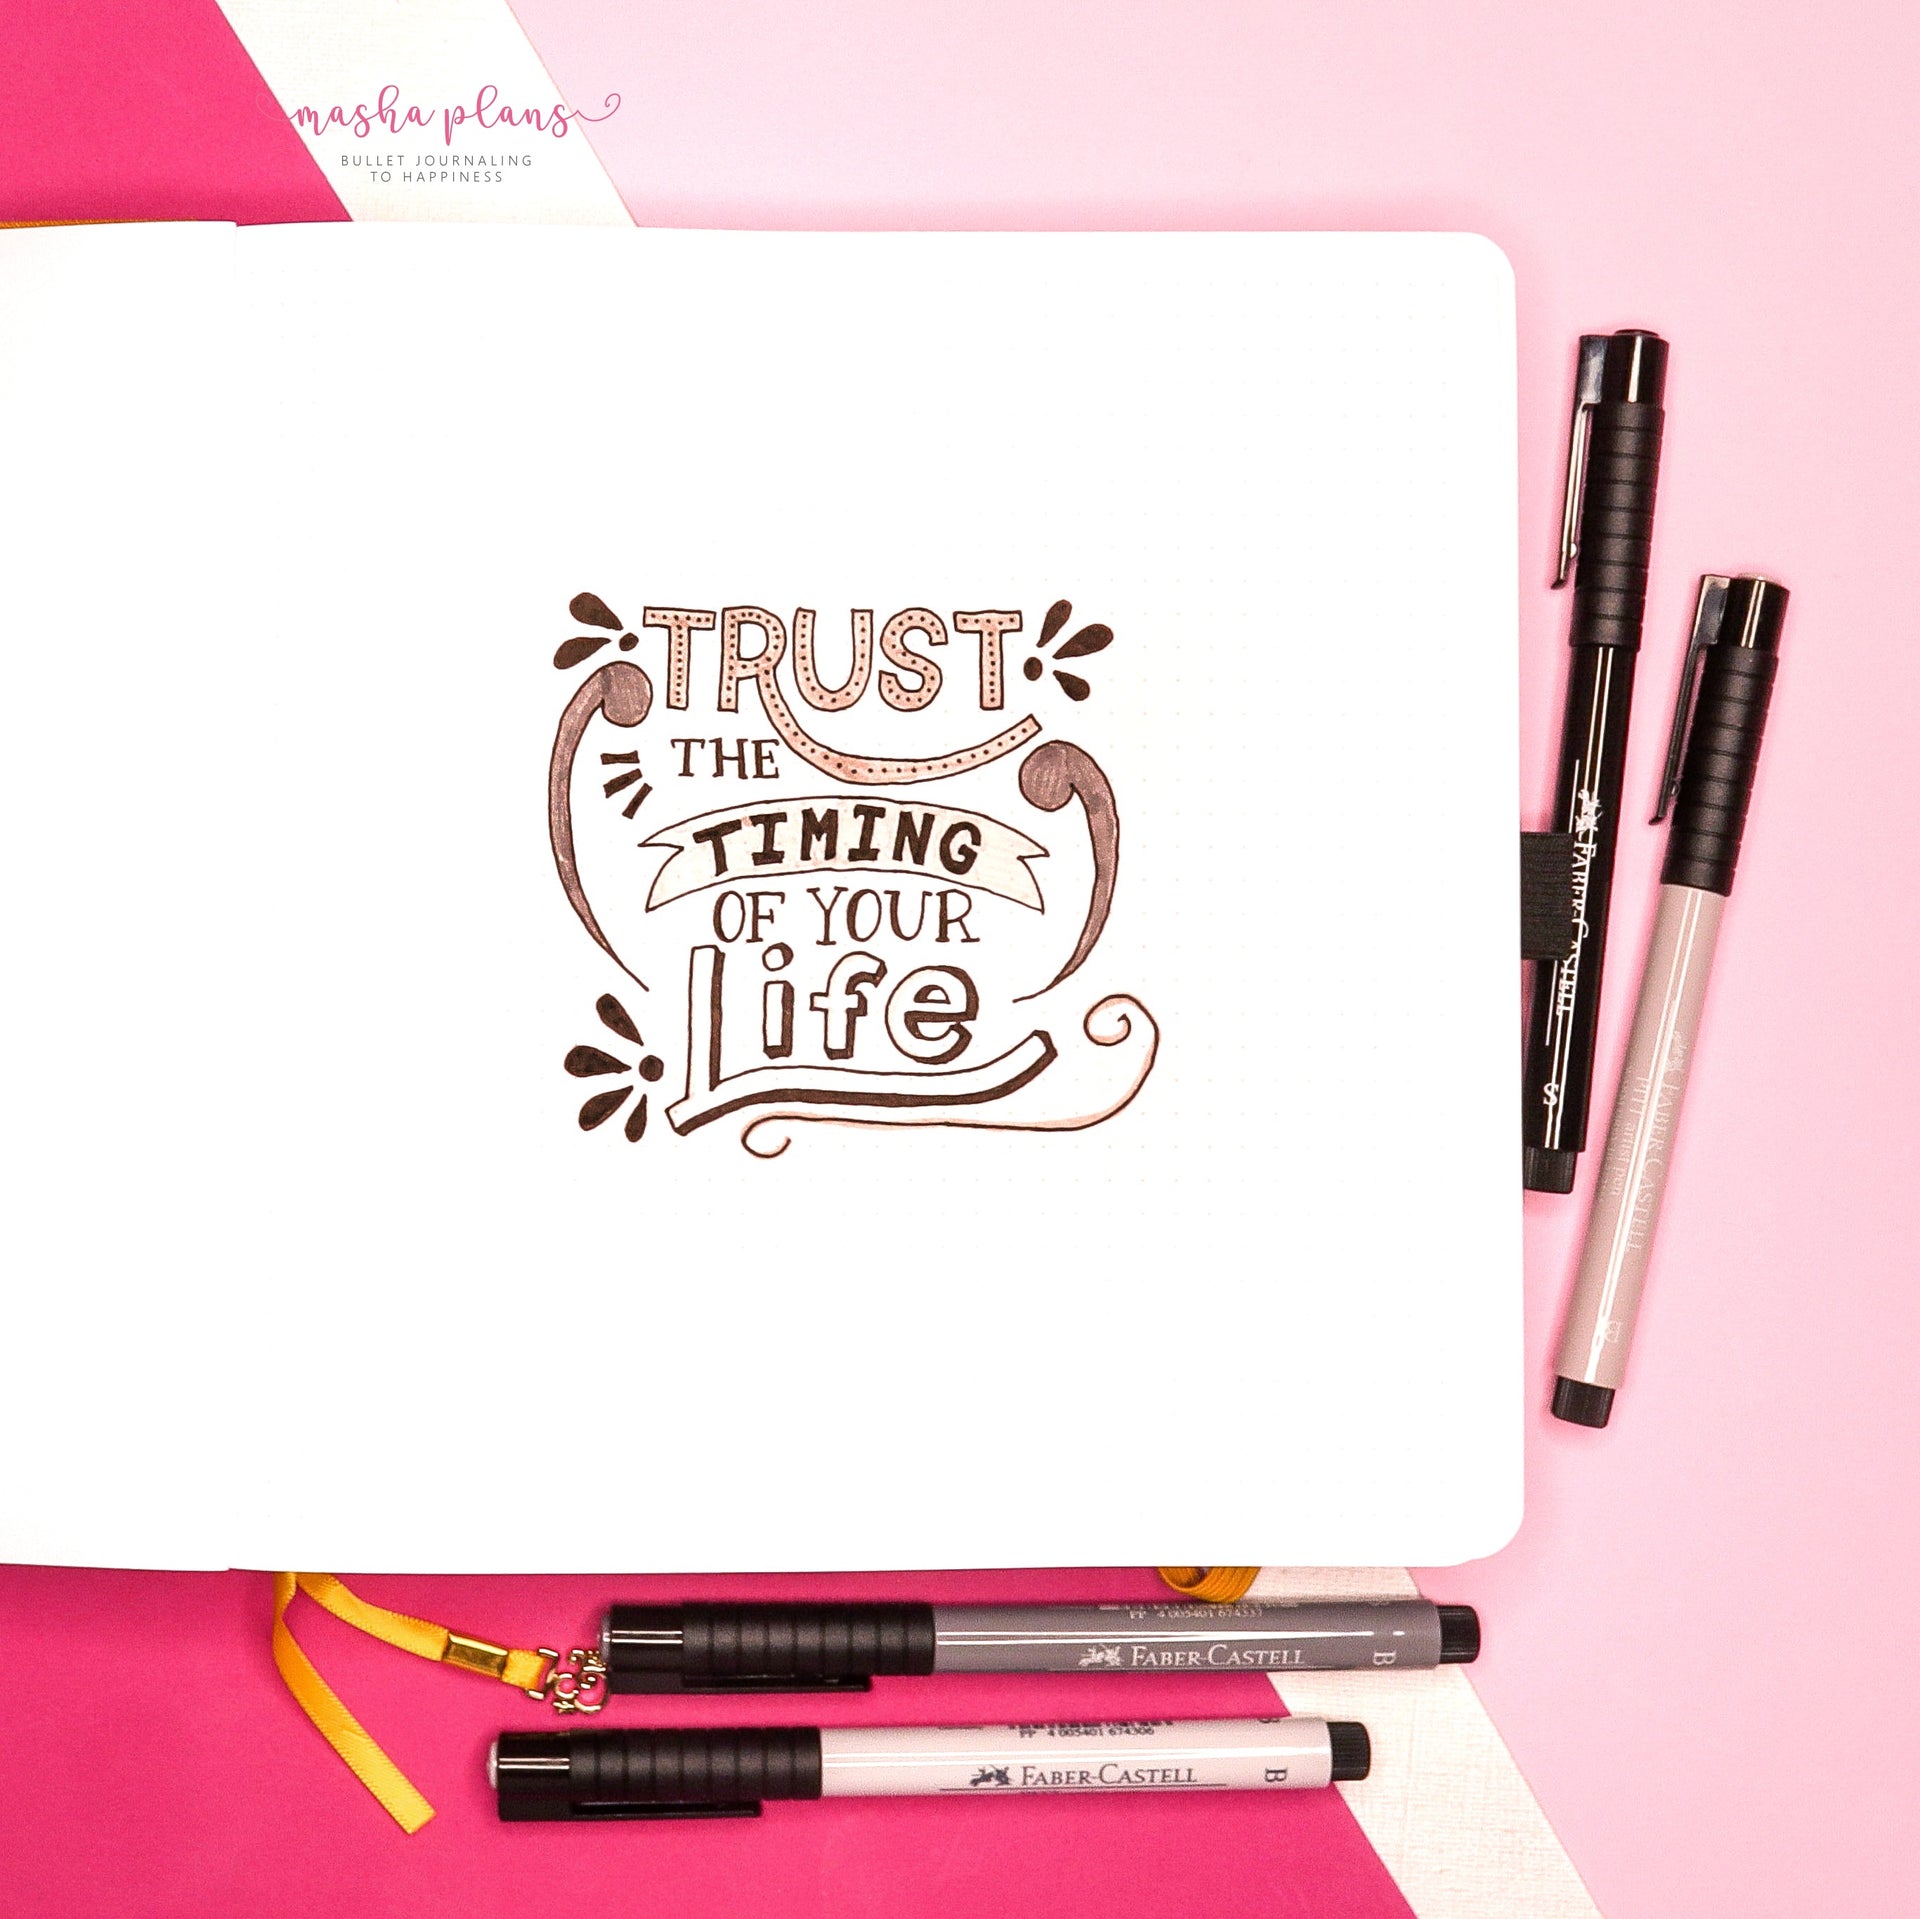
I spent quite a lot of time thinking of how to manage this quote color wise, and eventually, I decided to just do it in black and white. For that, I used my Faber Castell lettering set.

Oh, and for sketching and preparation, I used my Archer and Olive notepad, which has been my go to ever since I got it.
Remember that you can use code MASHA10 for your next Archer and Olive purchase to get 10% off your order.
STEP ONE: PLANNING
First things first - start from planning out your quote.
Pick the quote and start planning how you will place the words. As you can see below I’ve been trying out different layouts, different banners, and decoration ideas.

A little tip here - when you want to letter the quote, think about which words are the most important and try to make them stand out more.
At this stage, I also usually try out different lettering styles to see which ones I like to use.
STEP TWO: SKETCH
Now that you more or less know how you want your quote to look, time to sketch it in your Bullet Journal.

When doing, so I’d recommend using the dot grid to help you make sure that all your letters are the same size.
Also, use a ruler to make sure your lettering piece is centered.
STEP THREE: OUTLINE
It’s really coming along! Time to use your black fineliner (or any other pen you chose for the quote) to outline all the letters.

Once you’re done with that, be sure to erase the pencil before we go in adding details.
STEP FOUR: FINALIZING
Time to add final touches - color in, add shade, and other details to your letters.
Once you’re done, take one more look at your quote, see if it needs something else, some flourishes maybe or an extra shadow.

And there you are! Your little quote page is done
PLAN WITH ME
Finally, if you want to see me going through this process be sure to check out the video below.
If you decide to create a quote page in your Bullet Journal, be sure to tag me @mashaplans and @archerandolive on Instagram, we would love to see your creations.
Keep Bullet Journaling and Don’t Be A Blob!


0 comments