


Hello! My name is Jennie McGarvey and I’m really excited to be here today to talk to you about stamping. I’ve been stamping for 20 years and absolutely love the creativity, versatility and uniqueness that stamps provide in projects. I hope that you will be able to use these tips and information for stamping anywhere and for a wide variety of topics.
SUPPLY LIST:
A5 Loyal Companion Dot Grid Notebook:
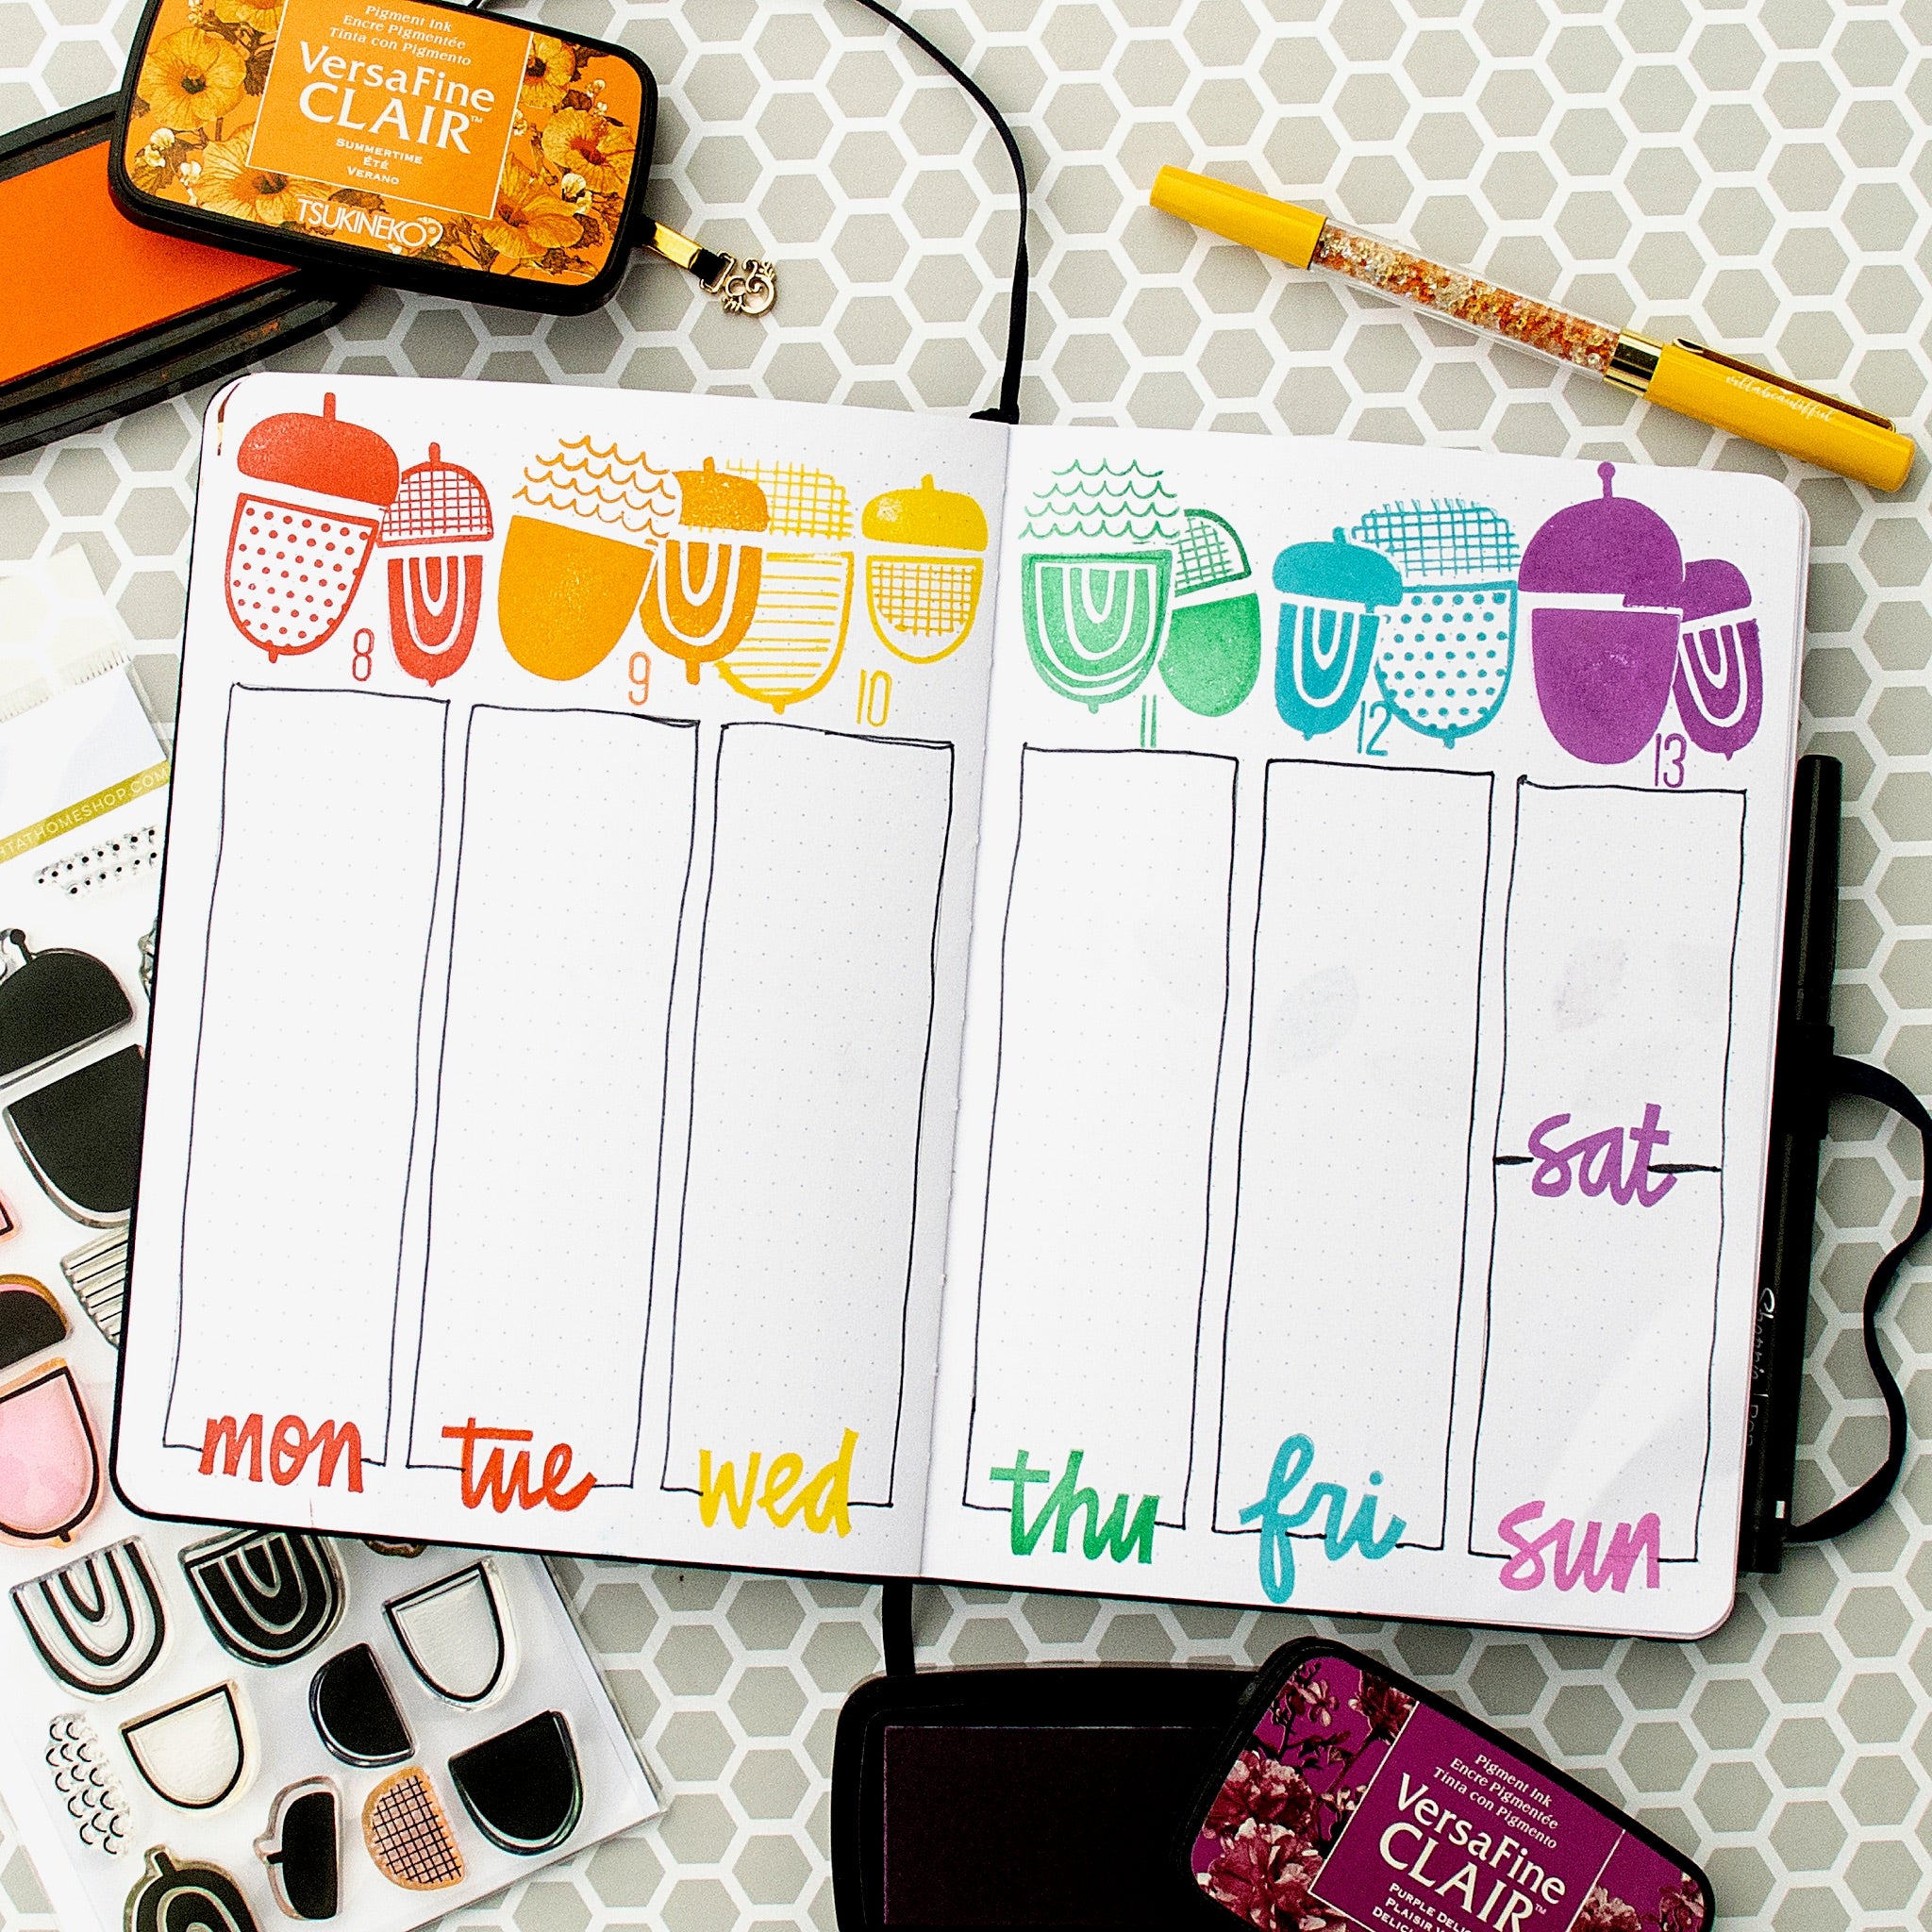
Acrylic Stamps - Days of the Week
The first things I want to tell you are simple. First, practice makes better. Stamping is like any other skill, you will not just wake up and be great. You need to practice in order to be successful and all you need to practice is scratch paper and your stamps. Secondly, I’m assuming if you’re reading this you’re brand new to stamping. So, if you are familiar with stamping, some of this might seem really basic and it’s intended to!

You will need a few things to get started. A high quality ink, stamps and your surface. If you are using clear stamps or unmounted red rubber stamps, you will also need an acrylic block. It’s best to choose an acrylic block that matches the size of your stamps. For example, don’t choose a 4”x6” acrylic block for a tiny shape! You will get the best results from a good ink and the proper size block.
There are three different types of stamps you will see. They are rubber stamps [often on wood blocks], photo polymer Stamps and acrylic stamps. Both photo polymer and acrylic stamps are clear and are very easy to use as you can see where they are going on the page. Rubber stamps provide a wonderful impression on the paper.

You will find an incredibly array of inks in stores. It’s almost impossible to know what to choose! There are two main types of ink [though by no way is this comprehensive! there are so many other types out there] pigment and dye ink. Pigment ink sits on top of the paper and takes a little longer to try. Dye ink soaks into the paper and dyes the fibers of the paper. Dye ink is usually try pretty quickly. Often, pigment ink is preferable for planners, however, the Archer & Olive paper is so beautiful that you can feel confident using dye ink!

Once you’ve got your supplies handy, you can select the stamp you’d like. Place the smooth side on the acrylic block and they will stick to one another. The bumpy side will be up and this is the side that you will put the ink on.

The first thing you can do is to prime your stamp. This will help get the cleanest image possible, especially if you are using acrylic stamps or a stamp with a large area for the ink to stick to. There are a couple of very simple ways to prime your clear stamps. One, is to rub the stamp on your arm or the top of your hand. The oils in your skin will prime the stamp. Or you can use an eraser and lightly rub it over the stamp. There are other ways to prime your stamps but these are two very simple ways to do it.
Now, you can add ink to your stamp by tapping the stamp into your ink pad. You’ll want to make sure it’s covered but you do not want to add too much ink.
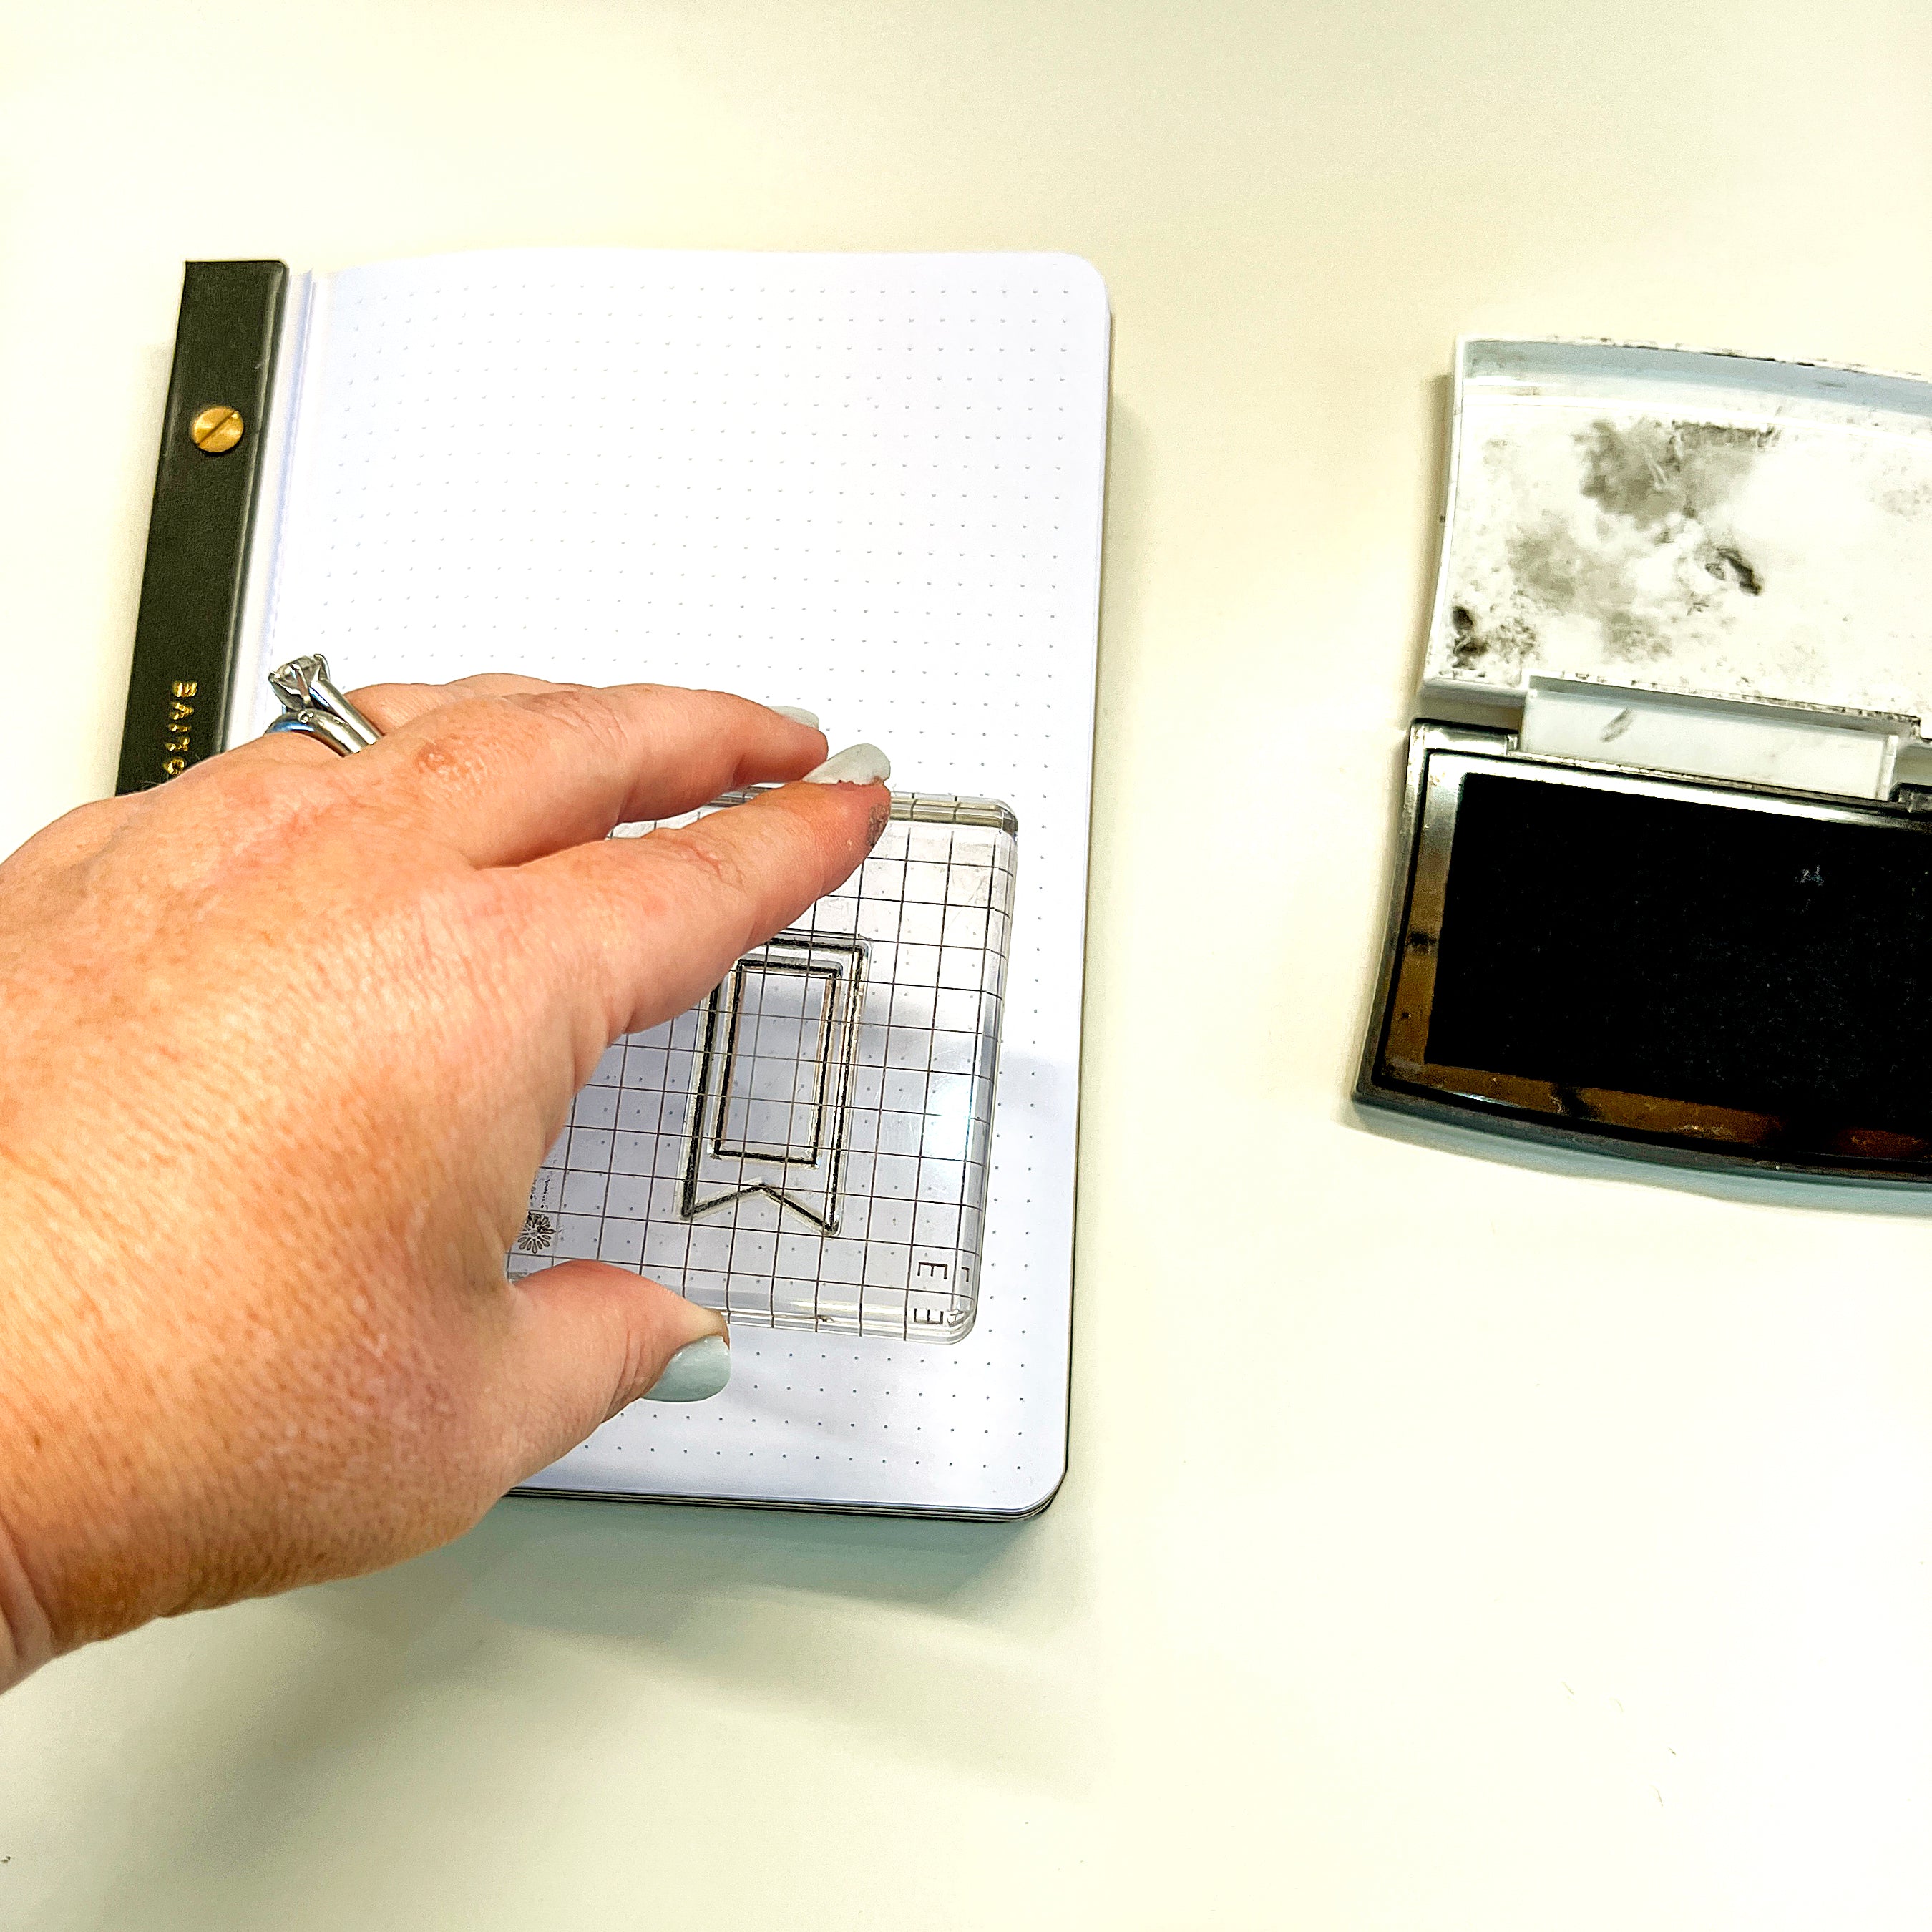
Once you’ve added your ink you will press your stamp onto your paper. You will use even, firm pressure over the entire stamp. Do not press too hard and make sure you use pressure on the whole stamp. Lift your acrylic block and marvel at the beauty of your stamped image!

Now, you’re wondering about cleaning off your stamps. You do not have to clean your stamps as the ink will not damage your stamps. However, you might want to clean the stamps so you do not get ink on other supplies, you may want to use the stamp with another color ink or the excess ink on the stamp may bother you.
There are lots of ways to clean your stamps. However, here are a few easy ways to clean your stamps! First, you can add room temp water to a couple of bowls. In one bowl, add a drop of dishwashing soap. You can take the stamp [not on the block] and dip it in the water with soap and use your fingers to rub the stamp. Next, rinse it in the other bowl of water. Now, let the stamp air dry. [This is also what you should do if you find that your stamps have lost their stickiness and are not sticking well to your acrylic blocks.]
You can also wipe the stamps with an alcohol free baby wipe. You’ll want to pay attention to how most the wipes are and how much lint they leave on the stamps. Both are personal preference. Another easy way is to wipe the stamps with a stamp cleaner and stamp scrubber. Don’t forget you can also simple stamp the excess ink off on a piece of scratch paper until you are satisfied that there is no more ink on the stamp.
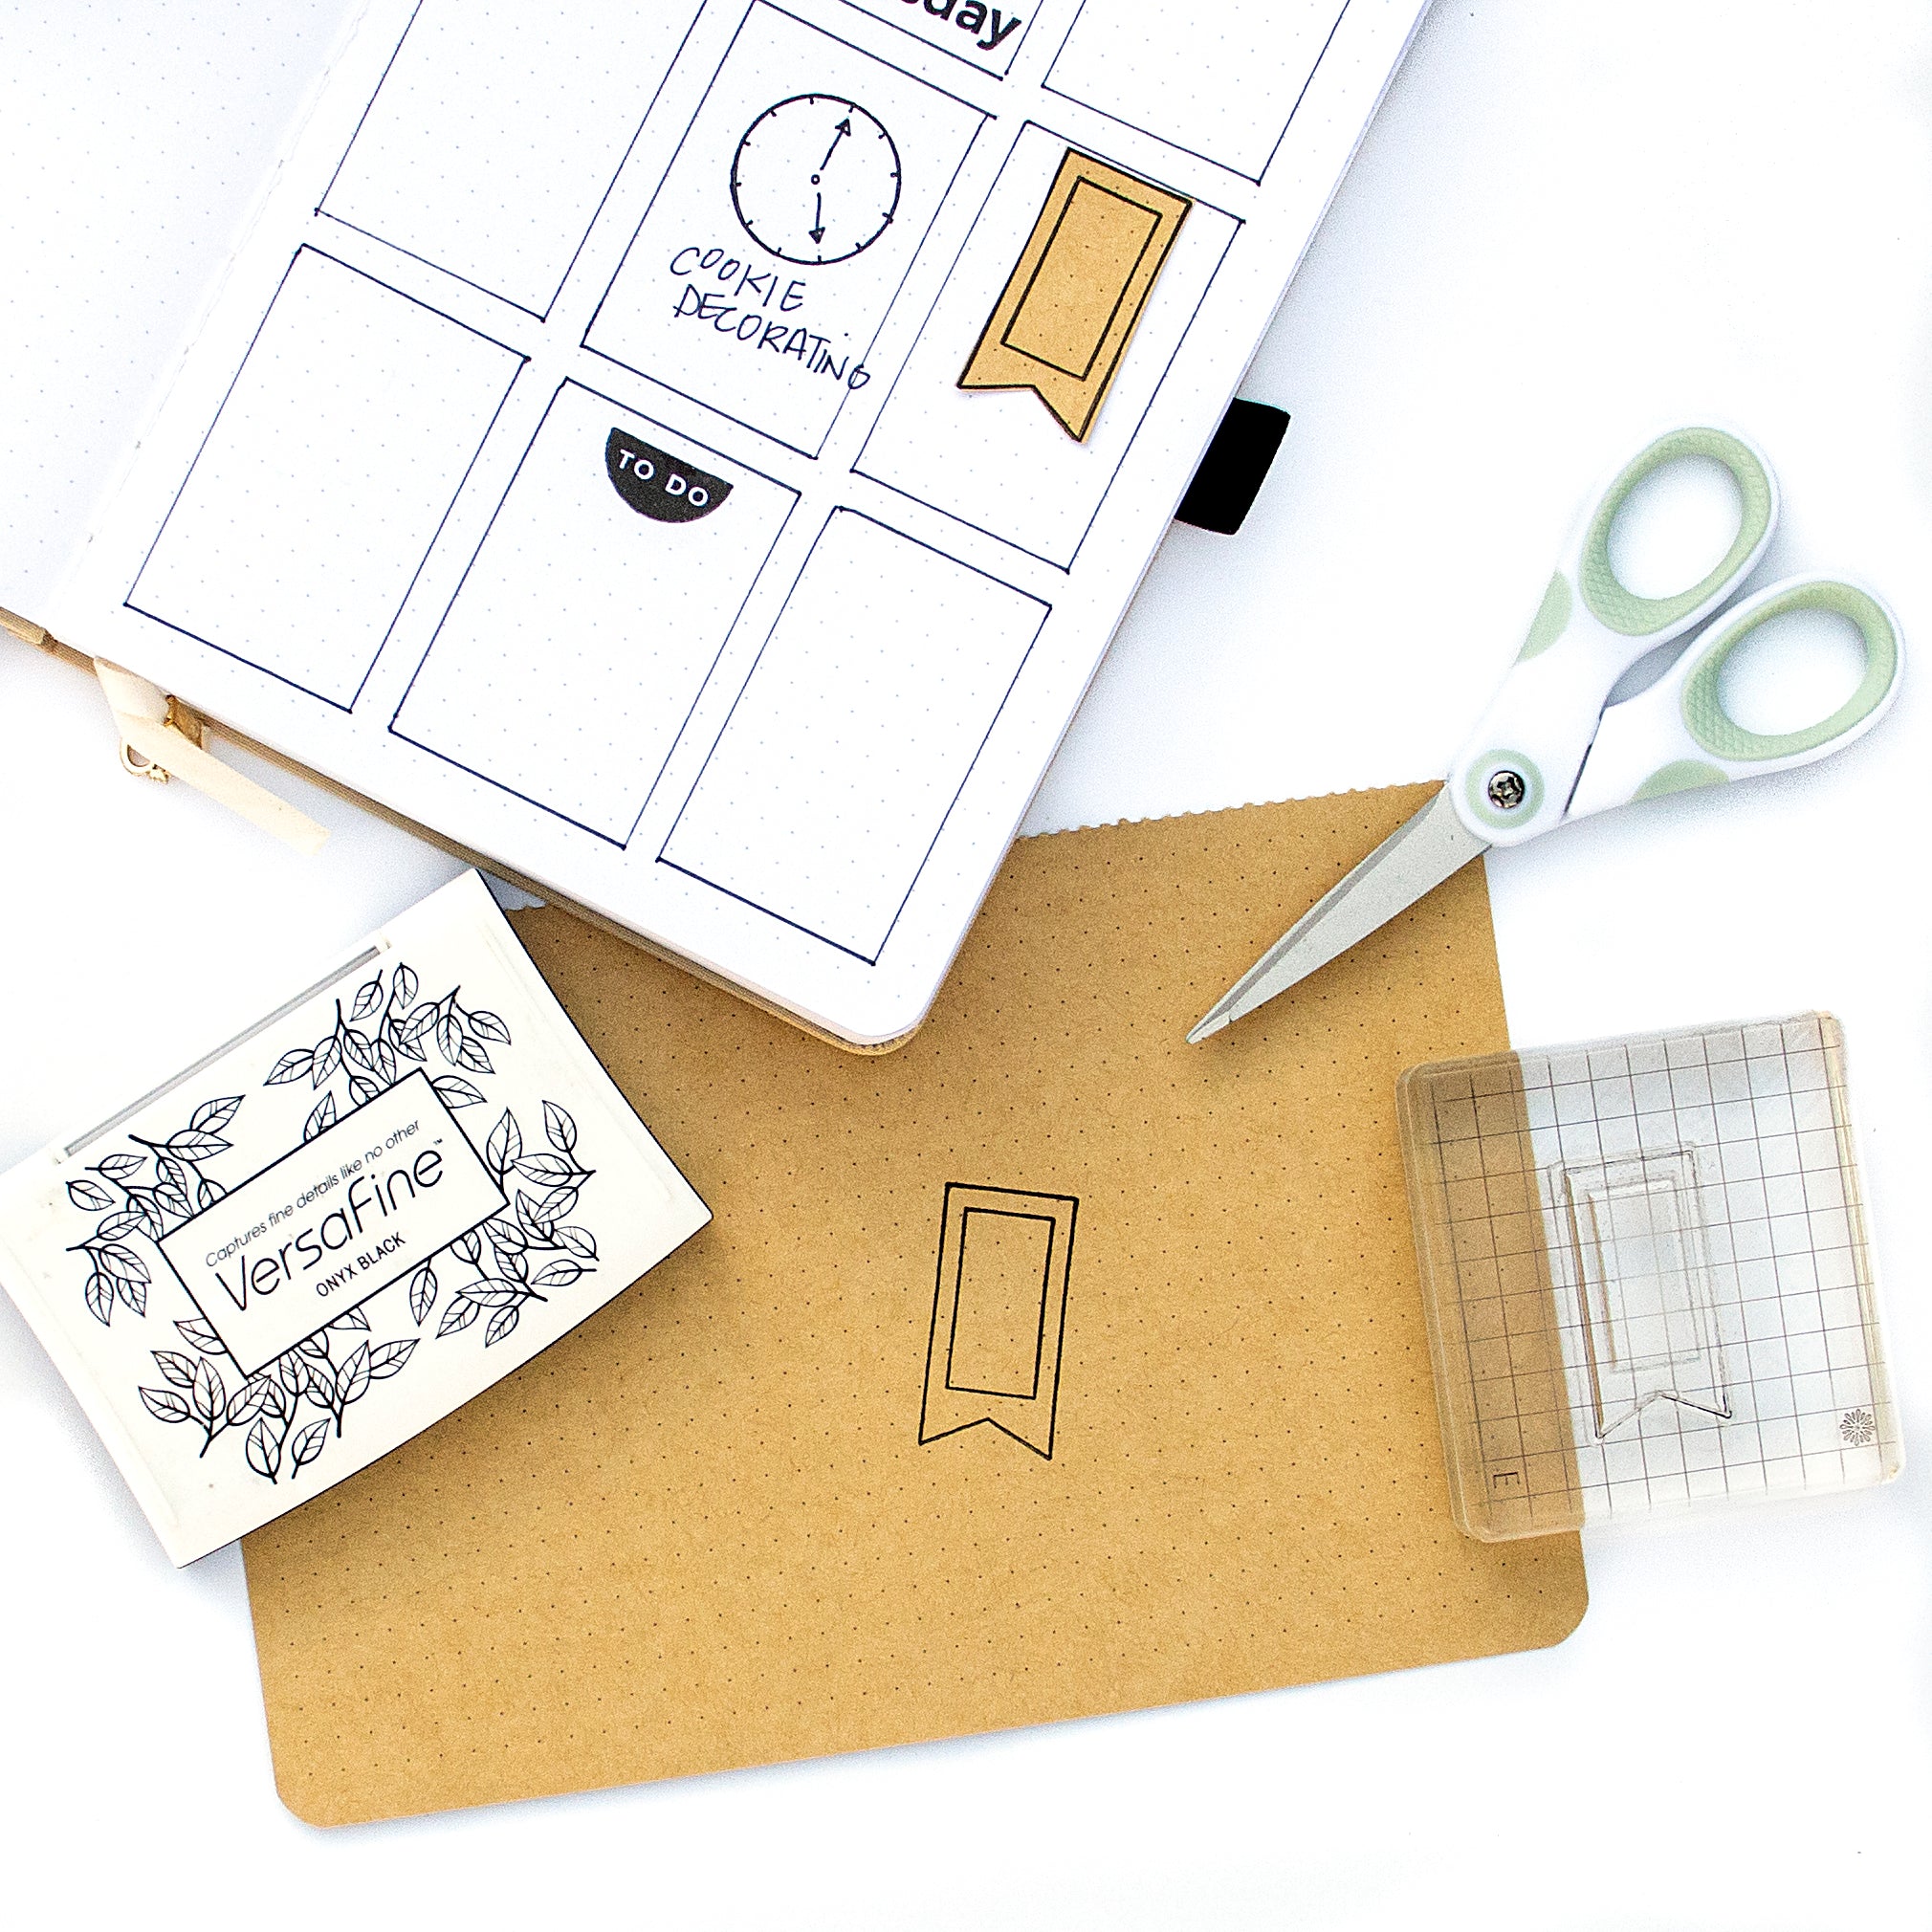
What happens if you make a mistake in your stamping? You can always cover it up! Simple use a die cut, sticker or wash tape to cover that mistake. As we all know, mistakes happen to us all! However, if you’re nervous, you an always stamp an image on a piece of paper, cut that image out and then adhere it to your project. It’s an easy way to use stamps especially if you’re nervous.
Stamping is not only creative, unique and versatile - it’s also fun! Make sure you try it out and share your beautiful projects with us!
If you're a visual learner, check out my YouTube Tutorial where I talk you through it!
Happy Stamping!!!


0 comments