


Have you ever set up a bullet journal collection in the middle of your journal, and then every time you went to look it up, you couldn’t actually find it? Or maybe you’re new to bullet journaling and are just wondering “what is a bullet journal index?”. Look no further! Today we’re going to look at all things bullet journal indexing and how it can help make your bullet journal pages easier to reference.

The Backbone of the Bullet Journal
Hi team! Jess or JashiiCorrin from YouTube / Instagram here talking about the bullet journal index. Despite being an integral element of the original bullet journal system, the extent to which the index is now used in our community is quite varied! However, the index can still be a powerful tool to help keep your organisation system...organised. Today we're going to talk through the 'what', 'why' and 'how' of indexes, as well as have a look at some ideas on how to make your indexing even more useful.

Supplies
For our bullet journal indexing today, I used the equipment below which you may also find helpful. Remember you can use my code JASHIICORRIN10 for 10% off your orders at Archer and Olive!
- A5 Archer and Olive notebook
- A5 Archer and Olive notepad
- Pens of choice
- Markers of choice
Rather watch, then read? For a quick overview of the 'what', 'why' and 'how' of bullet journal indexes, check out the video below!
But...what is it?
Firstly, it's important to note the difference between an index in a book versus an index in a bullet journal.
- A book's index is typically an alphabetised list of topics or subjects in a book, found at the back of the book, which tells you which pages feature that content
- A bullet journal's index is typically a chronological list of collections in the journal, found at the front of the journal, which tells you which pages those collections are found on
Although the function of both of these is the same, the location and organisation of these are different. A bullet journal index can be better thought of as the table of contents in a book, listing the sections or collections in your journal from front to back.

But...why though?
The general premise in the original bullet journal method is that any new entry or collection just goes on the next available space or page. This means that finding the things you've put into your journal previously might be a little bit challenging; there may not be any rhyme or reason to the ordering of the pages outside of them being the next thing you wanted to set up. This is where the index comes in; its purpose is to make finding things easier. Rather than flipping through page after page in your journal trying to find that one collection, you can instead refer to your index which tells you which page number to head to.

But...how does one even?
Setting up an index will typically happen at the very start of your journal. Put simply, you open up to the first page of your notebook, write the title "index", and it's ready to go. As you put other collections into your journal, you add them to your index along with the page number they are found on.
When making the index, some journals will come with pre-printed indexes while in others you have the opportunity to make your own. You can make your index as simple or as decorative as you want! In its simplest version, an index is just a single-column list with the title or description of the collection or journal section and the page number or numbers for that collection.

Using an index as per the original method does require you to have numbered pages. If your notebook doesn't come with pre-printed page numbers, you can add these easily with your pen of choice. Most people choose to add these numbers into the top or bottom outer corner of each page in their journal. Whether you fully number your journal when you first get it, or number as you go is up to you. The benefit of adding them all at once is that you get it over and done with, and the numbering will typically look more consistent as they were written at the same time. Numbering as you go though also has benefits, for example avoiding the tedious task of writing a bunch of numbers when you really just want to be setting up your start of journal layouts, and, if you end up removing pages from your journal for any reason, your numbering will still be consistent with no missed numbers.

One of the most important things to remember if you're using an index is to add entries to the index as you make those collections. By doing it as you go, you can trust that your index is up to date at any given time, and also save your future self from the daunting administrative task of having to index all your pages after setting up a whole heap of collections!
Next-level indexing strategies
An index may just be a simple list of the collections in your journal, but that doesn't mean there aren't ways to make it more functional. Let's have a look at some ideas to make indexing in your bullet journal even better!
What to index
While the index is a chronological list of the collections in your journal, this doesn't mean it has to contain every collection. Things like weekly or daily logs may not be something you really need to refer back to once that week or day has passed, and including them in your index may clutter it up and distract you from other important entries. Within the original bullet journal method, it's recommended that the only items that go into your index are the future log, monthly logs, and other collections, while daily logs are left out. When I index pages in my journals, I typically like to keep it to the months contained within that journal, and any special or one-off collection pages I've included.

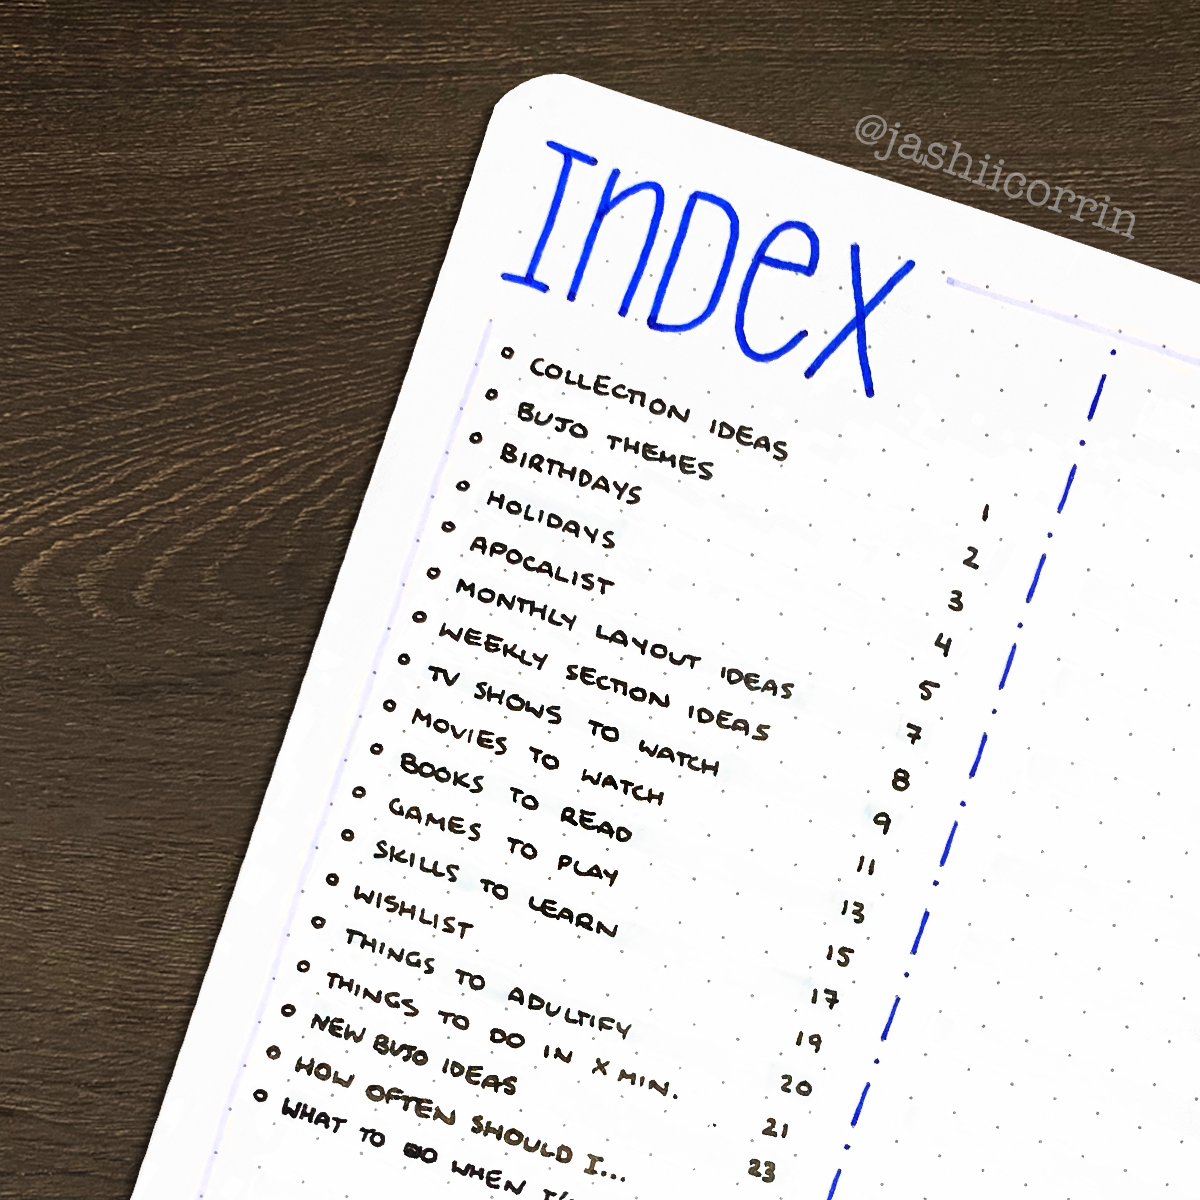
Multi-page index entries
Some collections span multiple, and not necessarily subsequent pages. Rather than listing out every single page a collection spans as a separate index entry, what you can instead do is:
- List the first page of that collection chronologically in your index, then
- Write all the page numbers that collection spans next to the entry.
This can be a lot more helpful than writing out all the pages as separate index entries as it reduces "bulk" in your index, and allows you to quickly see where all of the pages for that collection are located in your journal with one entry.
![]()
Maximising space
While the simplest index is just a list of often short page titles and the page numbers they are found on, this can create a lot of wasted space in your index. To make better use of the space available, you can divide your index pages into two columns, effectively doubling the number of entries you can make to your index.

Coded indexing
A super full index can be a bit overwhelming to look at and still make finding pages in your journal a time-consuming process if you have to read through all the entries. One way to make finding things in your index faster and easier is to code it either with colour or signifiers. Highlight important entries in your index with a coloured marker, or put a symbol to the side of any entry that you know you'll be likely to refer back to in the future. You can also take this a step further and code all index entries of one type with one colour or signifier. For example, if you have several collections related to a specific topic or theme, or highlighting the entry that shows the start of a new month.

Flip-out and detachable indexes
When it comes to referring to or populating your index, it can be kind of a pain having to flip back and forth between the index pages and whatever collections you're wanting to work on. One solution to this is making either a flip-out or detachable index.
Flip-out indexes are those which you washi-tape into the front of your journal such that they can be flipped out to the left to see your index entries. This involves:
- Taking a separate piece of paper for your index (I would typically either use a page cut out of the back of my notebook, or a page from an Archer & Olive notepad), and then
- Sticking it face-down into the front cover of your journal along the left-hand side of the index paper.
I'd also typically secure the flip-out paper from the other side with another piece of washi tape by opening the flip-out, and adding more washi tape along the sticking edge.
Detachable indexes are similarly done on a separate piece of paper, but can either be stored in the back pocket of your notebook, or washi-taped into the front inside cover.

Indexing across notebooks
If you have collections stored in previous notebooks, collections you still want to refer to or work with, then what can be useful is to have a "master index". This is an index that allows you to easily find pages across multiple notebooks. In setting up a master index, you of course need the page numbers of the collections you're indexing, but also a way to refer to which notebook they're in. This could be something like:
- Numbering your journals - "2.34" representing the collection in "Journal 2" on page 34
- Alphabetising your journals - "B.45" representing the collection in "Journal B" on page 45
- Naming your journals - "Bluejo 12" representing the collection in your blue journal on page 12
It's recommended that you have a master index as a detachable index, or one you can store in the back pocket of your current journal. This way you won't have to set it up again with each subsequent journal.

Categorised index
If your journal contains a lot of separate collections on different themes or topics, what can be useful is to section out your index into categories. A simple example would be collections related to work versus personal collections. To do this you simply divide up your index page or pages into separate sections, and give each section a header for what types of collections will be indexed in that section.

A more indexy-index
As we talked about previously, the index in a book is alphabetised rather that listed chronologically. This is in part due to how indexes in a book versus a bullet journal are populated. As we are indexing as new collections are made, it's not very straightforward to put the entries in alphabetical order. If having your entries somewhat alphabetised would be helpful though, what you can do is break your index pages down into 27 sections. This leaves one space for each letter of the alphabet, and one space for numbers. In each of those sections you can then list your index entries so you can easily find pages based on the first character of their title.

While these tips are for people using an index in their journal, what if you're still on the fence about it? There are also ways to "index" or help you easily find things in your journal even without a formal index!
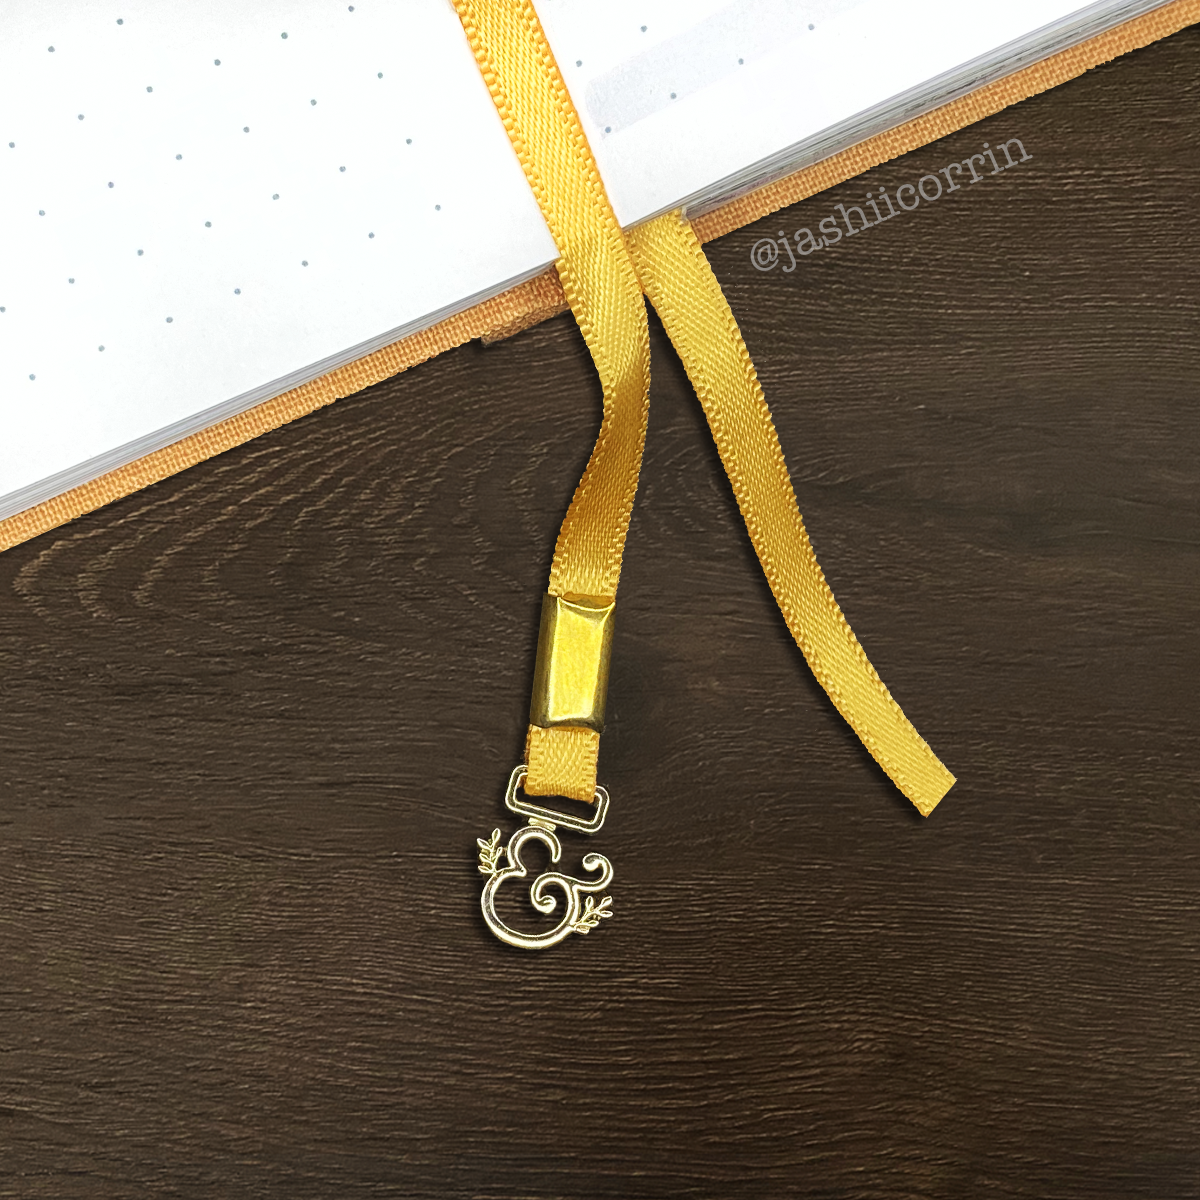
Ribbons
Many journals come with ribbons for you to be able to indicate and thus find pages of importance in your journal. The two ribbons of the Archer and Olive journals are distinguishable in that one has a charm while the other doesn't. This allows you to set up a system where one ribbon is always on a particular page of importance, while the other may be on another, or on the spread you're currently working with. Adding more ribbons to your journal can be done easily by either tying them to the existing ribbons, or carefully gluing them into the top of the spine of your journal.
Tabs and dividers
Tabs and dividers are another great non-index way to find things quickly in your journal. Both of them work along the premise of having something stick out the side of your journal to allow you to flip to the relevant section easily. You can purchase pre-made tab stickers or make your own using washi tape.

Coloured edges
Putting a coloured square or section along the edge of a page is another way to quickly indicate the contents of that page. This technique can be used to show all the pages that fit into a certain theme, for instance all the pages with important notes for work, or all the swatch pages you've made in your notebook, really whatever categories are going to be relevant for you. The coloured sections or squares can be put in either with pens, markers, stickers, or washi tape. If you bring the coloured portion all the way to the edge of the page, this will also allow you to see the indicator even when your notebook is closed.

Washi borders
Similar to the last idea, washi borders are another potentially colourful way to highlight important pages in your journal. Simply run washi tape along one side of the page such that you can wrap half of the washi tape over to the other side of the page to secure it in place. This way, when your notebook is closed, you'll easily be able to see the washi tape indicating where that important page is. I've used this trick previously to indicate the first page of each new month in my journal.

The bullet journal index ideas listed above are some of my favourites for helping to make finding things in your journal faster and easier. So you don't forget them, make sure to check the printable freebie below; a reference list of these ideas to look at when indexing in your journal!

Index ready?
While these are just some tips for indexing in your bullet journal, hopefully you’ve found the ideas in this blog post helpful! Don’t forget to grab your printable checklist and tag me, @jashiicorrin, and @archerandolive in your index-related posts over on Instagram. We can’t wait to see what you make!


0 comments