


Hello, friends! Viv here from Monday Morning Design. I can’t even begin to describe how happy and excited I am because this is my debut blog post as an Archer and Olive design team member! I’m still in shock and trying to let it all soak in! I’m grateful to have the opportunity to work with such an amazing brand! Since you’ll probably be seeing more of me around here, why don’t I take a moment to introduce myself?
My name is Vivian but you can call me Viv! My pronouns are she/her/hers. I have a deep love for pretty journals and stationery, coffee, and coffee-toned everything. I’m an INFJ, Gemini (Virgo moon and Leo rising, if you’re into astrology!) southern California gal who is a true crime junkie (#talkmurdertome), professional daydreamer and overthinker, and obsessive hobby enthusiast. Seriously, if I see something I like, I will probably try my hand at it! Though many hobbies have come and gone, the one hobby that has stuck around all these years is bullet journaling. I first discovered bullet journaling in 2019 and instantly fell in love. What started as an organizational/habit-tracking system and as a creative outlet quickly turned into a daily ritual of mindfulness, journaling, and memory-keeping!
Speaking of memory-keeping… today, I’m going to show you how I created a spread to capture my favorite winter memories! Making these spreads helps keep my memories alive. Check out more of my memories spreads that I make every month HERE.
Memory-keeping has truly opened my eyes and made me appreciate all the little joys and magic in my daily life. It’s great to be able to flip back in my journal and read all of the big and small memories I captured. I hope you’ll give it a try someday if you haven’t already!
Materials You’ll Need
Here are the materials I used to create this spread:
- Fineliner or smudge-proof pen
- Pencil and eraser
- Ruler
- Washi tapes, stickers, decorative paper (optional)
Please note: if you make a purchase using any of my affiliate links, I earn a small commission from that purchase. Thank you for your support!
While I don’t have the still photos of each step, you can watch my timelapse to see how it all came together!
Let’s Get Started
Step 1: Sketch
Begin by sketching out a layout in pencil. I thought it would be cute to have little polaroids as snapshots of my favorite memories. I fit 12 polaroids but used one as my header in this spread. You can definitely make room for more or less.
Step 2: Outline
Next, go over the pencil sketch with your Acrylographs and/or fineliner. I used both! I chose to outline only some of the polaroids in the Metallic Acrylographs because I wanted these colors to have an impact and “wow” factor — which it totally does! I think it would’ve taken away from the impact if I made all of the polaroids metallic. Of course, you can outline all of the boxes with Acrylographs or mix and match colors from different sets or just stick to fineliners. It’s completely up to you and what you feel called to do!
But seriously, these Metallic Acrylographs are so dreamy and I think they fit perfectly with this winter theme! It’s definitely worth it to have this set equipped in your stationery arsenal!

Step 3: Erase
After outlining your polaroids, let it dry for a few minutes before carefully erasing your pencil markings. This step makes such a huge difference and you can finally see your spread all cleaned up and in its glory!

Step 4: Decorate
You can add any other decorative elements like washi tape, stickers, or decorative paper for a more scrapbook look. I didn’t do it for my spread here, but I’ll probably end up adding washi tapes at the top of some of the polaroids to make it look like they’re taped up on a wall! The possibilities are endless. Get creative!

Step 5: Add Your Favorite Memories
The best part of this spread will be capturing all of your favorite memories during the season. You can fill in each box by doodling, writing, or even adding a photo. Add the dates for your memories at the bottom of each polaroid so you remember when each memory happened.
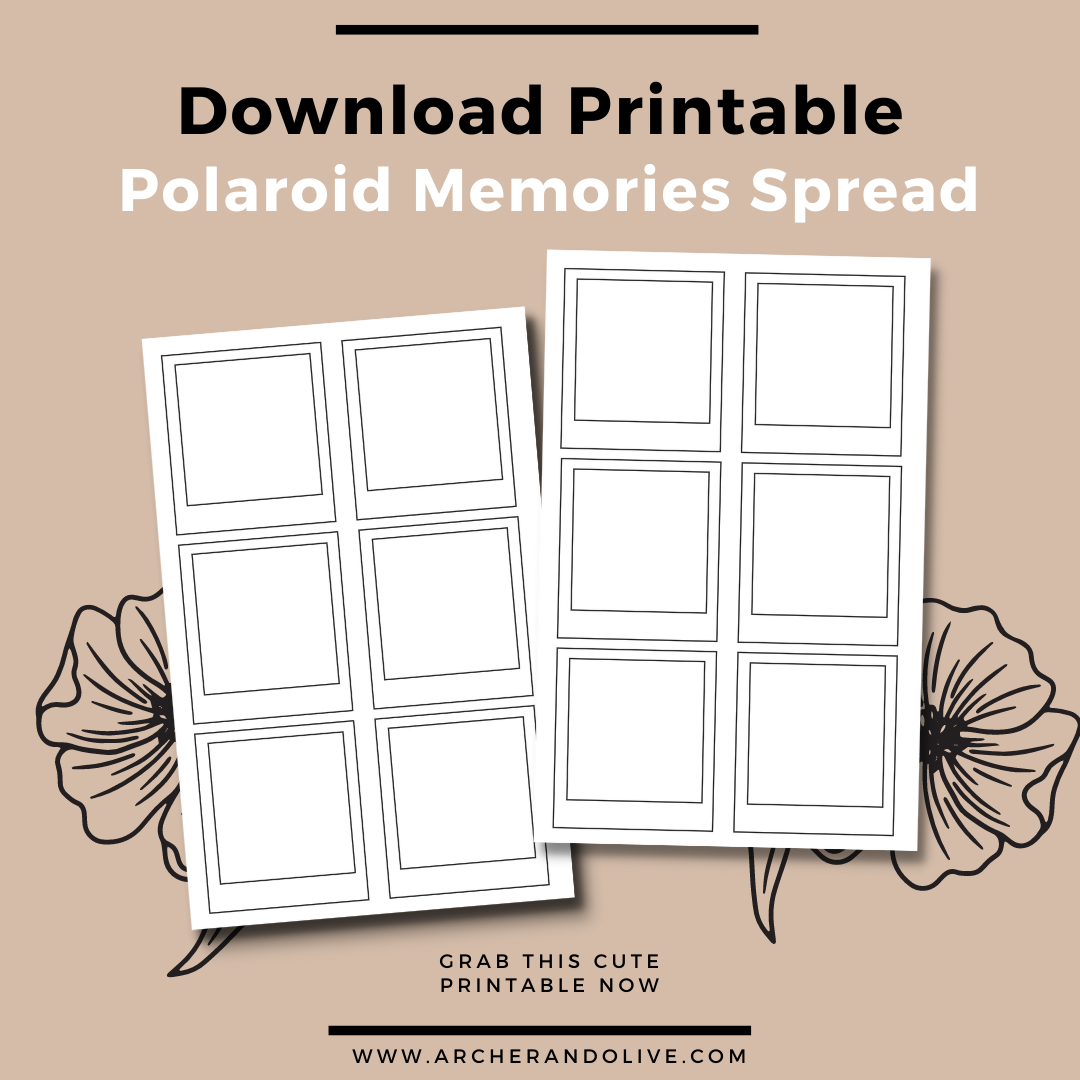
To make things easier, I created a printable you can use in your own journal. Just click the image below to download!
And that’s all, my friends! I I hope you enjoyed my tutorial and that you have fun creating a winter memories spread like this in your own journal! If you make this spread in your Archer & Olive notebook, remember to tag @archerandolive, @archerandolive.community, #AOShare and #archerandolive. Please also tag me (@mondaymorningdesign) so I can share it with others!
Happy Journaling, my friends!


1 comment
First time checking out the blog and I loved it. Looking forward to see more from yoy Viv. I can completely relate about loving coffee-toned everything. This is such a great bujo spread I’ll definitely be implementing this to capture some memories in the future.