


Hello! Ericka from @Crafteinated here with a fun and interactive Valentine’s Day card tutorial!
Valentine’s Day is such a fun holiday to celebrate loved ones. This DIY card is a bit involved but truly makes your card into a gift. Also, this handmade present will mean more as it is personalized!
As far as Valentine’s Day card ideas, this one is so versatile you can use this template to make for your partner, husband, wife, boyfriend, girlfriend, best friend, mom, or anyone!
Supplies used for Exploding Box Card:

Scissors
Scoreboard
Paper trimmer
Bone folder
Glue
Optional: Envelope punch board

7-8 photos that can be cut to 3x3 or 3.5x3.5 inches
2 pieces of solid 12x12 inch cardstock
5 pieces of patterned 12x12 inch double sided cardstock (or more if you have single sided)
Items to embellish (stickers, ephemera, etc)
Archer & Olive Notepads (I used the Neapolitan and Rainbow ones)
You can use code Crafteinated10 for 10% off Archer & Olive products!
Making the Card Base
Before you begin I would recommend printing out the printable as well as watching the video once through so you can have a good idea of what you can expect while making this card.

First, you start with your 12 x 12 inch plain cardstock. With one of the two pieces you will score at 4 and 8 inches. After a rotation to the right you will again score at 4 and 8 inches. This will give your paper the look of a plus sign in the middle. As we move forward, the plus sign is all you will want from your base.
With your second piece of 12 x 12 inch plain cardstock you will cut it down to 10.5 x 10.5 inches. Once you have a 10.5 x 10.5 piece it will need to be scored at 3.5 and 7 inches. Again we will rotate the paper to the right and score again at 3.5 and 7 inches. This page will also have the appearance of a plus sign.
Both pieces will need the outer squares in each corner cut away. My best tip for this is to follow the score lines but leave the inner square intact.

You can then attach the two plus sign shapes pieces together by gluing and the center square of the smaller piece to the middle of the center square of the larger piece. Make sure to leave the four outer flaps unattached as this is where we will be decorating!!
Making the Lids
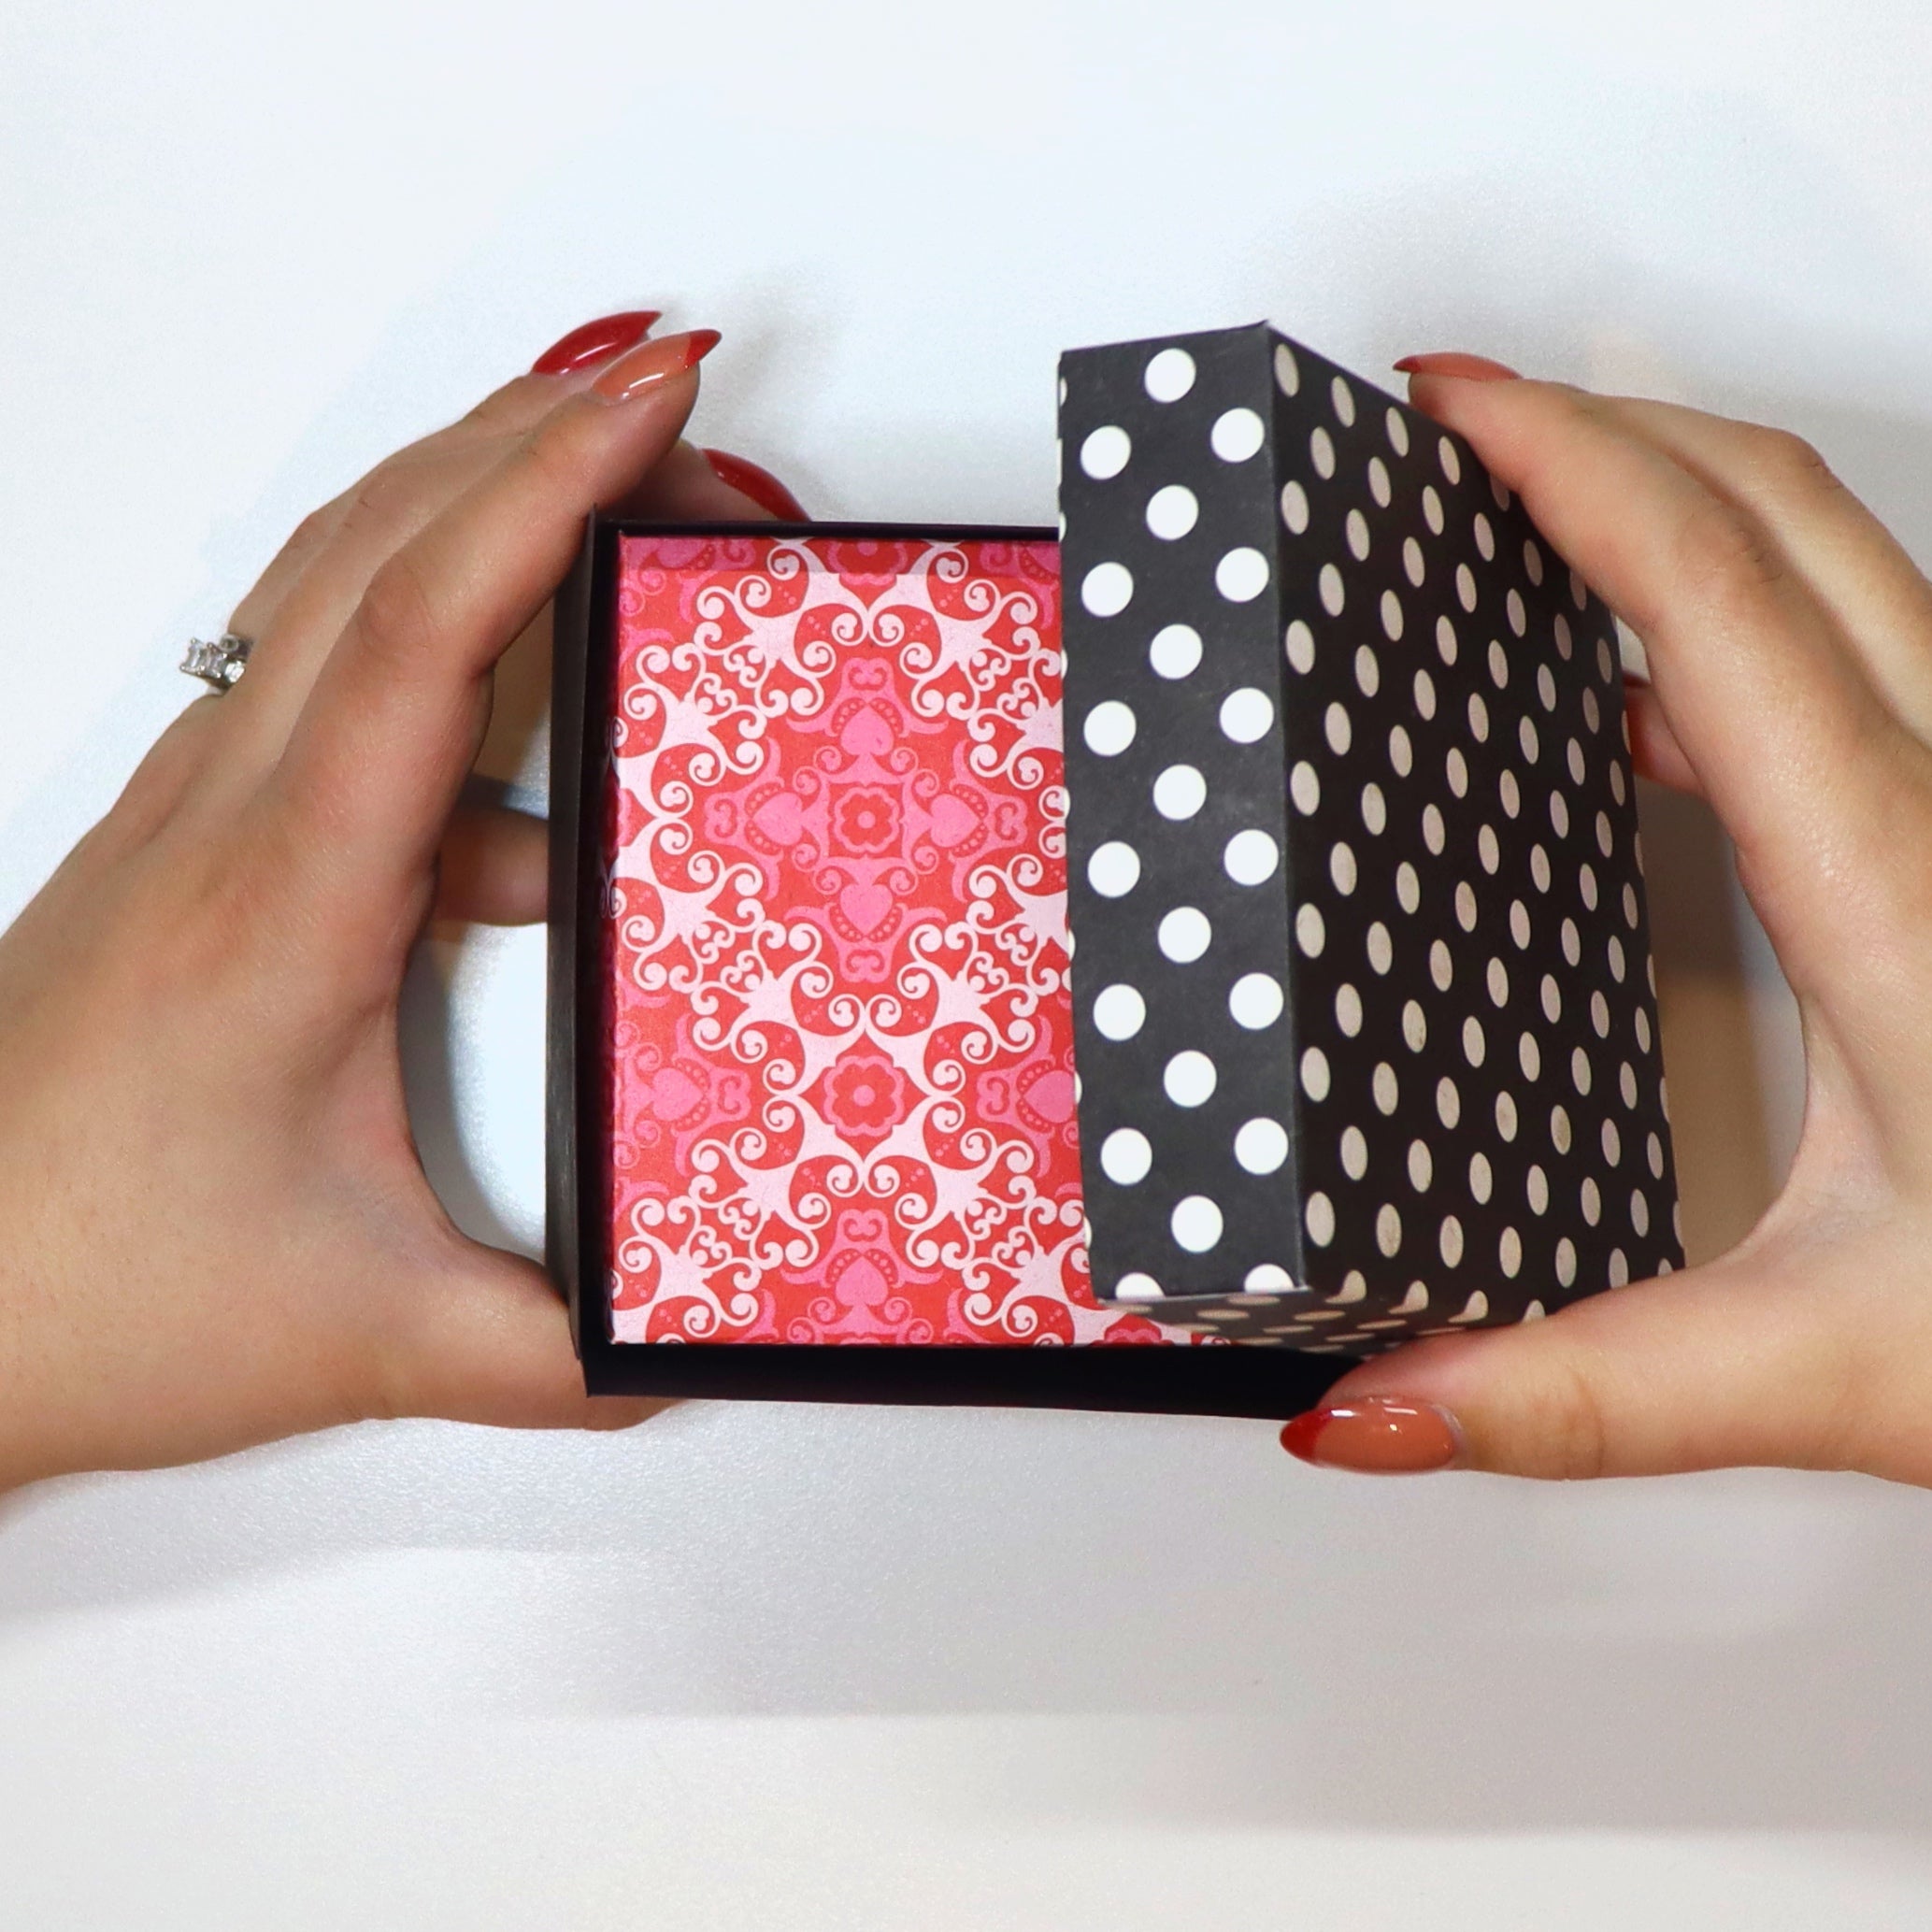
I like to make a lid for the inside and the outside box. However, only the outside lid is necessary. The measurement for the outside lid is 6.125 x 6.125 inches. The measurements for the inside box lid is 5.75 x 5.75 inches. I like to use double-sided cardstock so that the inside of the lid is also decorated.
Once you have your lids cut out you will score a 1 inch border around both of them.

To make your box lid 3-D you will need to carefully trim a slit on all four sides of the lid just up to where the score lines meet.

These will make tabs that you will fold in and glue. You’ll want to work your score lines so the outer edges make the lip of the 3-D lid with four tabs. Glue will be added to the outside of the tabs and then it will be rotated up and into the outer portion of the adjacent piece. Remember to tuck them in for a finished look!


Both of your lids should fit snugly onto the inside and outside of the boxes.

Dressing the Box
The next part is my favorite. This is where you make your box look like a Valentine’s Day card! You’ll need to dress the outside or the larger box with eight 3.75 x 3.75 inch square panels. This will be for the inside and the outside of the box. For the smaller box you will need nine 3.25 x 3.25 inch squares. I will be adding a card and envelope in lieu of one of the small panels.

You will need to glue down all of your panels to the flaps. You can make this part look however you want!

I also like to decorate the outside of the box so I am going to be adding a black piece of paper with the letters “XOXO” on the front.

Personalizing
At this point you’re going to want to add your photos and anything else that you want that is special to you for your exploding box card.


I will be adding journaling cards by cutting my Archer in Olive Notepad. I’m making pockets out of the photos by only gluing an L shape so that the journaling cards can easily slide in and out.


Finishing Touches
Once you finish adding in all of your photos to all of the panels and personalizing it however you want; by adding stickers, ephemera or other items like ticket stubs or small memorabilia, it is time to add your finishing touches and complete your project!!

I added flowers into the center square of my box and I added a bow on my small box lid.

I added a ribbon to the outside of my box as well as a tag so that it truly looks like a present.

Now when my recipient opens the box they’ll be able to see all the fun things that are inside.
Finished product

Your gift is now complete!! There are so many different combinations and themes you can do to make this into whatever you want!
Video
The video is a great tool if you are looking at completing this project. I will also have a longer, more in-depth tutorial on my personal YouTube channel. The video is great for visual learners!!
Printable
And of course, don’t forget to download and print the template here. This will help guide you with the multitude of measurements!

I really hope you enjoyed this tutorial! If you make one please share your creation by using the #archerandolivecommunity hashtag! I’d love to see what you do! Happy Creating!


0 comments