


Hey there, Friends! Sarah here, from the Archer & Olive Ambassador team, and SHEdesignsKC on Instagram. Let’s chat today about a topic that many within the community have been looking for inspiration for - decorating the inside cover of your notebook. Are you an inside cover decorator? Have you thought about it, but didn’t have a great idea about what look you want? Or maybe you’re like me and you get stressed at the thought of just writing your name on the “this book belongs to” line. Haha! We can do this, y’all! I’m going to share 5 ideas and unique looks for decorating the inside cover of your notebook. There are a variety of styles and techniques here, so hopefully you’ll find something that suits your look and personality. Let’s decorate!

WASHI TAPE PLAID
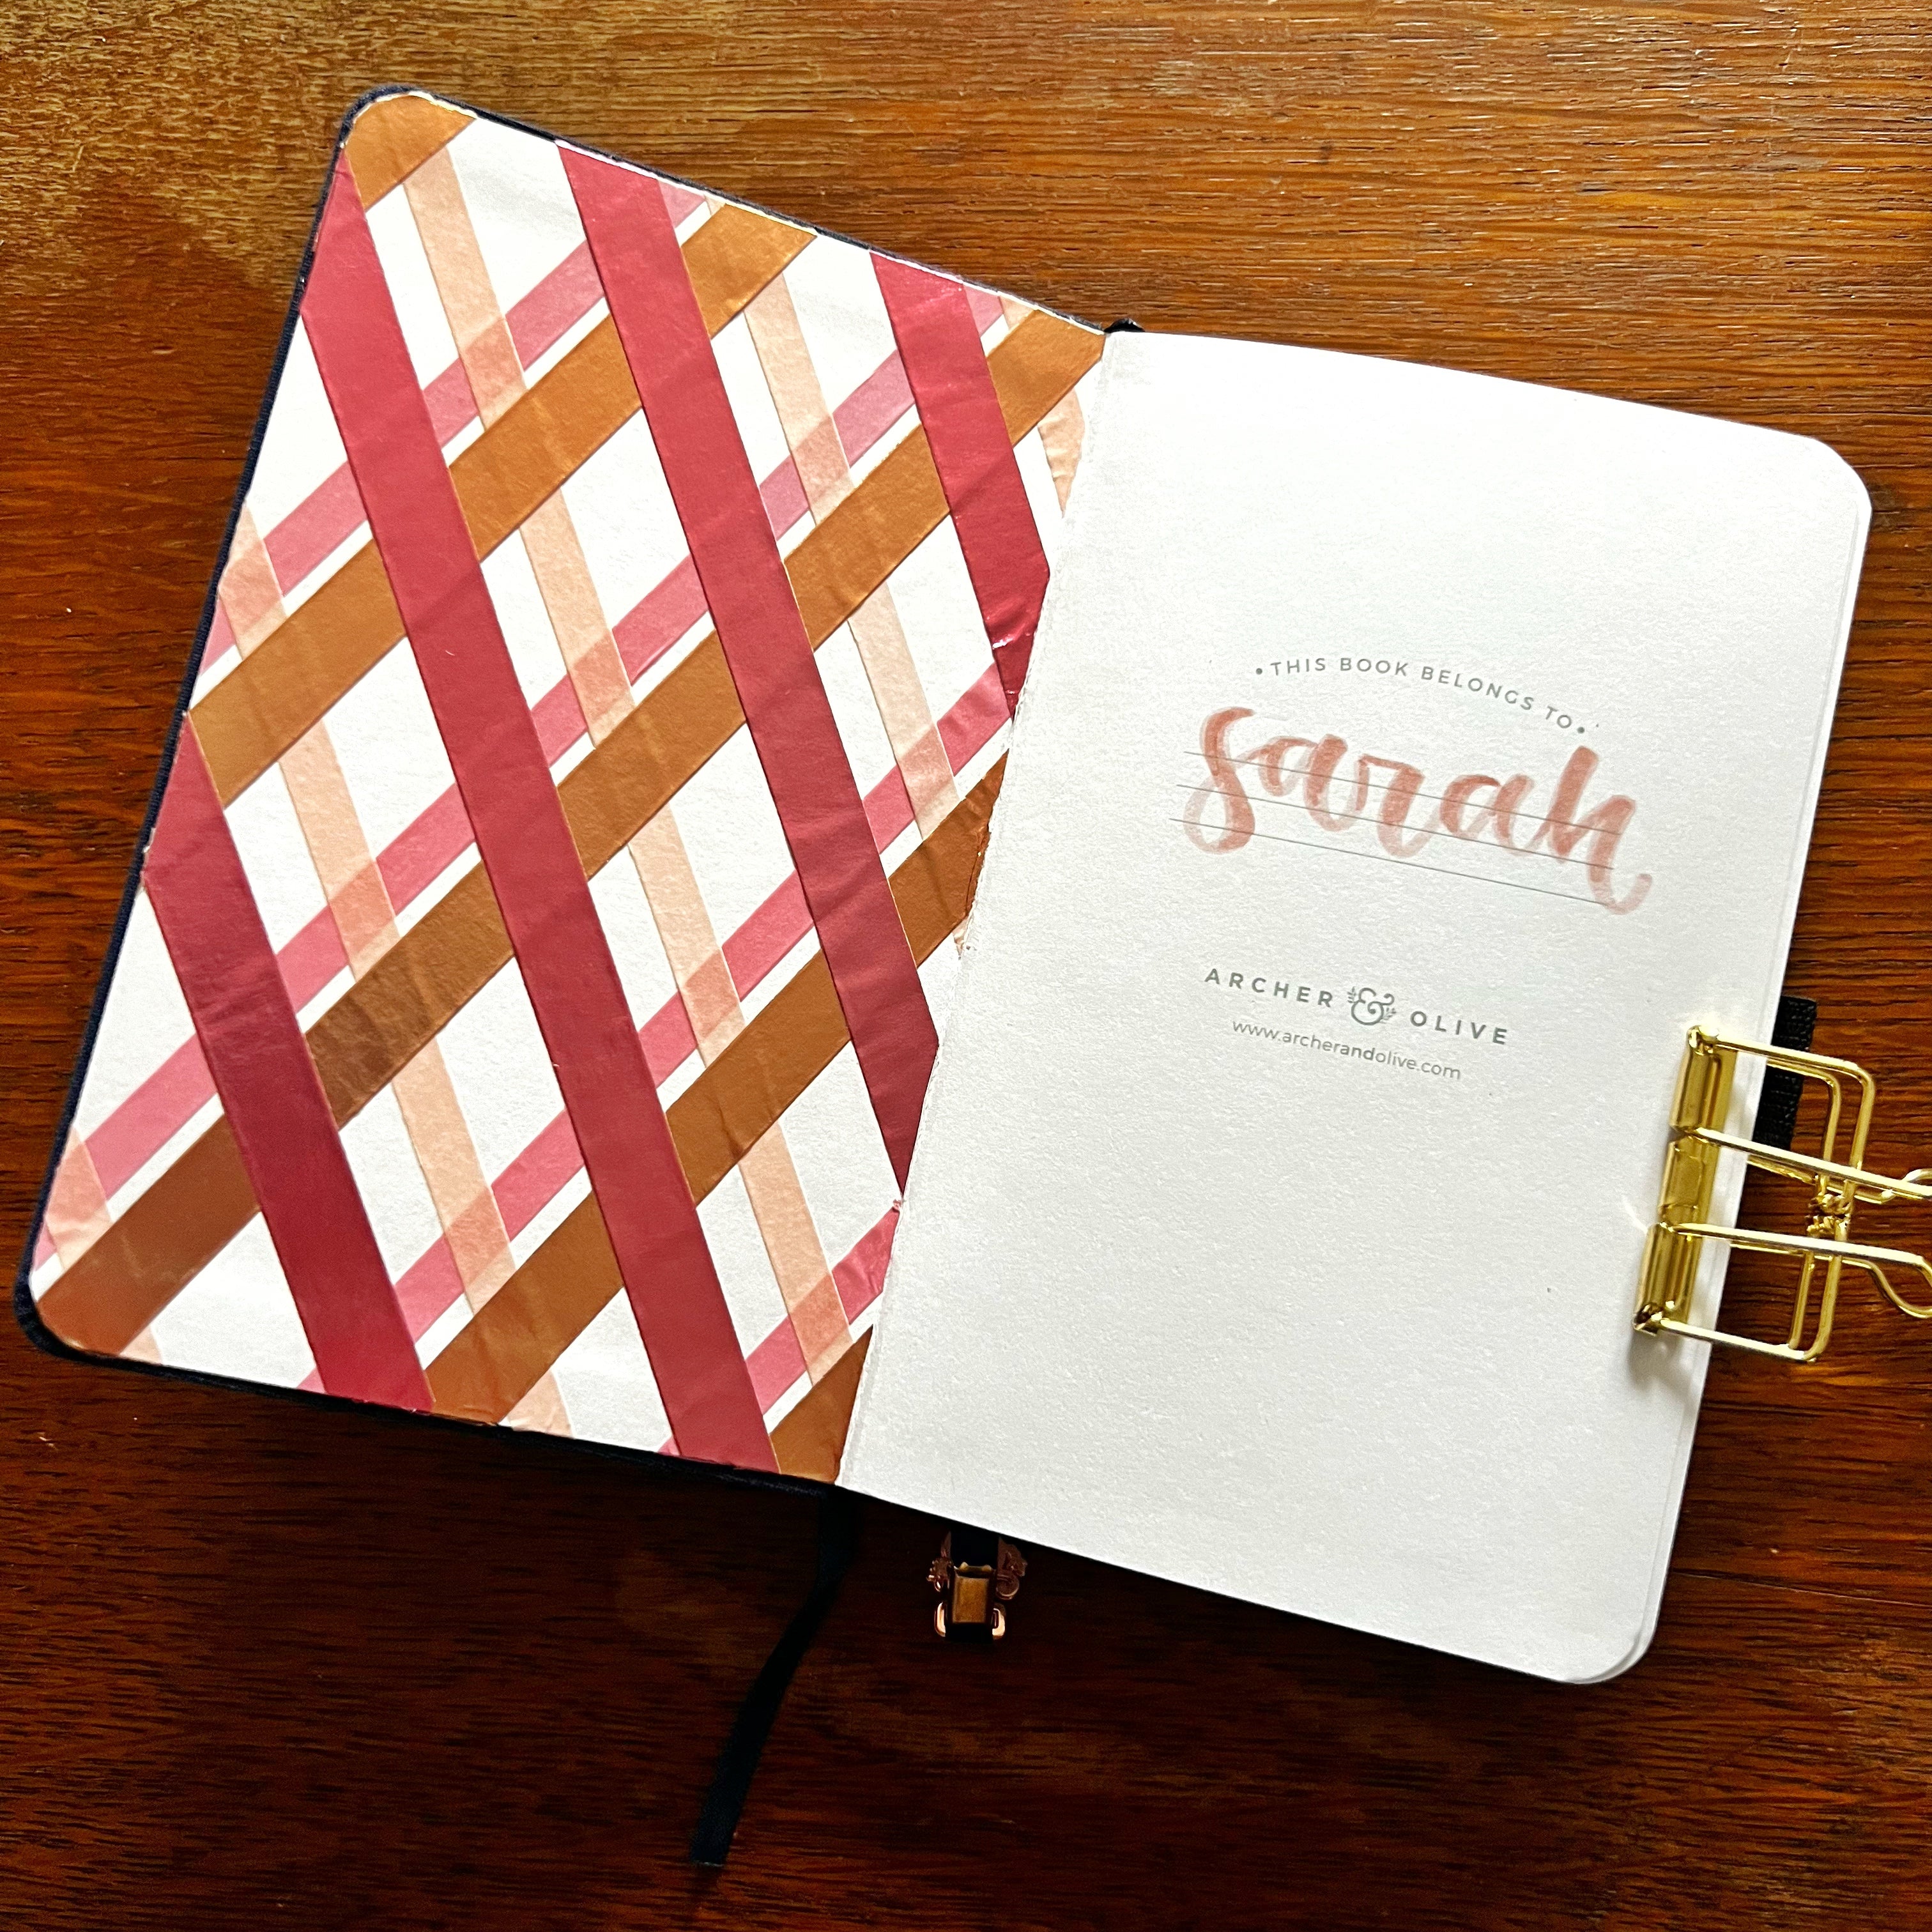
Oh, the wonder of washi tape. Don’t we love it?! The best thing about using washi tape as a cover decoration is that it is SOOO forgiving! Nothing permanent about this! If you make a mistake, peel it off!
SUPPLIES USED
- Archer & Olive notebook (I’m using an A6)
- Washi tape
- Scissors or X-Acto knife
For my washi tape cover decoration, I decided I wanted to create a cool plaid. Okay, it’s actually argyle. I checked. But I prefer to call it plaid, so I’m gonna. I went to Pinterest and searched for plaid and looked around until I found a pattern I liked and that would be doable for me. I saved that picture and kept it nearby as a guide. I decided to use a couple of different widths of washi to give a little more interest to the pattern. I picked one color to start with and laid all the lines in that color, and then continued placing all the lines of each color before moving on to the next. Once I had all my tape down, I peeled up from one corner to “weave” my tape and have it overlap the way I wanted it to. I could also have cut out parts where there was an overlap with my X-Acto knife, but I wasn’t keen on wielding that blade more than I had to. Once I was happy with my pattern and the placement of the washi, I used my X-Acto knife (scissors work too!) to trim away the excess washi from the edges of my notebook. Overall, this decoration took me about 30 minutes. Such a fun look!
SCRAPBOOK STYLE
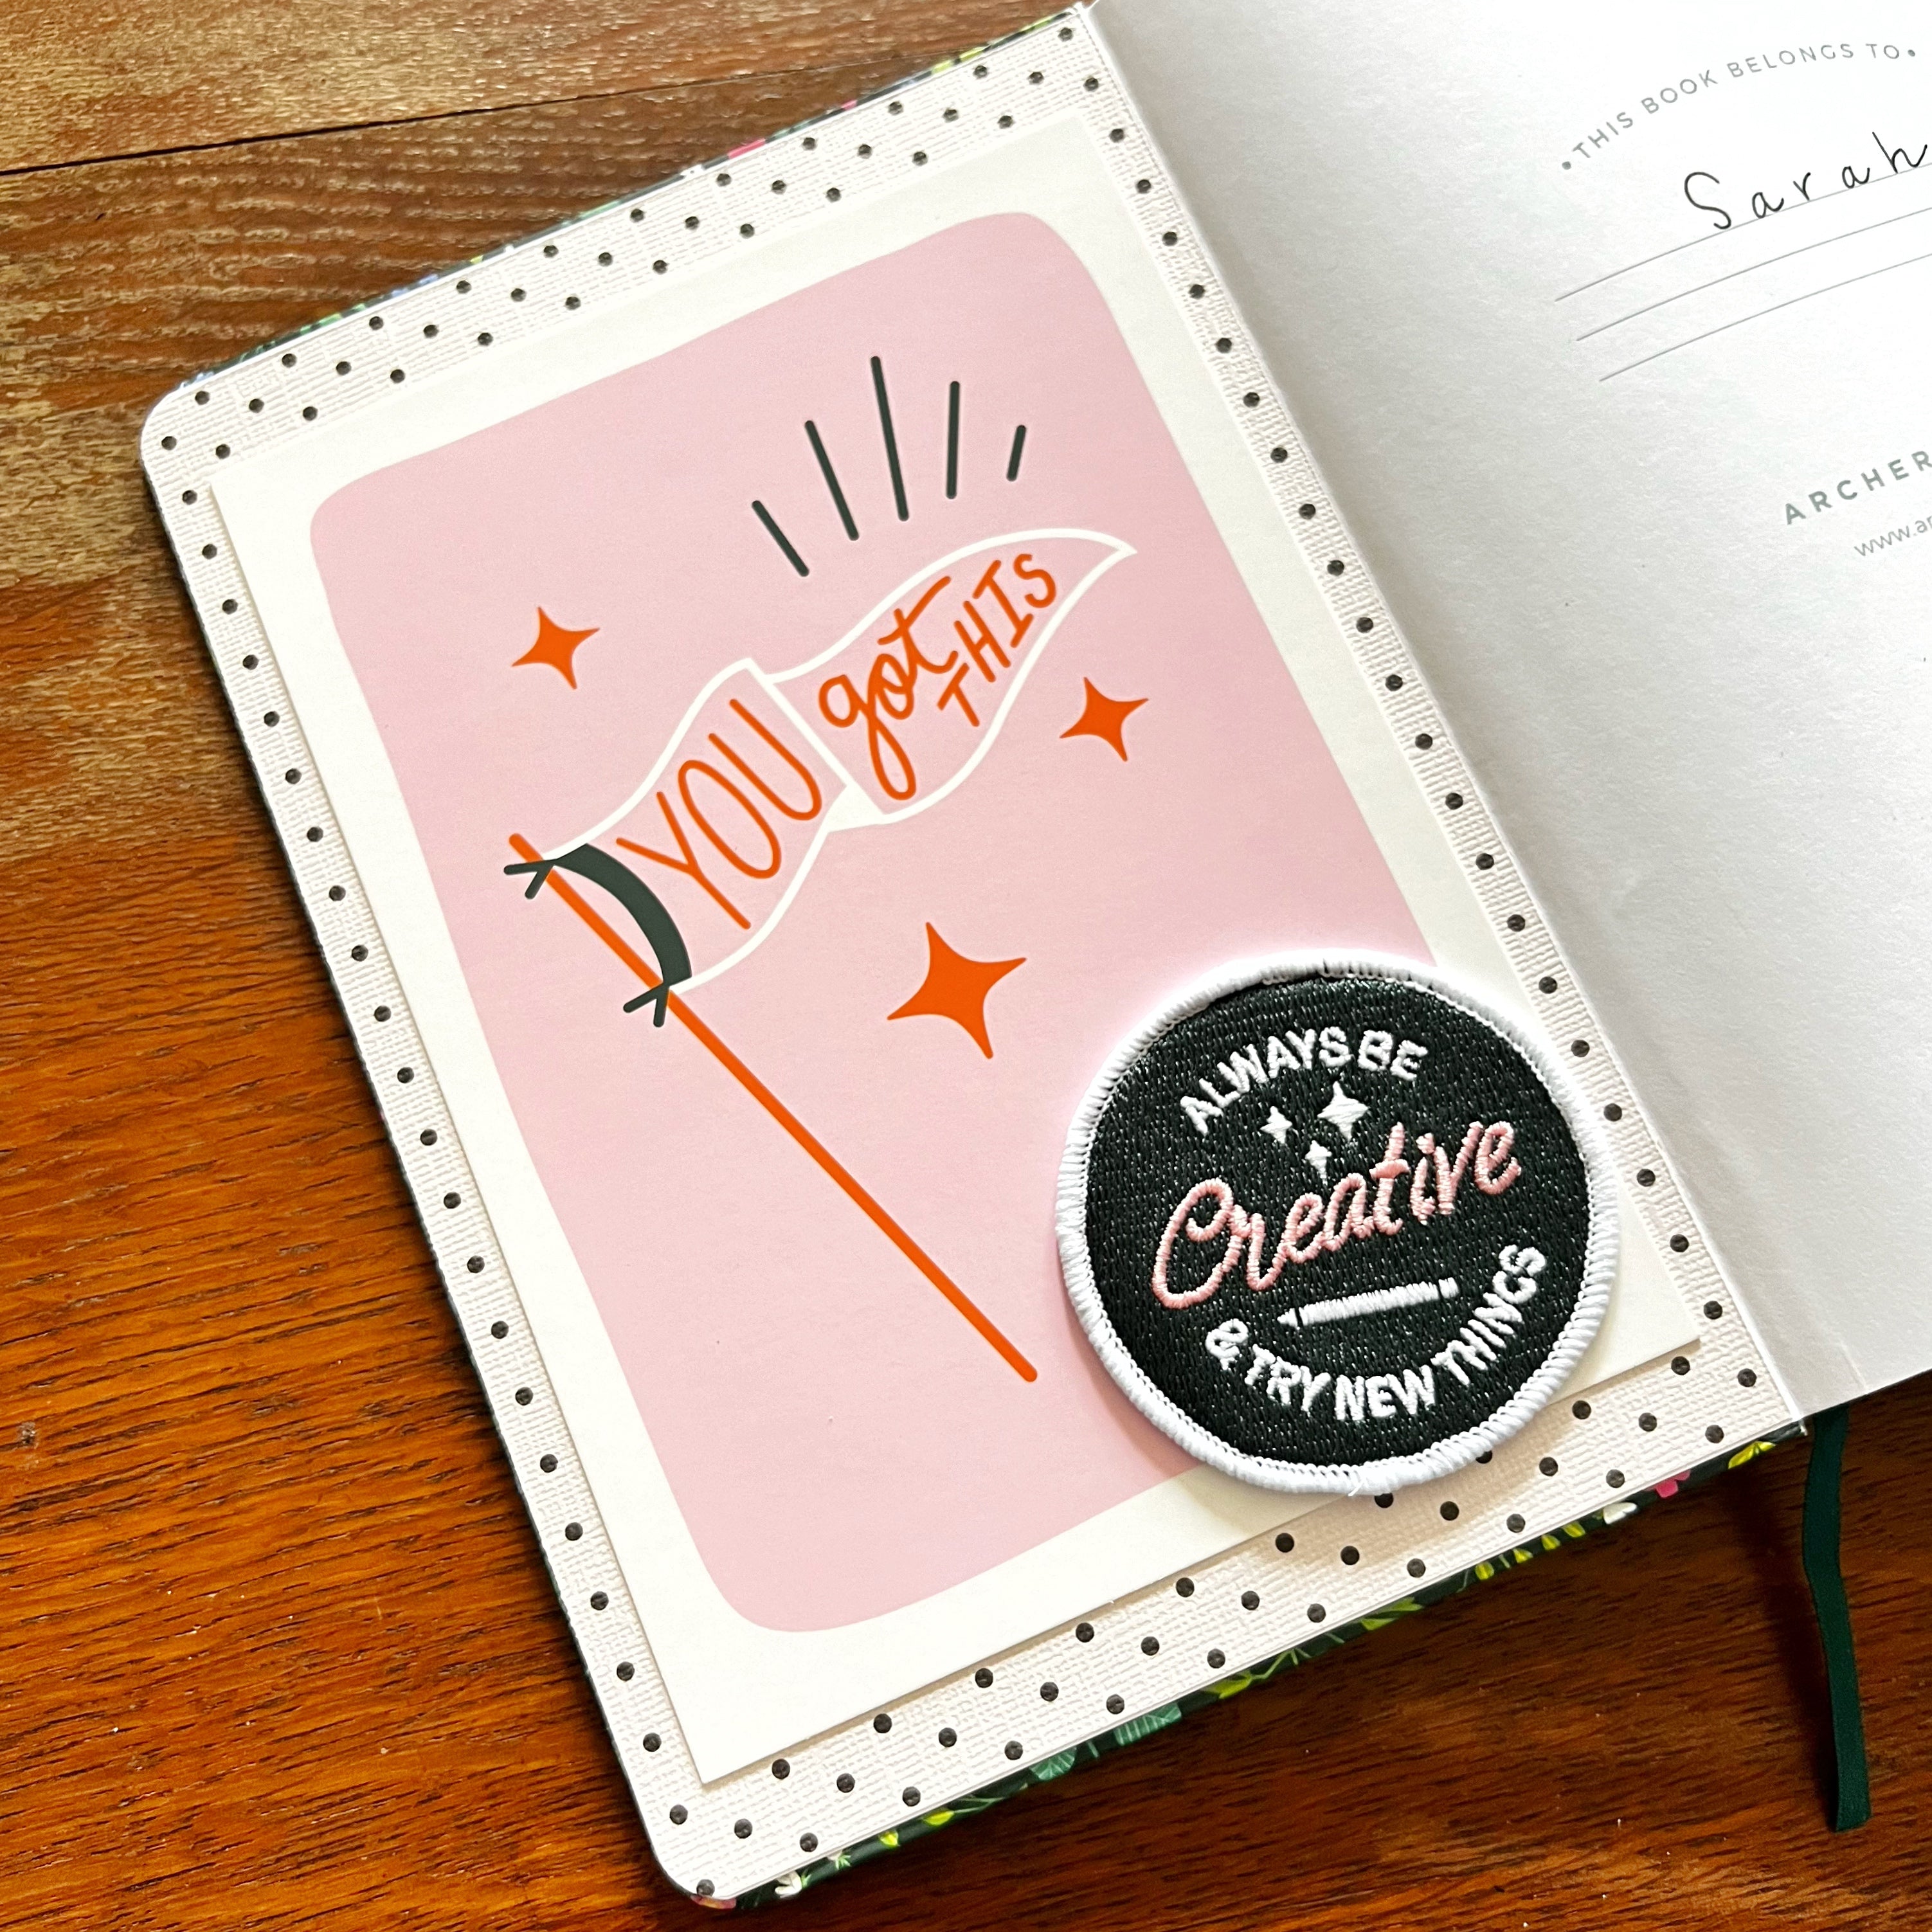
A scrapbook style decoration is a great way to get creative and potentially make use of some decorative embellishments you’ve been hanging on to. Do you have a cute card you received that you’ve saved? Maybe a small art print? Stickers? These can all be perfect for this look!
SUPPLIES USED
- Archer & Olive notebook (I’m using an A5)
- Postcard
- Patch
- Scrapbook paper
- Corner rounder
- Glue tape
- Scissors/paper cutter
- Ruler
For this look, I decided to use some of the items that came in my Archer and Olive June Summer Camp subscription box. This box included some encouraging postcards and this cute little patch. I chose some scrapbook paper that coordinated with my embellishments. I used a ruler to measure the inside cover area of my notebook, and a paper cutter to trim the paper to size. I also used my corner rounder tool to match up the rounded corners of my notebook. I stuck this in with glue tape and then added my postcard and patch on top. Very fast and easy, but crazy about this look!
EMBROIDERED LETTERING
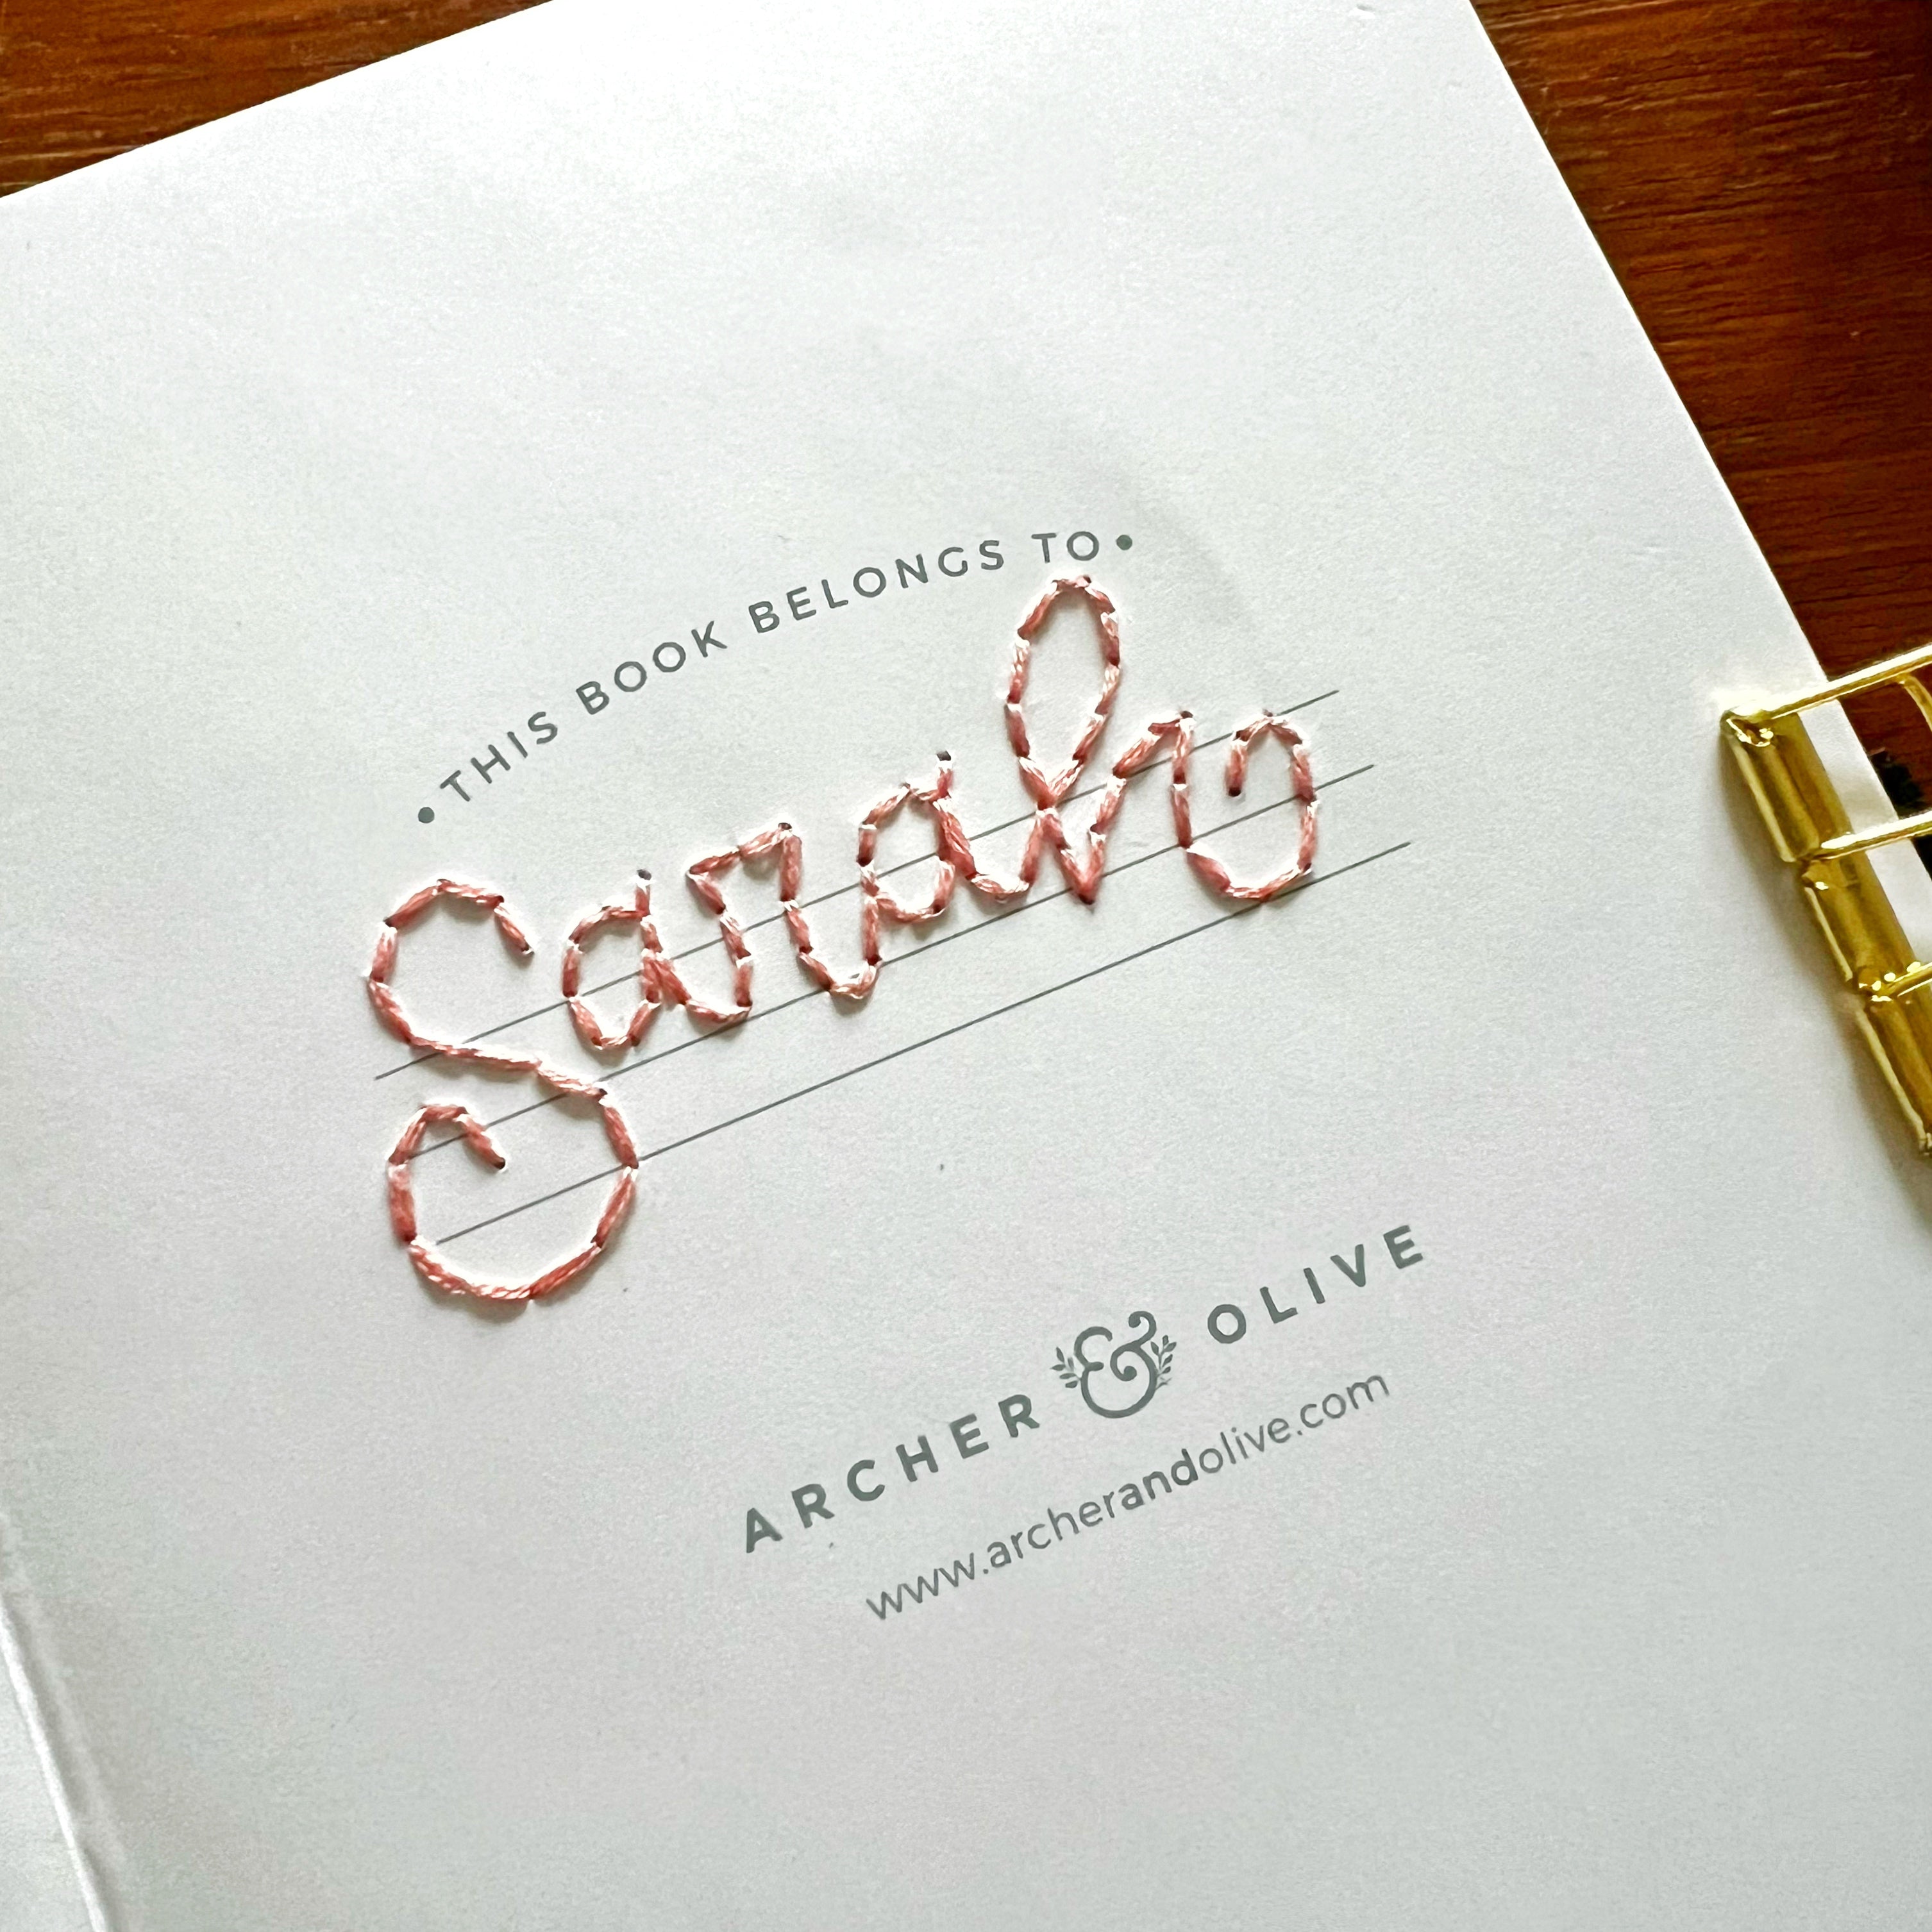
Okay, y’all, this is so cute!! If you’ve never done needlework or embroidery before, do not be intimidated! This is the easiest stitch you can do and the finished product is such a special touch!
SUPPLIES USED
- Archer & Olive notebook (I’m using an A5)
- Self-healing mat
- Needle point awl
- Thread (I used DMC floss)
- Needle
- Scissors
- Pencil and eraser
I started out with writing my name in pencil to use as a guide for punching my needle point holes. I placed my self-healing mat under my cover page, making sure that my entire word fit over the mat, so I didn’t accidentally poke through to the paper underneath. I started on the tip of my first letter, and started poking holes with my needle point awl. I like to space my holes about half a centimeter apart. I try to keep that very consistent. I do however, space them closer on tight curves, so the thread will have a natural curve. Once I was finished with my pencil guide, I erased that away. I used two strands of thread for my lettering. I put all four ends together, and threaded the needle. Starting from the back of the page, I pulled my needle through the first hole, pulling the thread up, but not all the way through the hole. I put the needle down the next hole, and on the back of the page, put the needle through the loop in the thread, securing my thread in place. And that’s it! I just kept stitching up one hole and down the next until my word was finished. I tied off the ends of my thread on the back. You will obviously be able to see the back side of your stitching when you turn the page, but you could simply glue this page to the one behind it, or glue some paper over it to cover it up. Personally, I just left it! This is such a sweet and simple look! What would you stitch on your page? Your name? The year? Your word of the year? The possibilities are endless!
DOODLES
If you’re into doodles, this is a really dynamic and fun way to personalize the inside cover of your notebook! Just cover the whole area with doodles! What are your favorite things to doodle? Cats? Mandalas? Hearts? I’m team floral doodles!

SUPPLIES USED
- Archer & Olive notebook (I’m using an 8X8)
- Pencil and eraser
- Archer & Olive Calliograph pens
I wanted to fill my whole inside cover spread with floral doodles, so I went in with pencil to sketch the look out. I always start with my largest elements, and then fill in the empty spaces with smaller things. For me, this meant large flowers first, and then filling in with leaves. Once I was happy with the look, I added color with my Calliograph pens. Lastly, I added some polka dots for a small filler and then my name! So playful!
COLOR SHEET
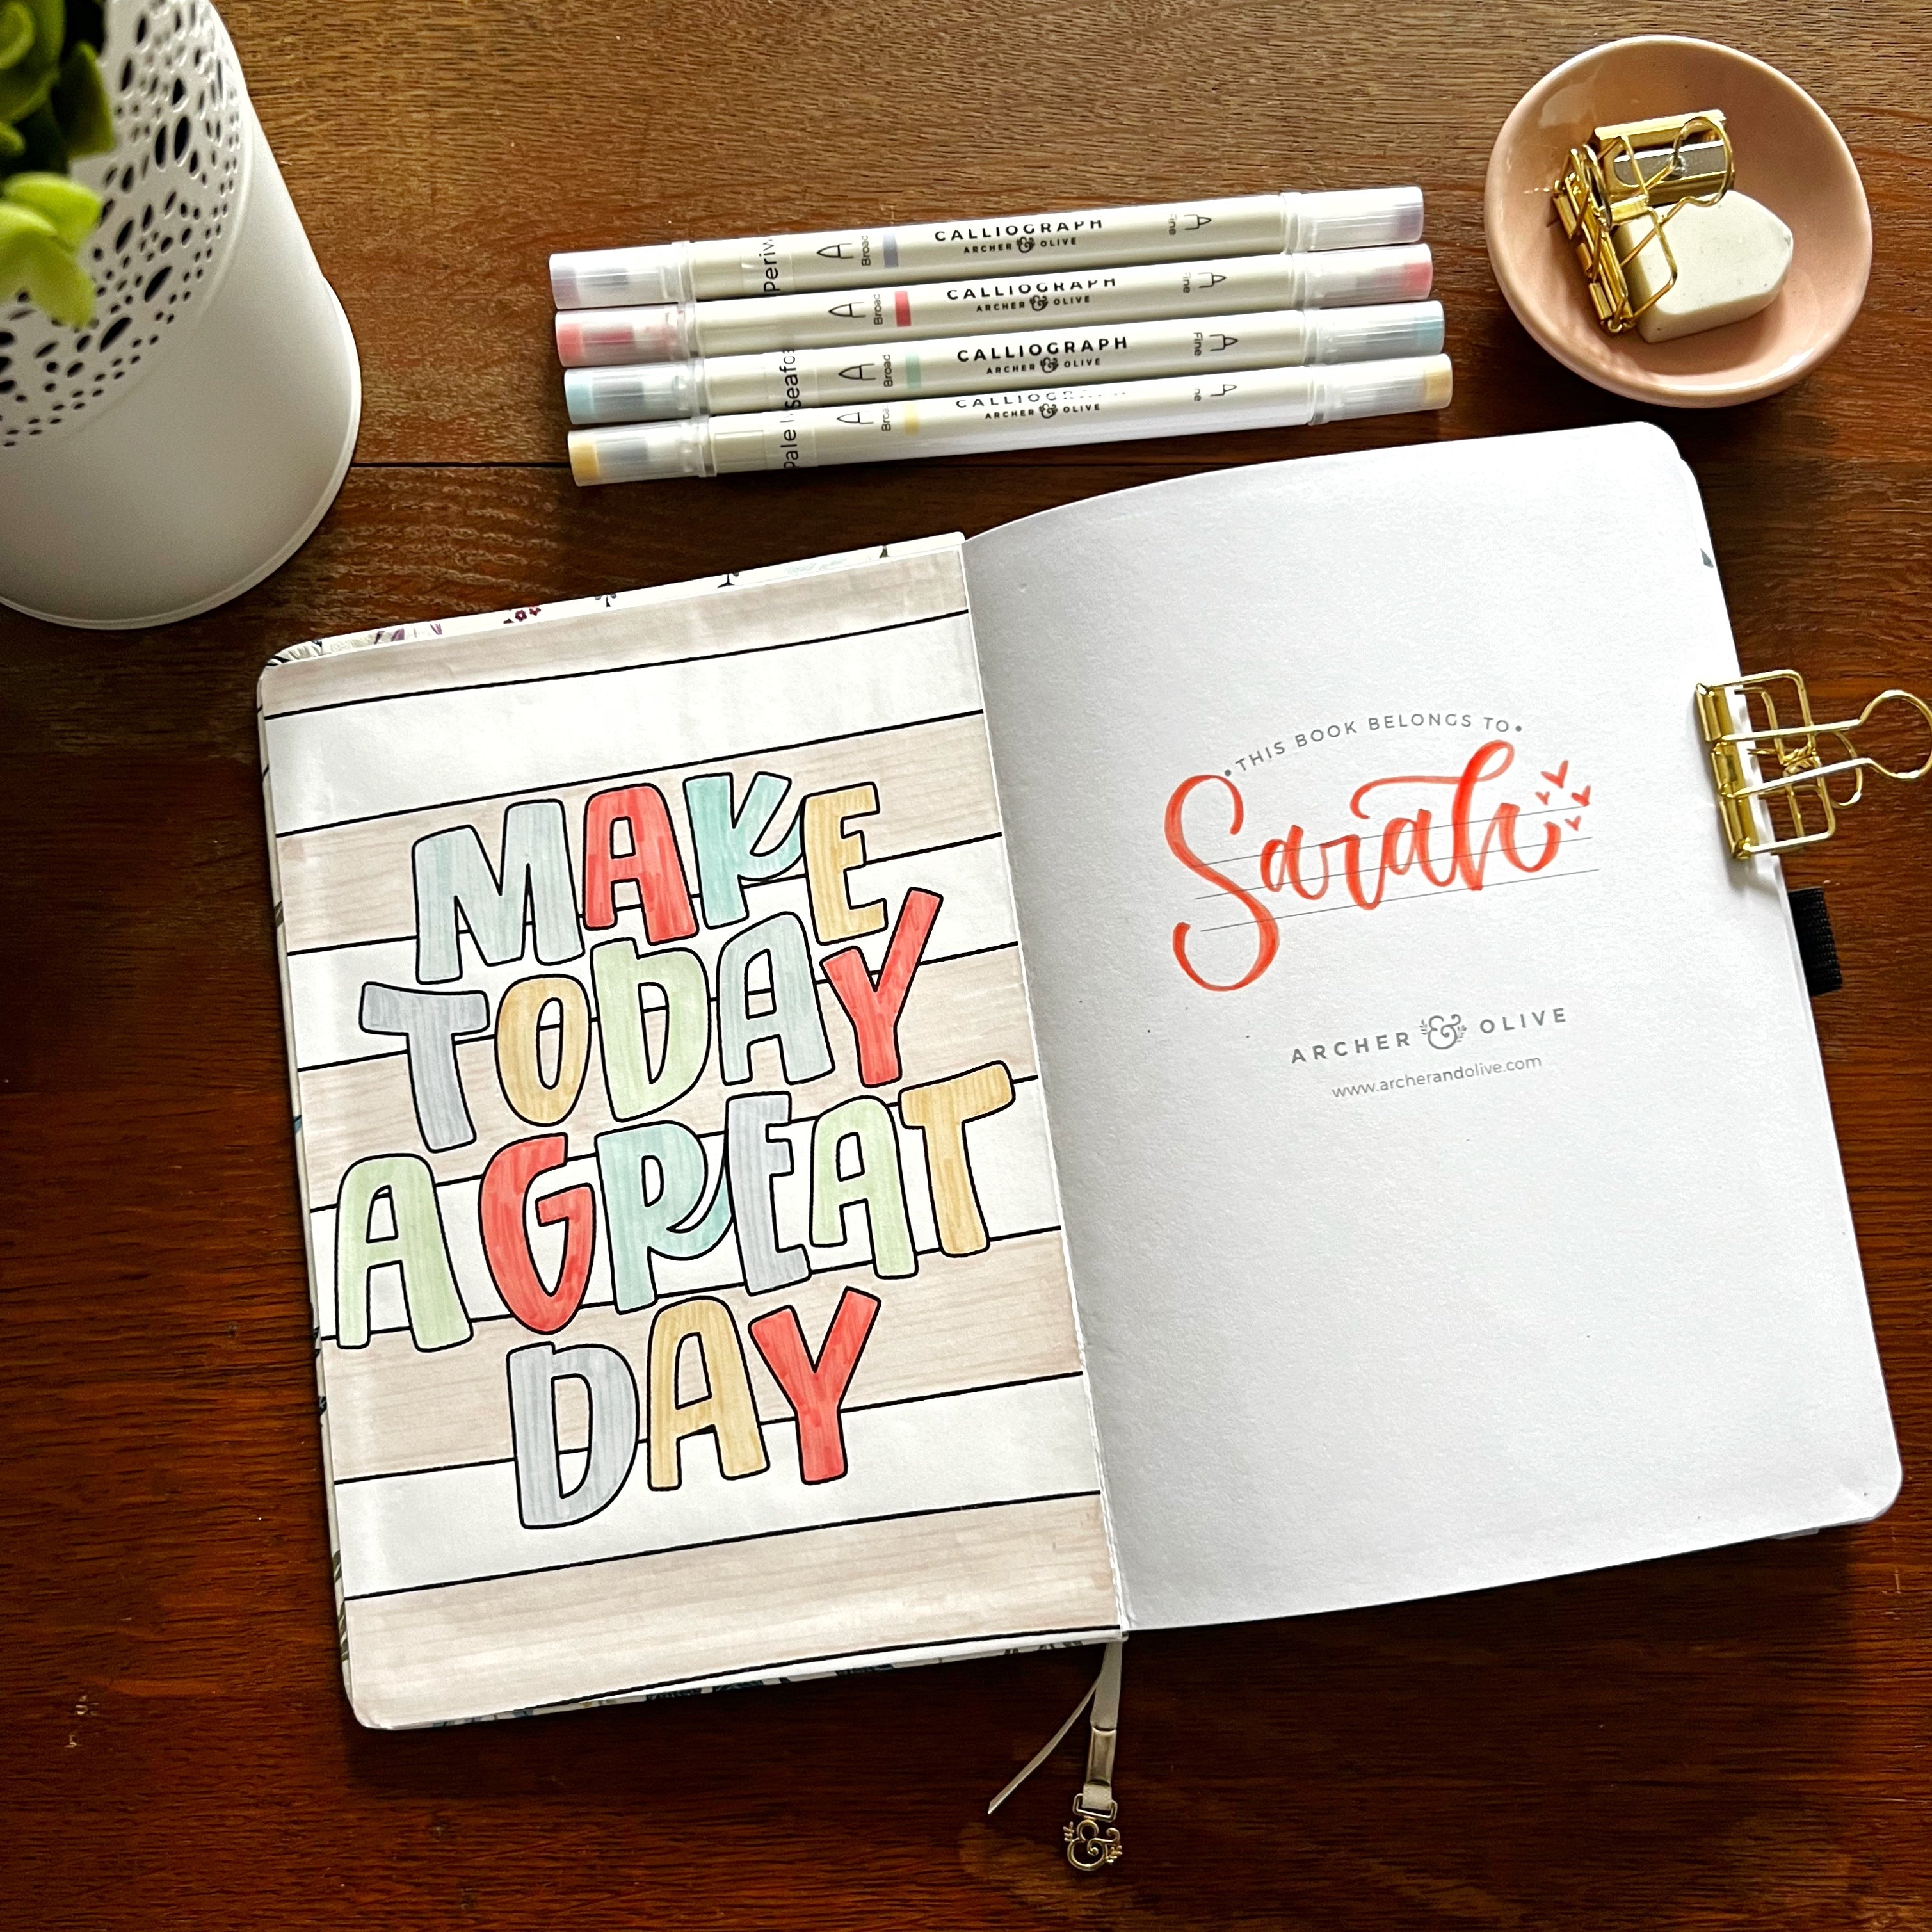
Color sheets are a great way to add decoration to your notebook, and they really don’t require any artistic skill. Just color it in! And who doesn’t love a chill coloring moment?!
SUPPLIES USED
- Archer & Olive notebook (I’m using an A5)
- Printer and paper
- Archer & Olive Calliograph pens
- Glue Tape
- Ruler
- Scissors or paper cutter
- Corner rounder
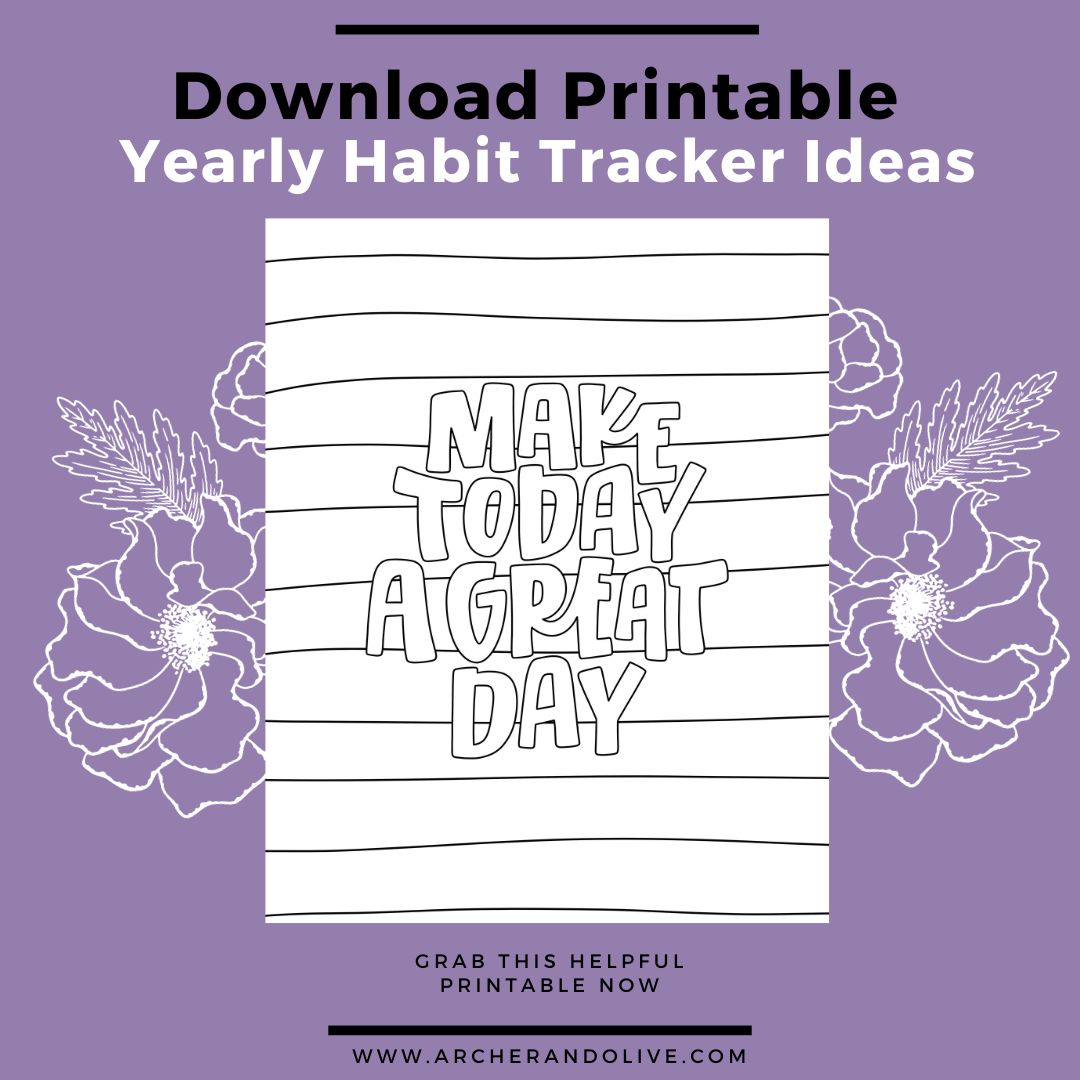
An encouraging quote is the perfect decoration for the inside cover of a notebook! I made this coloring sheet, printed it off, and cut it down to size to fit the inside of my notebook. I used my favorite Calliograph pen shades to color it in and then used glue tape to adhere it to my front cover. It’s a great look! You can use this color sheet too! I’ve included it as a free printable!
If you’d like to watch the process as I made all these inside cover decorations, be sure to check out the video on the Archer and Olive YouTube channel!
I hope you enjoyed exploring all these techniques for decorating the inside cover of your notebook! If you want more inspiration on this topic, check out this blog post with more ideas! We would love to see your inside cover decorations, so please tag me on Instagram @SHEdesignsKC and @archerandolive. Also, use #archerandolive and #aoshare! Come on over to my Instagram and say hi! I love to chat with y’all there! Enjoy creating!


0 comments