


Hello! Ericka from @Crafteinated here with some fun ideas to add foil into your bullet journal.
From embossing ink to laminating, there are so many ways to add foil and glitter elements into your bullet journal or other projects. It is a unique way to utilize your stamps and will work ok most papers! I hope this inspires you to try some new methods or use some of your supplies you haven’t tried!
Supplies used for Foiling:

Any size Archer & Olive journal will work for this project! I used a blackout so my foil would pop!
Printable Guide
Laminator Method:Laminator
Carrier Sheet
Deco Foil
No Heat Dry Glue Method (Lines):
Scor Tape
Deco Foil
No Heat Dry Glue Method (Polka dots):
Glue Dots
Deco Foil
Messy Method:
Collage Medium
Spatula
Deco Foil
Heat Embossed Stamp:
Stamp
Embossing Stamp Pad
Embossing Powder
Heat Embosser
Brush
Heat Embossed Hand Lettering:
Embossing Pens (I have a brush letter and a bullet pen)
Embossing Powder
Heat Embosser
Brush
Foil Quilling:
Foil Quill
Foil Quill Foil
You can use code Crafteinated10 for 10% off most Archer & Olive products!
Laminator Method
For the first method we can use to add foil into our bullet journal, we will be doing one of the more popular methods. This method involves using a laminator, a toner printer, and deco foil.

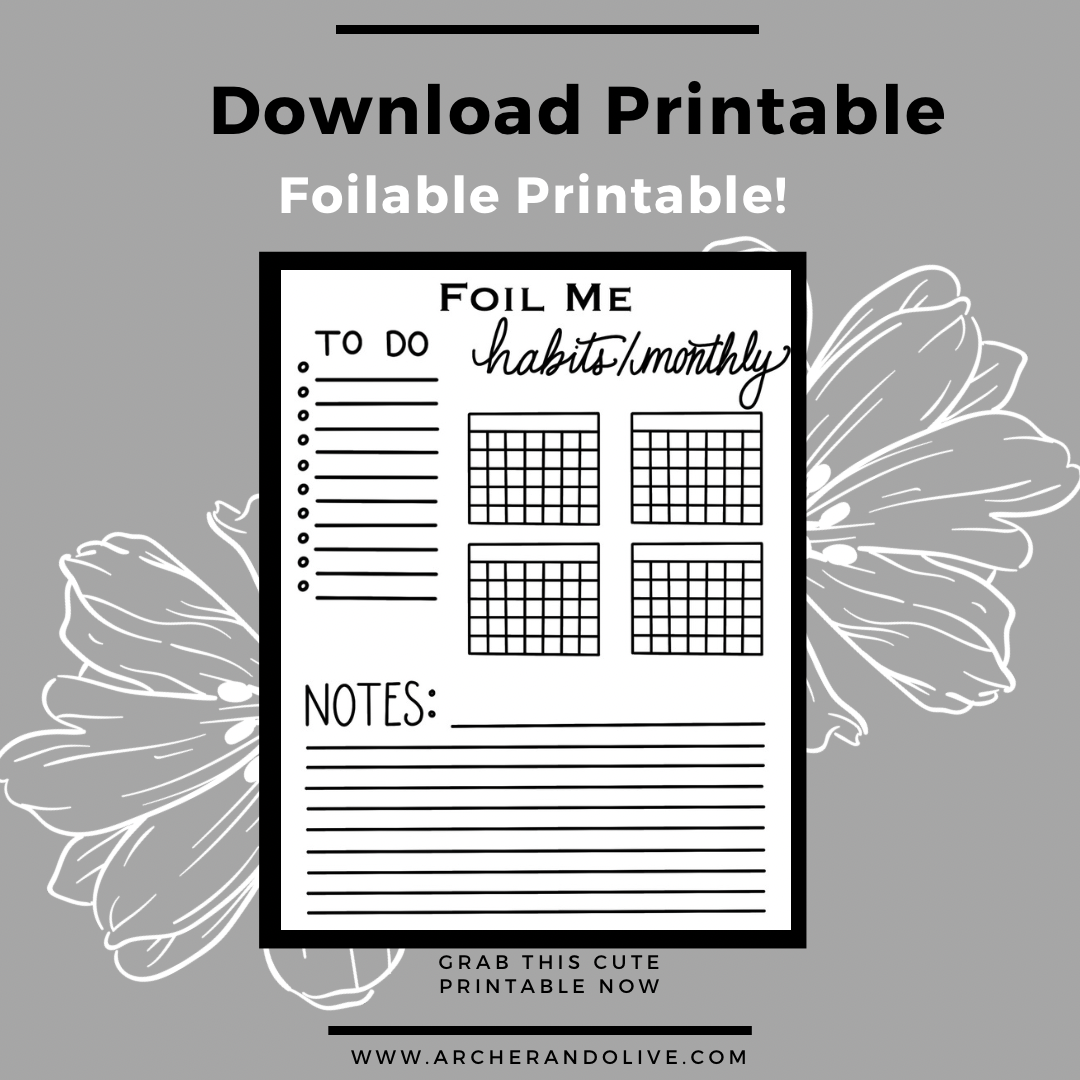
Make sure that you print your items with a toner printer, or the foil will not transfer to the paper. I made a fun printable that you can use to add a to-do list, a notes section, or calendar/habits to your spread. If the printable is too big for the size journal you are in, you can scale it down when printing, so it’s the perfect fit!
Once you have your printed sheet, cover the lettering with the pretty side up, place it in your carrier sheet and send it through your heated laminator!
After it is complete, peel away the foil, and you will have a beautifully foiled item! Make sure you save your foil scraps!! We will be using them later.
I cut out the piece of the printable I wanted to use, rounded the edges, and pasted it into my journal!
No Heat Dry Glue Method - Lines and Polka Dots
The following two methods are very similar. Both use dry glue to transfer your deco foil. I used scor tape and glue dots, but many adhesives will work!

I added my score tape to the bottom corner and trimmed the excess off with my scissors to make it flush. I then cut my glue dots to fit the bottom portion of the journal and burnished them onto the page.

Once all you have left is the exposed glue, you can use your deco foil to transfer the foil to your page. Using our scraps, rub the foil with the pretty side up until you have achieved foil transfer!

Messy Method
The fourth method is an easy way to add some flashy foil to your spread. All you need to do is take the collage medium and smear it onto your page. Once you have done this, immediately put your foil down, shiny side up, and burnish it into the area. You can also tap it into the medium, making a more crinkled look!

Heat Embossed - Stamp and Embossing Pens
The following two methods are again very similar to each other. The technique uses embossing ink, whether a stamp or in pen form. Most embossing inks are slow drying, but I always act quickly to ensure that my project has the desired look.

If doing the stamping method, pick out where you would like your stamp and add a generous amount of ink to the stamp. Press the stamp into the paper with even pressure. Once the stamped sentiment or item is in place, cover it with plenty of embossing powder. Tap off the access either back into the jar or onto a piece of paper. Then, using your heat embossing tool, heat the embossing powder evenly until it melts and you are left with a beautiful glittery image!

If you are using pens, the process is very similar. Write out or draw what you would like to emboss and cover with the embossing powder. After removing the excess, you can use your embossing tool again to bring your writing to life.

Quick tip - use a dry brush to remove any unwanted glitter before embossing!
Foil Quilling
The last method I have is using a foil quill and the foil that came with it. While this tool is typically used in a cutting machine, you can also use it manually.

Be careful as it is hot, and check the temperature before touching it.
All I did for this method was put the foil in place, shiny side up, and use some washi to hold it in the desired spot. I then used the foil quill like a pen and wrote my sentiment directly into my journal.
Once I removed the foil, I was able to see my foiled sentence!
Finished product
After using all seven methods in my blackout journal, I was left with a fun, foiled page waiting to be written in. I'll use this sheet for a day or weekend to-do list and goals. You can apply these methods and have so much fun in whatever you decide to do!

Printable
I made this printable ready for the first method on the list! You can print this out and foil it to add to your journal! Even if you don’t have a laminator, you can still use this printable for memos and to-do lists anytime!
Download and print the template here:
Video
I highly recommend watching the video that goes with the blog post. It is hard to do justice to how pretty the foil is in a photo! Also, I walk through each of these ideas to help get you ready to add foil to your journal!!
I hope you enjoyed this tutorial! If you recreate this tutorial or use the printable, please share your creation using the #archerandolivecommunity hashtag! I’d love to see what you do! Happy Planning!


0 comments