


Hello friends! This is Hedda from @mochibujo. I’m super excited to share some tips for how to use printables in your bullet journal. What is a printable, you ask? Think of it as stickers, labels, art and whole pages you can print out at home (or at your local library, at school, or at work) and stick in your bullet journal. You can even get whole printable pages, meaning you'd only need to glue one sheet onto your page and that's it.
In this blog post though, I'll go through the supplies I use, and a step-by-step guide on how to use printable stickers. I will also include some handy tips to help you along the way!
The supplies I use:
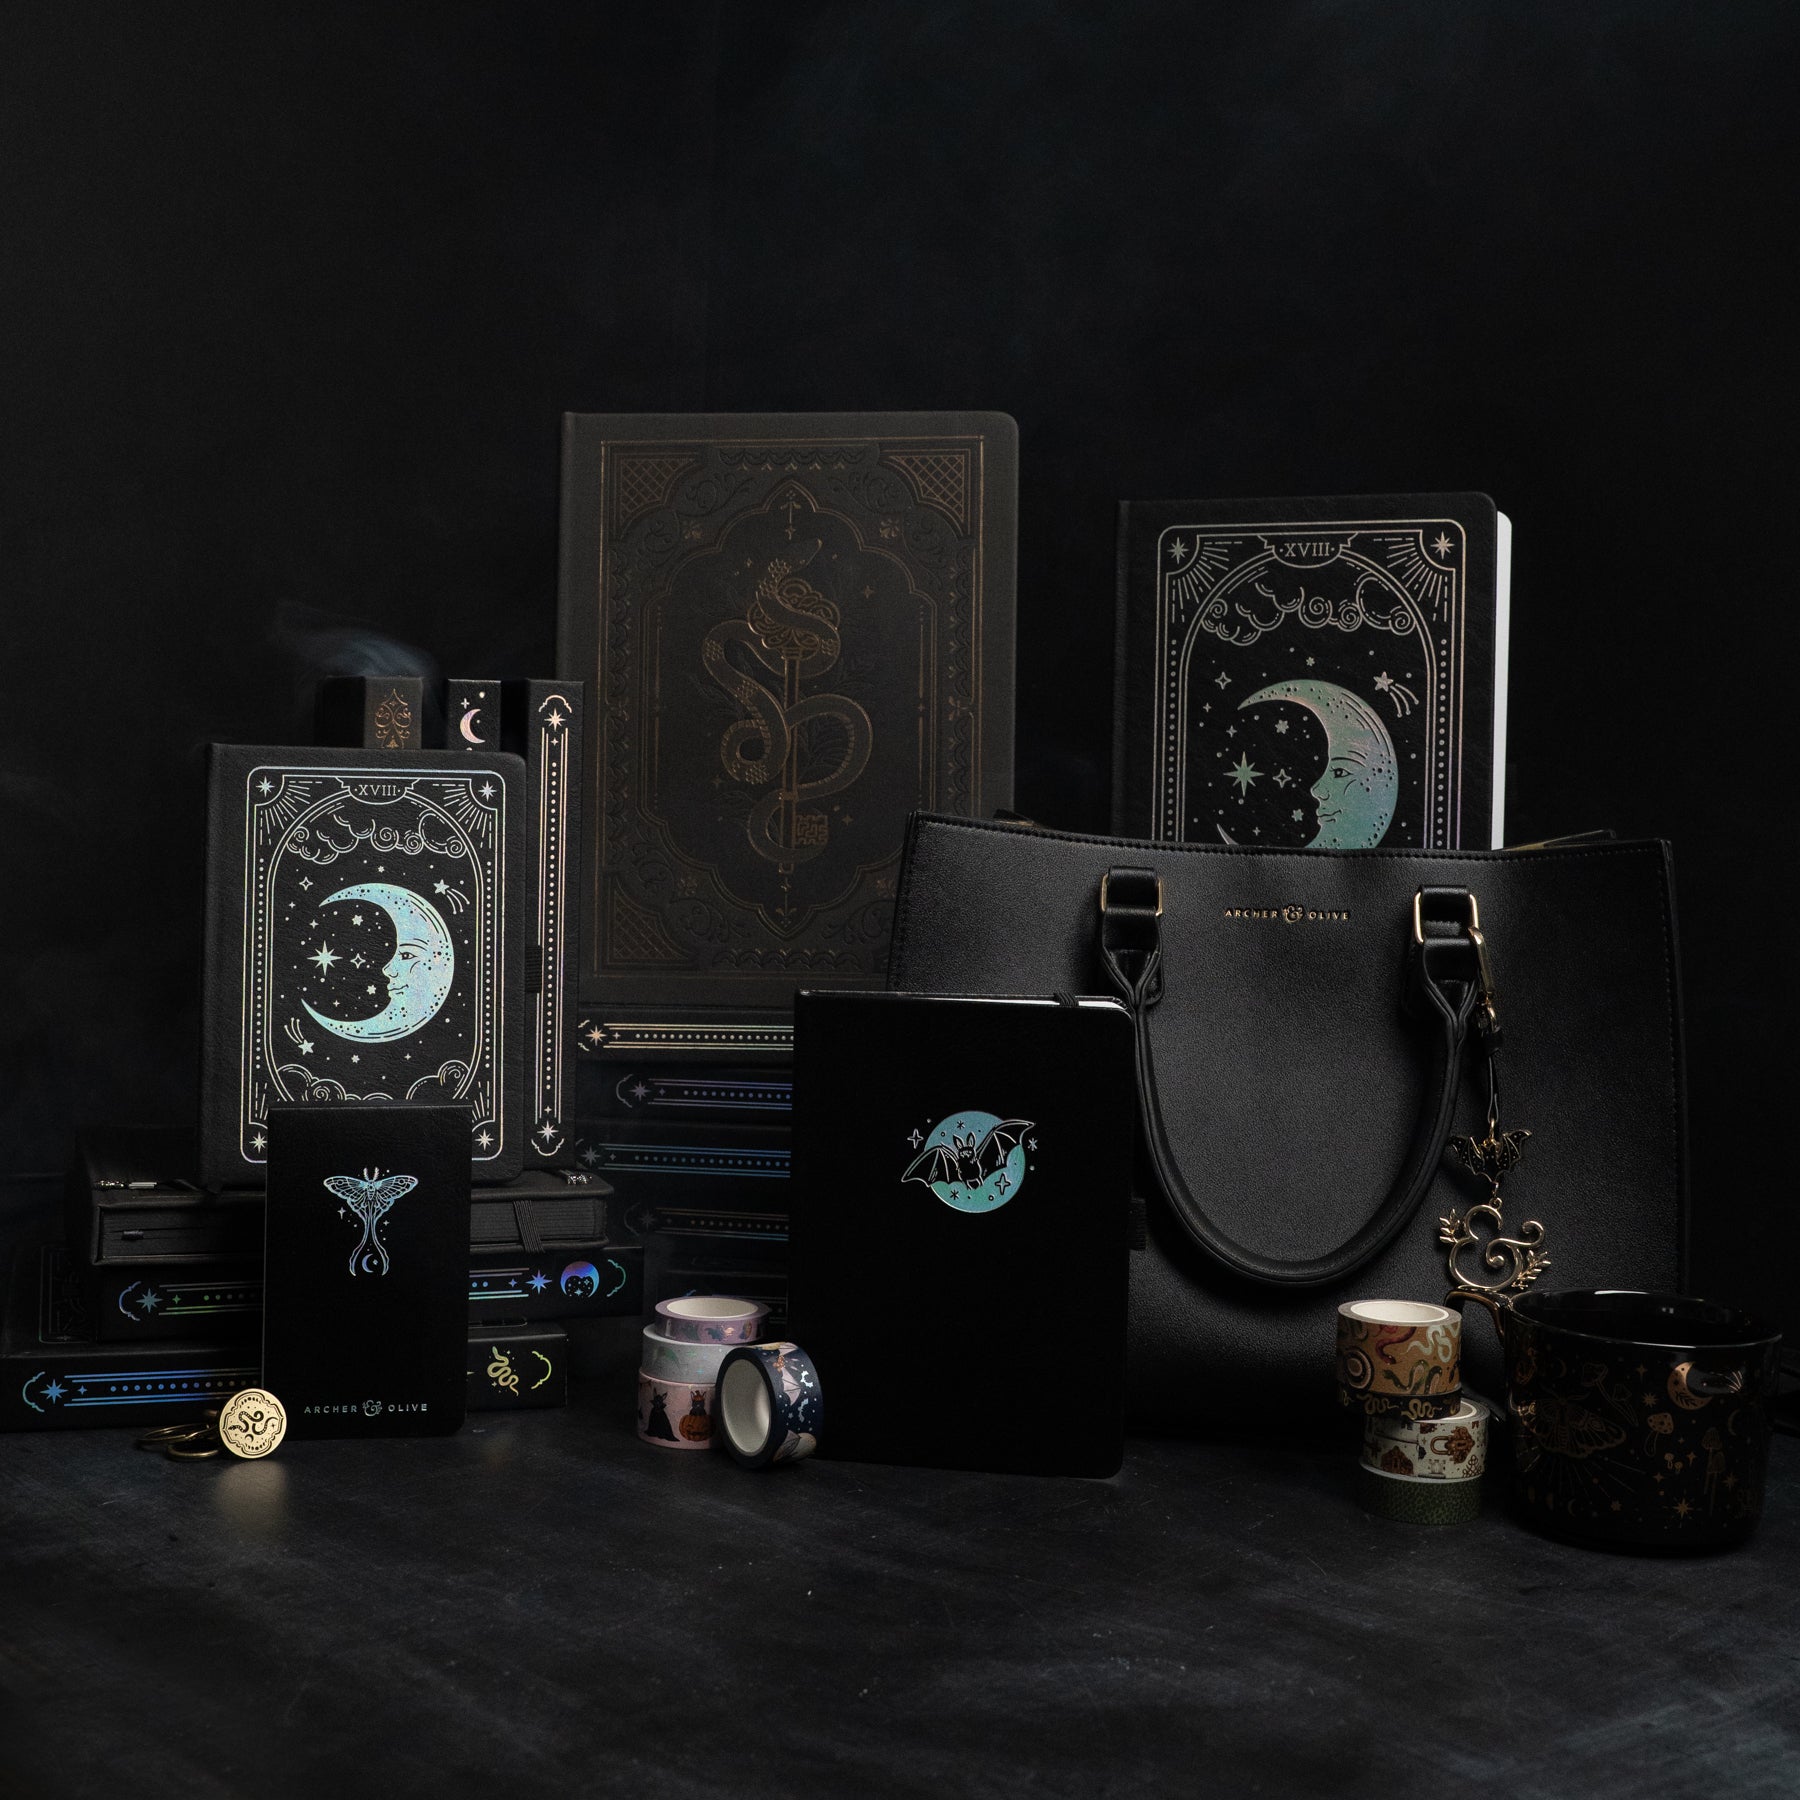
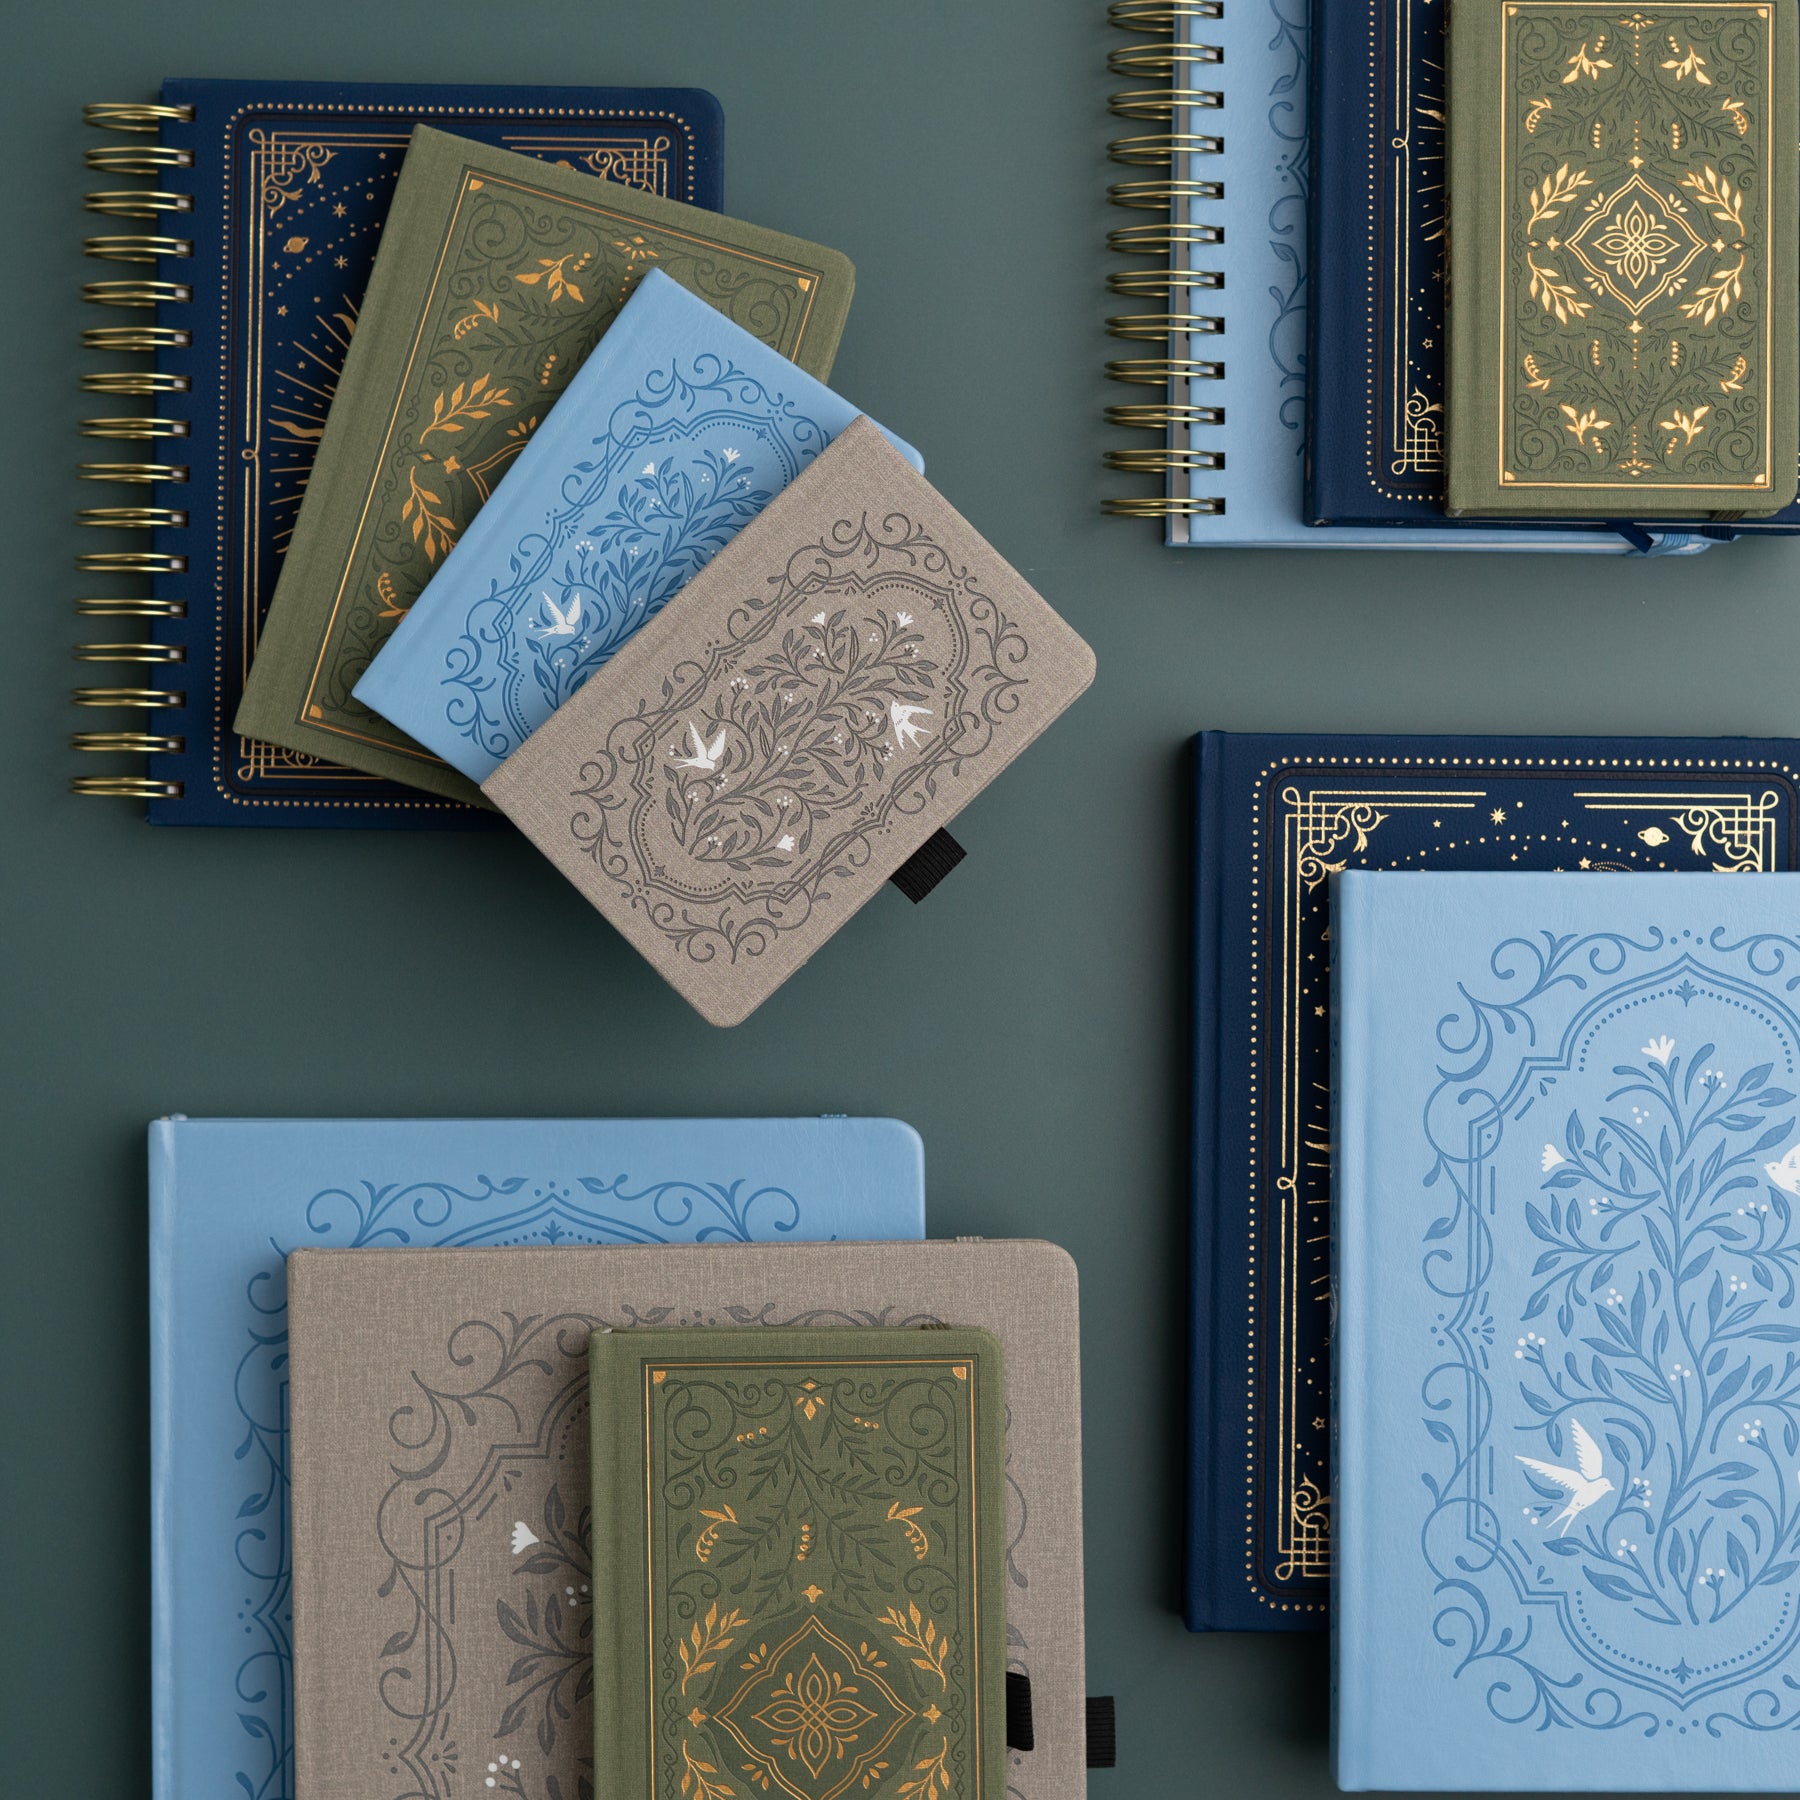
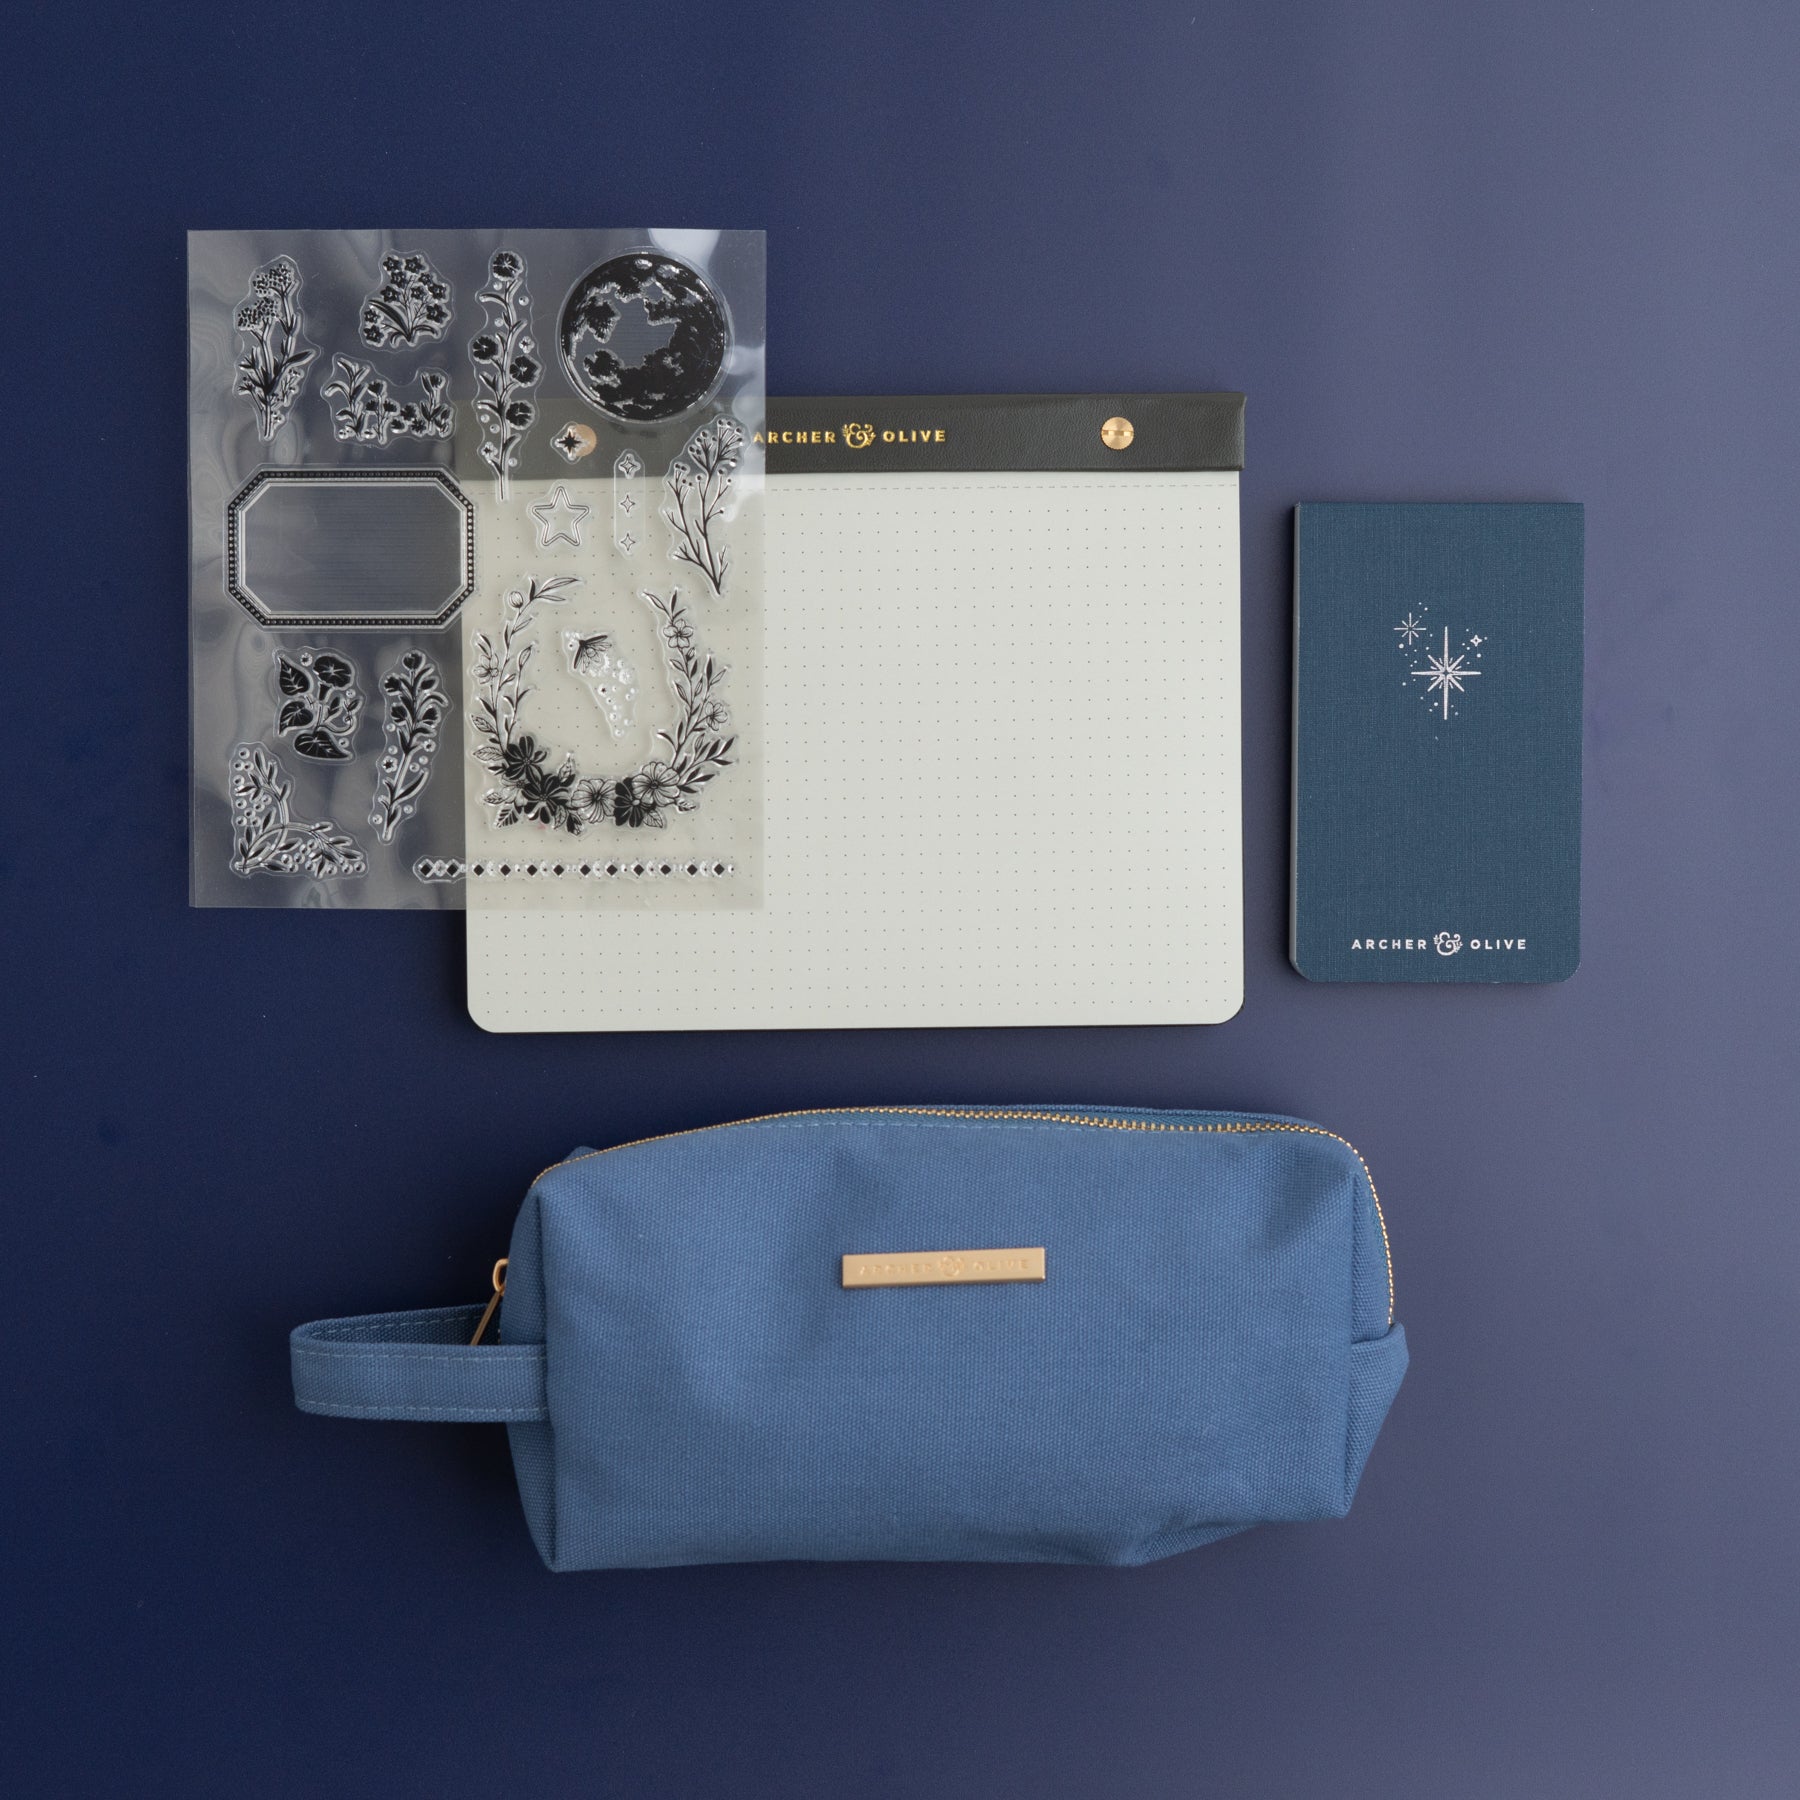
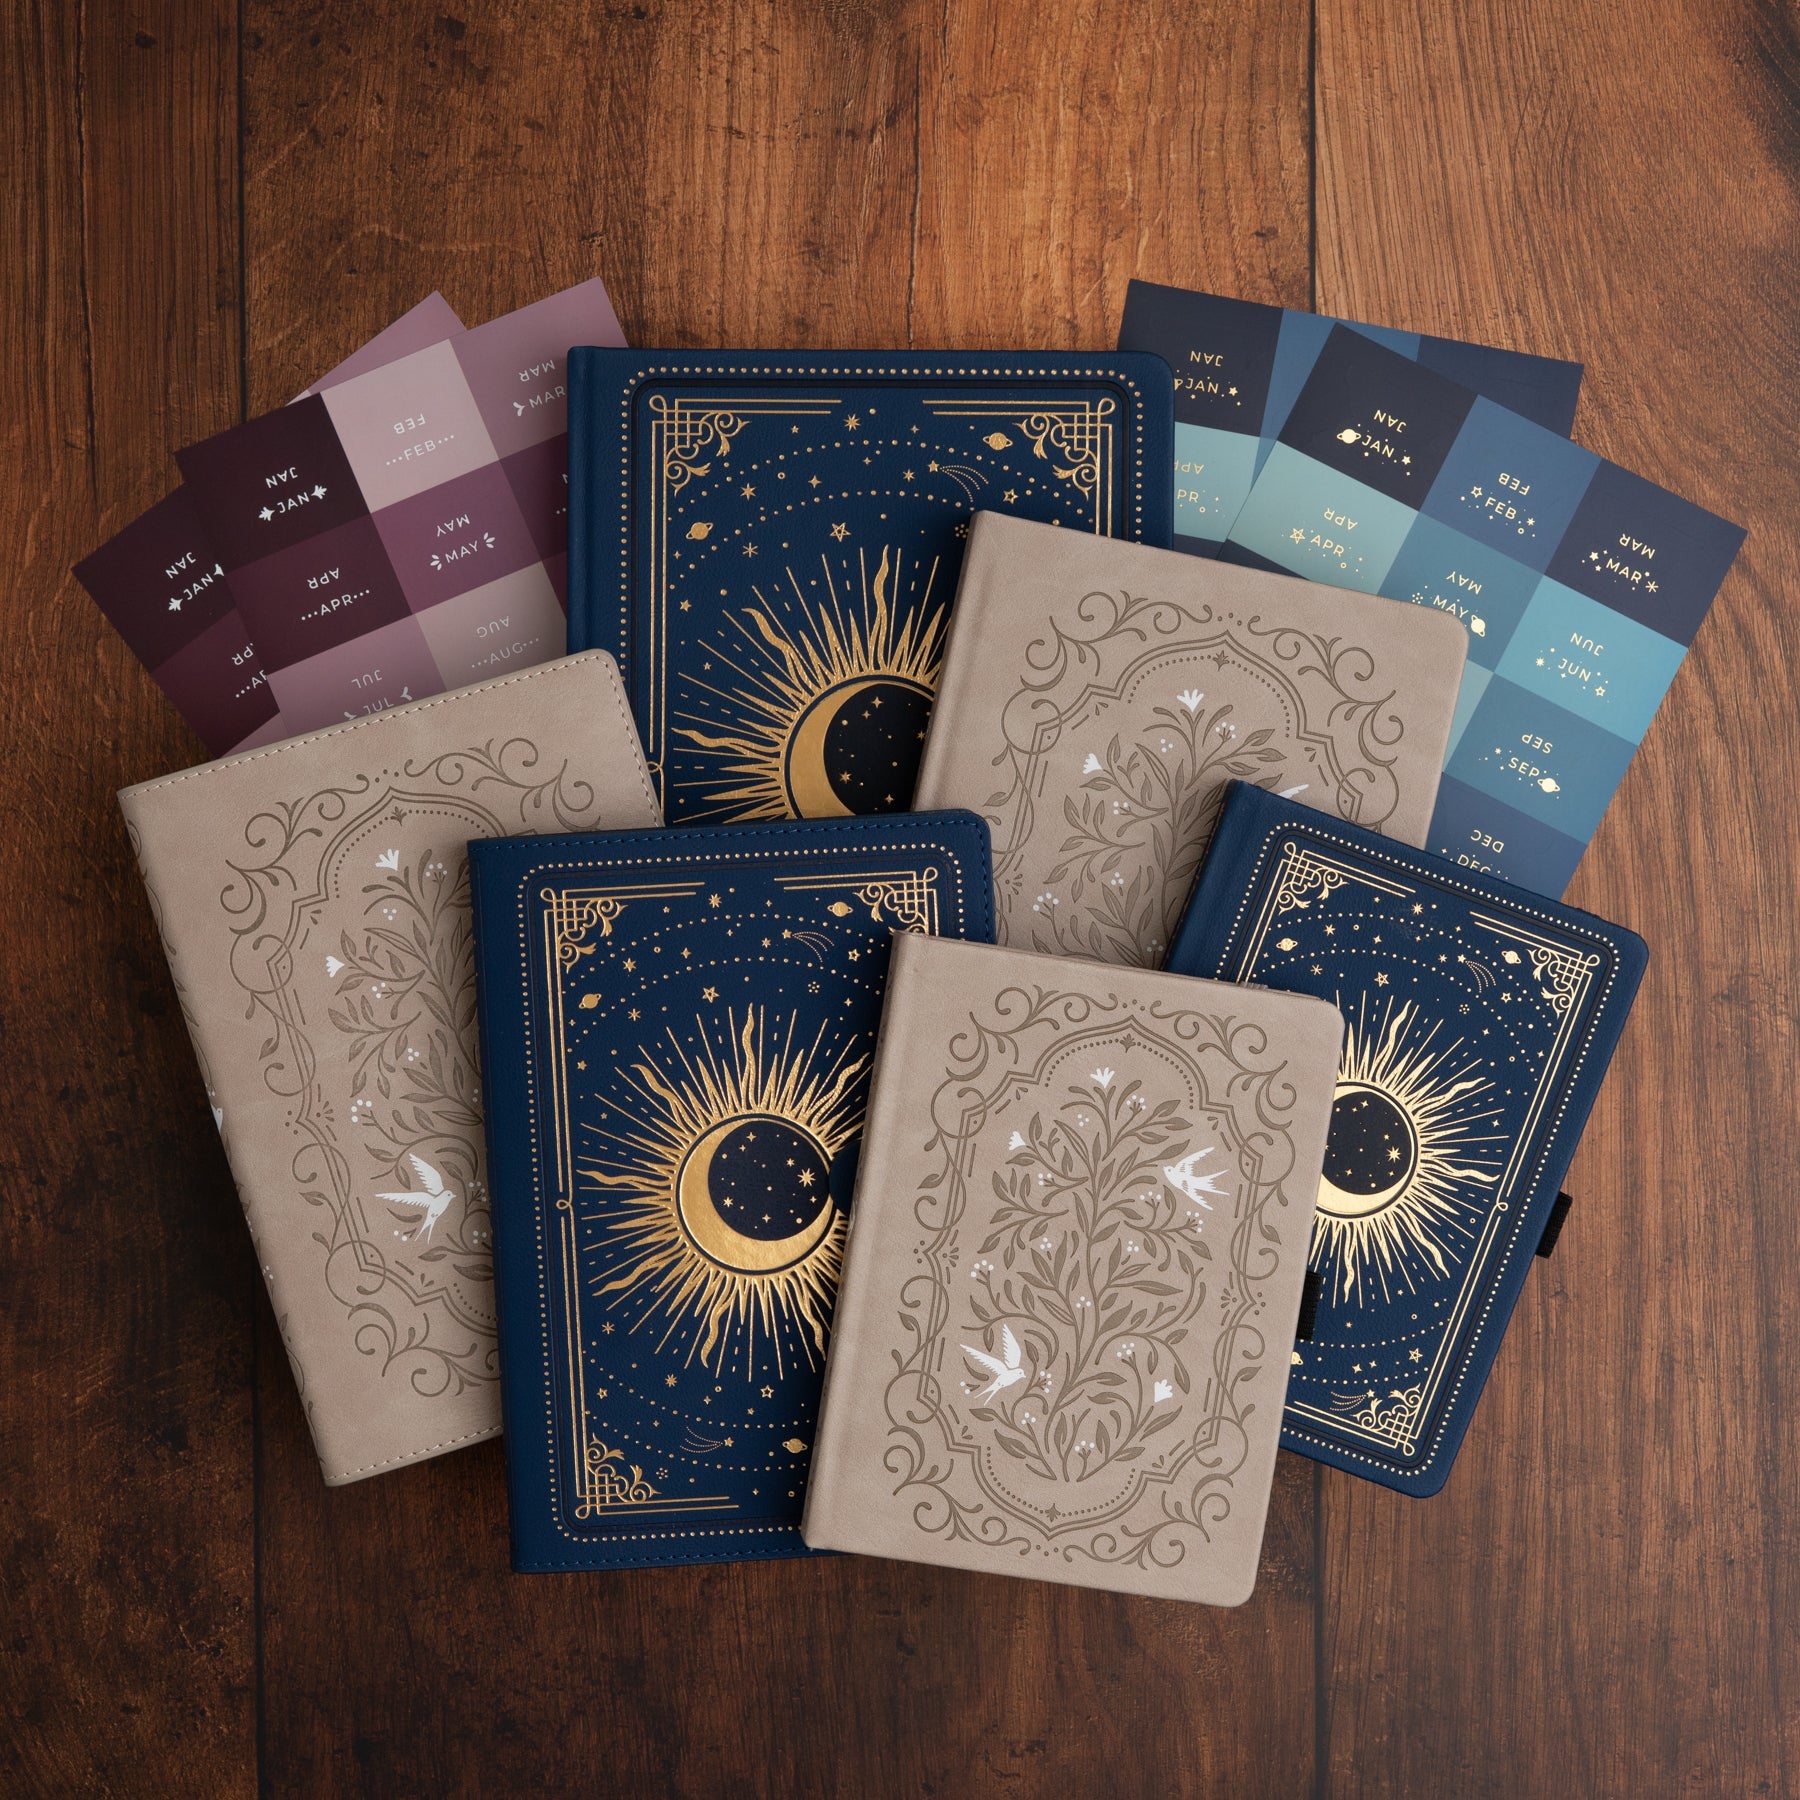
- Journal: I prefer to use one with crisp, white pages, since it won’t clash with any white printables. Also, since you might be using a lot of glue, thicker paper won’t warp as easily as thin paper. For that reason, Archer & Olive notebooks are great! I'm using an older version of the A5 notebooks with gilded edges.
- Scissors: you'll need to cut out your printables. I recommend using a pair of scissors that won’t make your hand hurt. Mine are from Hay.
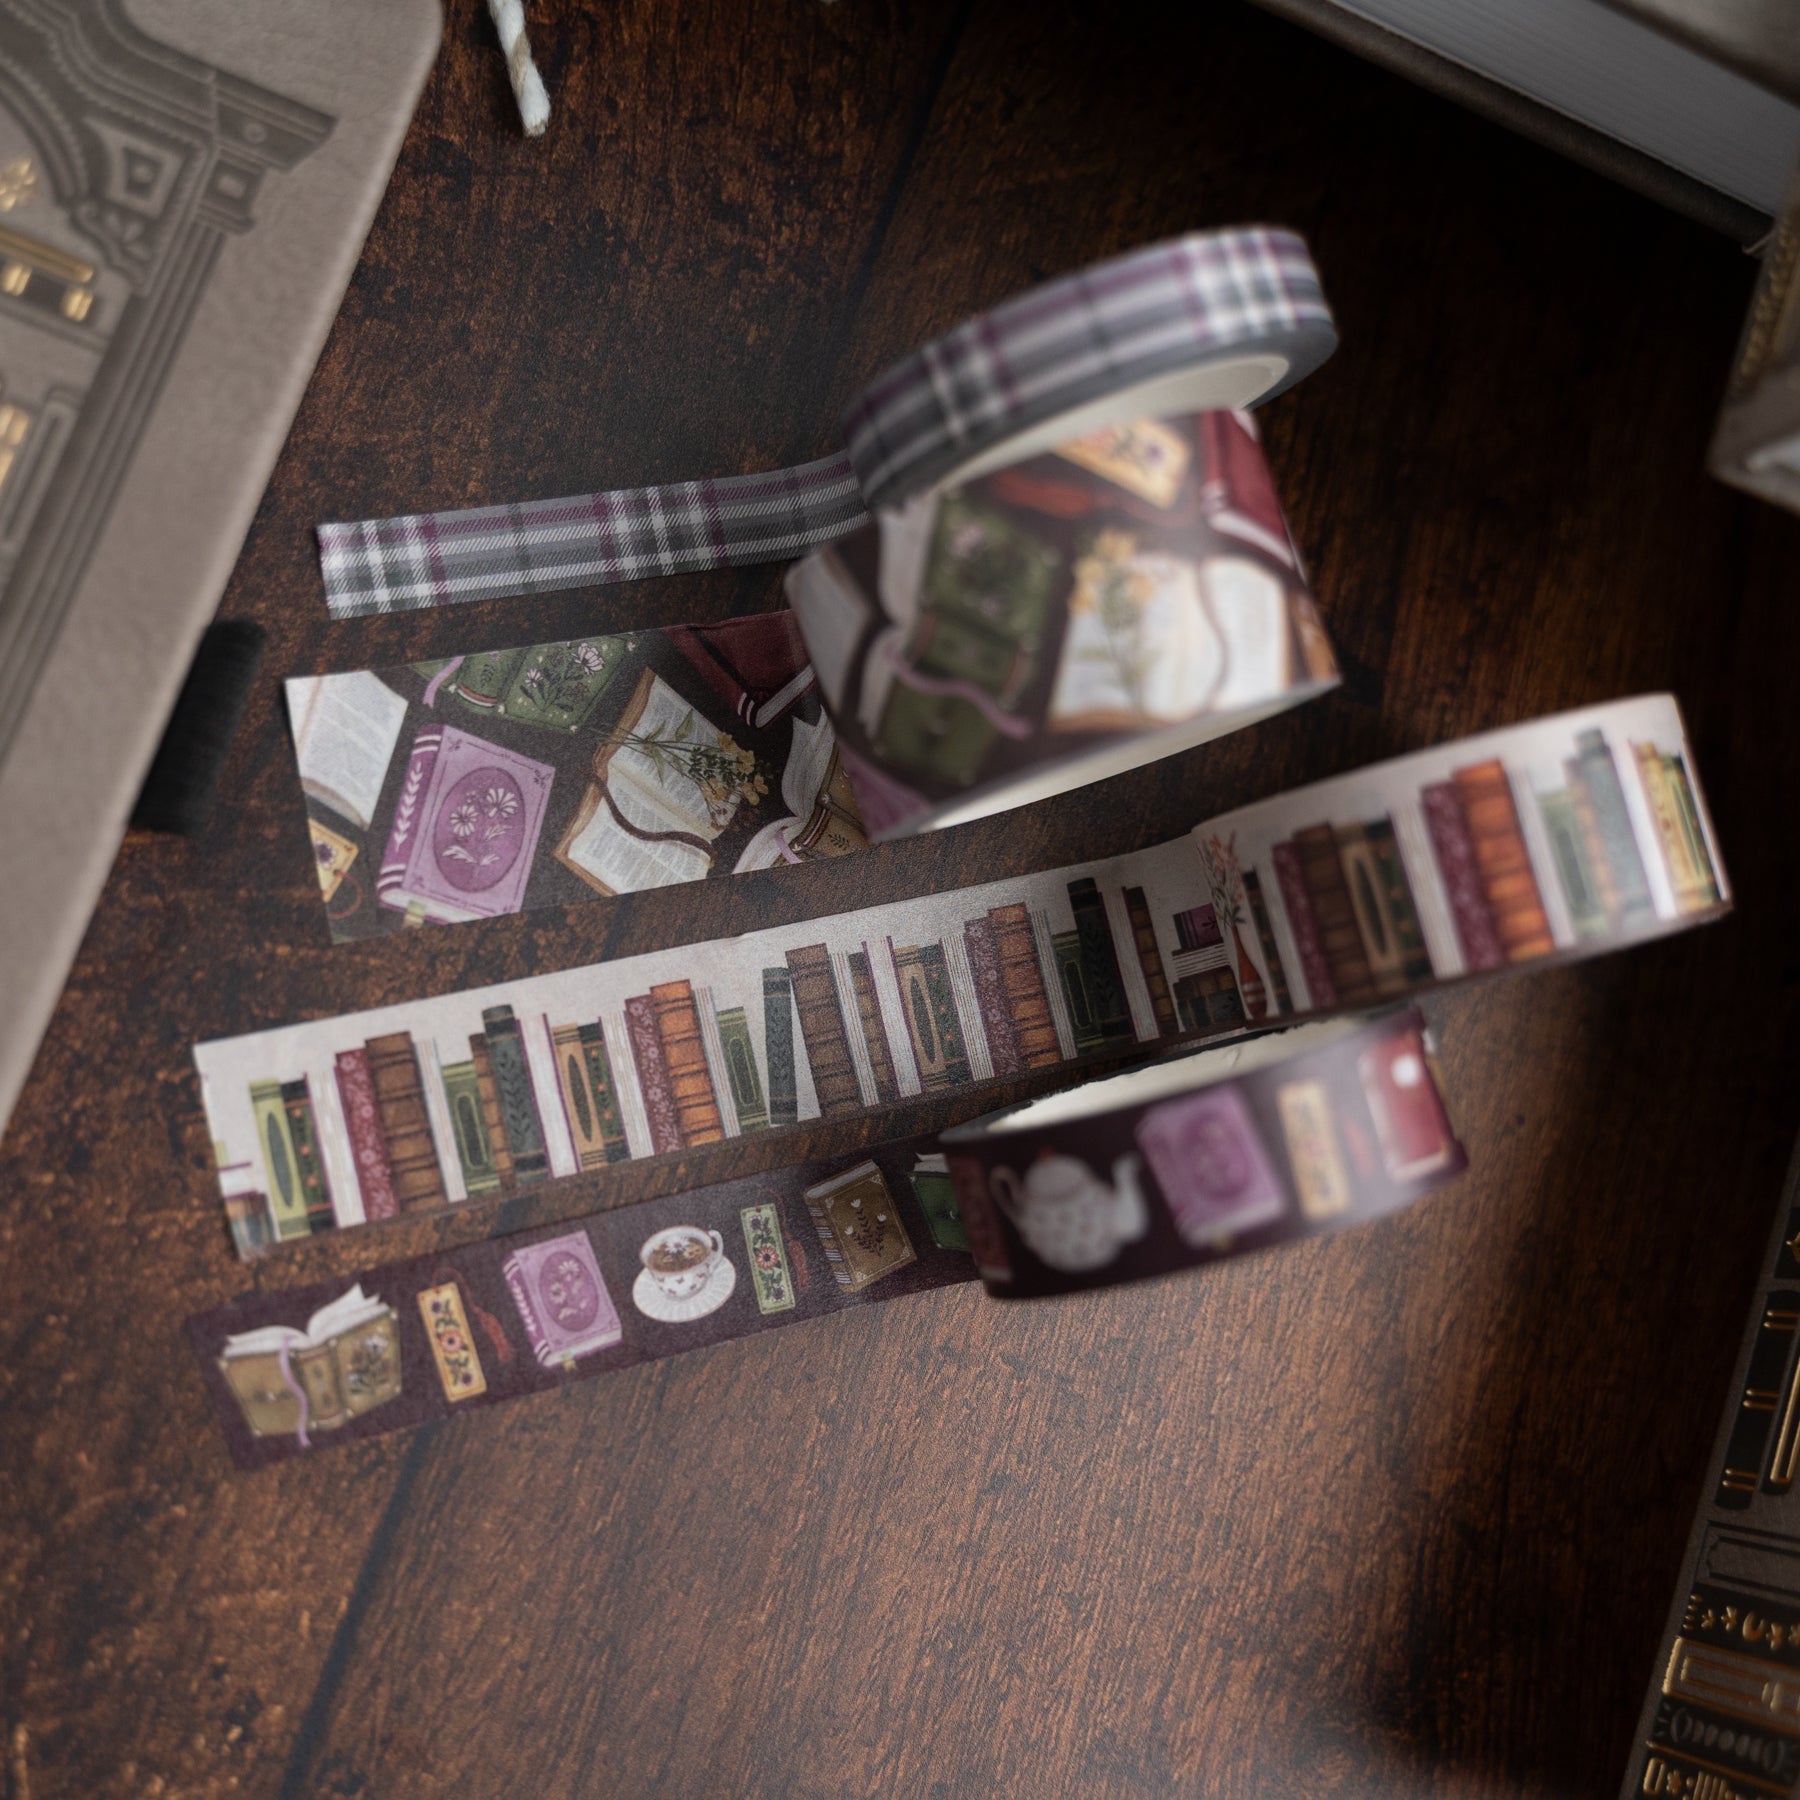
- Printables: I made a printable specifically for this blog, which you can download! I print my printables on regular printer paper, but you can of course print on label paper ("sticker paper") if you have that on hand.
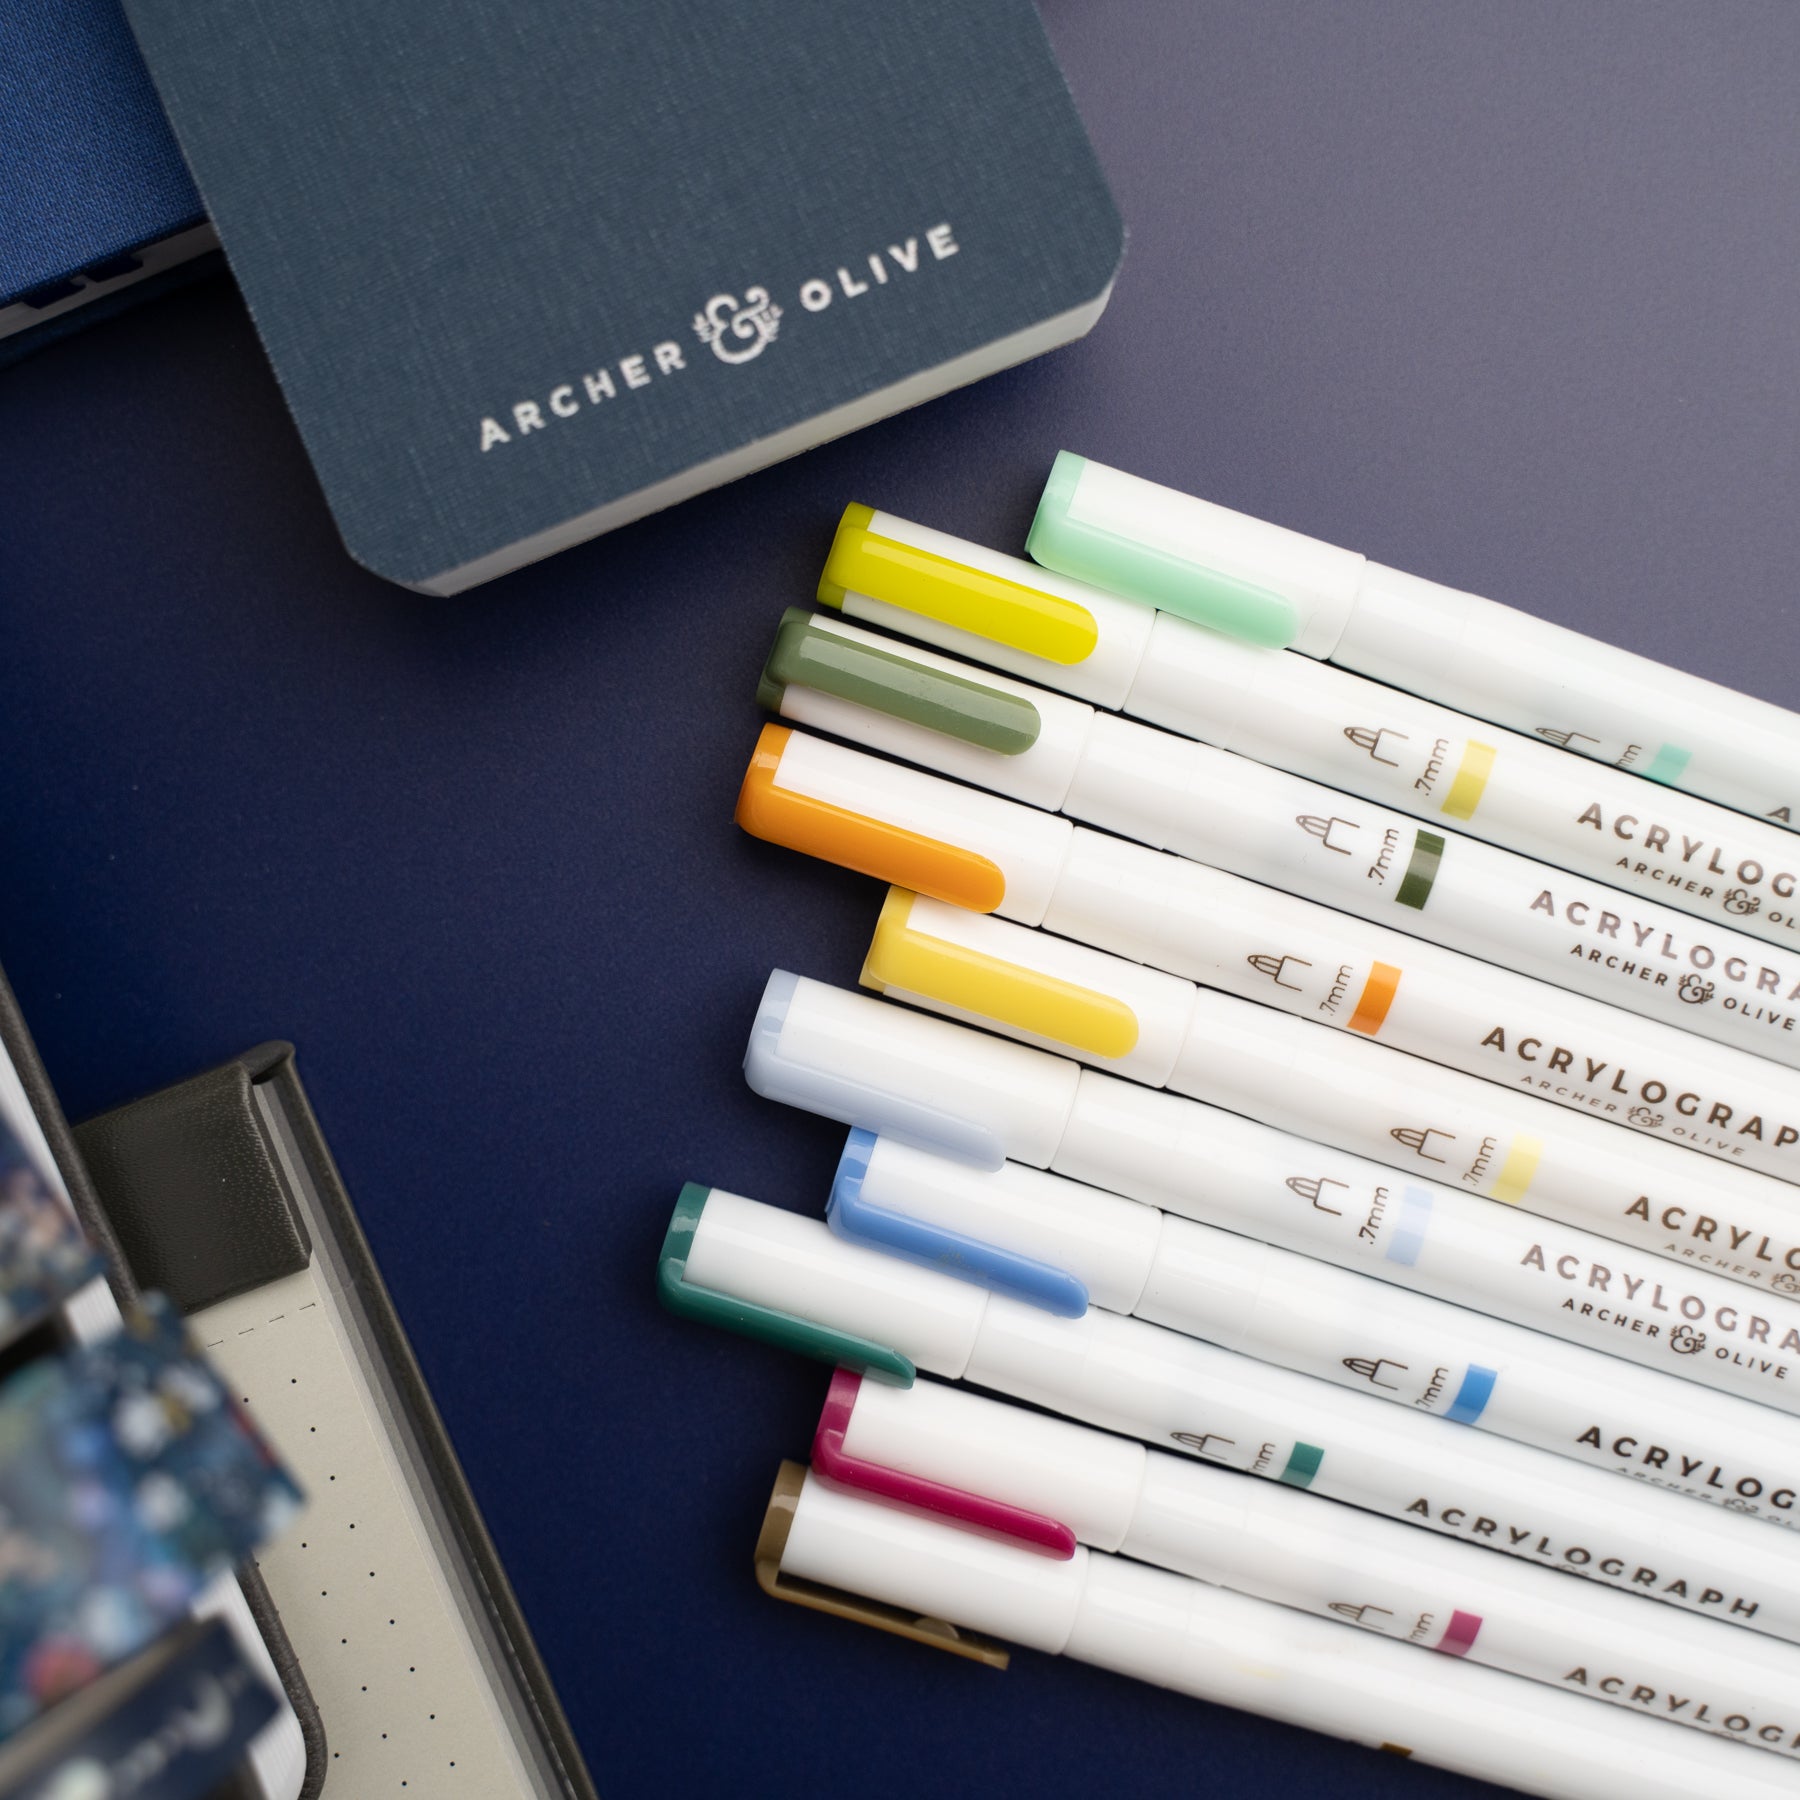
- Pens: I use a gel pen from MUJI, and the white Archer & Olive Acrylograph pen for details. The white pen comes in every pack!
- Glue: I use a Pentel roll glue at the moment, but I prefer Scotch double-sided tape for printables.
- Optional: scrap paper from old books, Kraft paper packaging, or for example ripped paper from the Kraft paper or blackout notepads from Archer & Olive.

Let's make some spreads!
Step by step:
1. Print and cut your printables
If your printables come in the form of a PNG file, you can easily change the size of it by importing it into Word (or Pages, or other text editor) and size it up or down to your desired size. Normally though, printables come as PDF files, ready to be printed.
If I have a lot of printables to cut, I do it while watching a YouTube video or a show. I usually don’t cut out everything, only the pieces I think I will use. I can always cut out more pieces later. Remember to recycle the paper scraps!
Pro tip: if you want to save some time, you can place double-sided tape on the back of the paper BEFORE cutting out the printables. However, you’ll have to be careful with where you place the pieces afterwards, and step 2 might not be as easy.

2. Experiment with different layouts
When you have your pieces cut out, you can move them around and see where they fit best. You can even combine printables with scrap paper or similar, making a collage with the printables.
In my experience, this step takes the longest, because there are an infinite number of ways to combine printables – that’s what’s so great about them.
Pro tip: take a picture of the layout you like with your phone, so that you can easily glue down every piece even if you have to remove everything from the page! I do this all the time, and it makes it a lot easier. You could also make little marks with a pencil if you can’t take a picture.


3. Glue, glue, glue
Use double-sided tape to guarantee that your paper doesn't get warped or wrinkled, or use a glue stick or roller glue. Personally, I prefer double-sided tape, but I’ve run out and want to use the glue I have on hand before buying more tape. There's no point in wasting perfectly fine glue!
4. Final touches
I find that my spreads always look more well put together if I use pens and markers to add some final touches to spreads where I use printables. Here I’ve used the white Archer & Olive Acrylograph pen and my black gel pen to write and draw on top of the printables, and this makes the different components of the spread blend together nicely. It doesn’t have to be anything elaborate – even just some lines and simple shapes will do the trick!

So there you have it! I love using printables because it can make setting up your spreads a lot simpler and quicker. I also find that printables are generally cheaper than buying physical stickers, not to mention that there are a lot of free printables out there, like the one I made for you here.
Remember that you can get 10% off your purchase from Archer & Olive by using my code MOCHIBUJO10 at checkout!
Thank you so much for reading! Feel free to check out my Instagram and YouTube channel by the name Mochibujo to see more spreads using printables.


0 comments