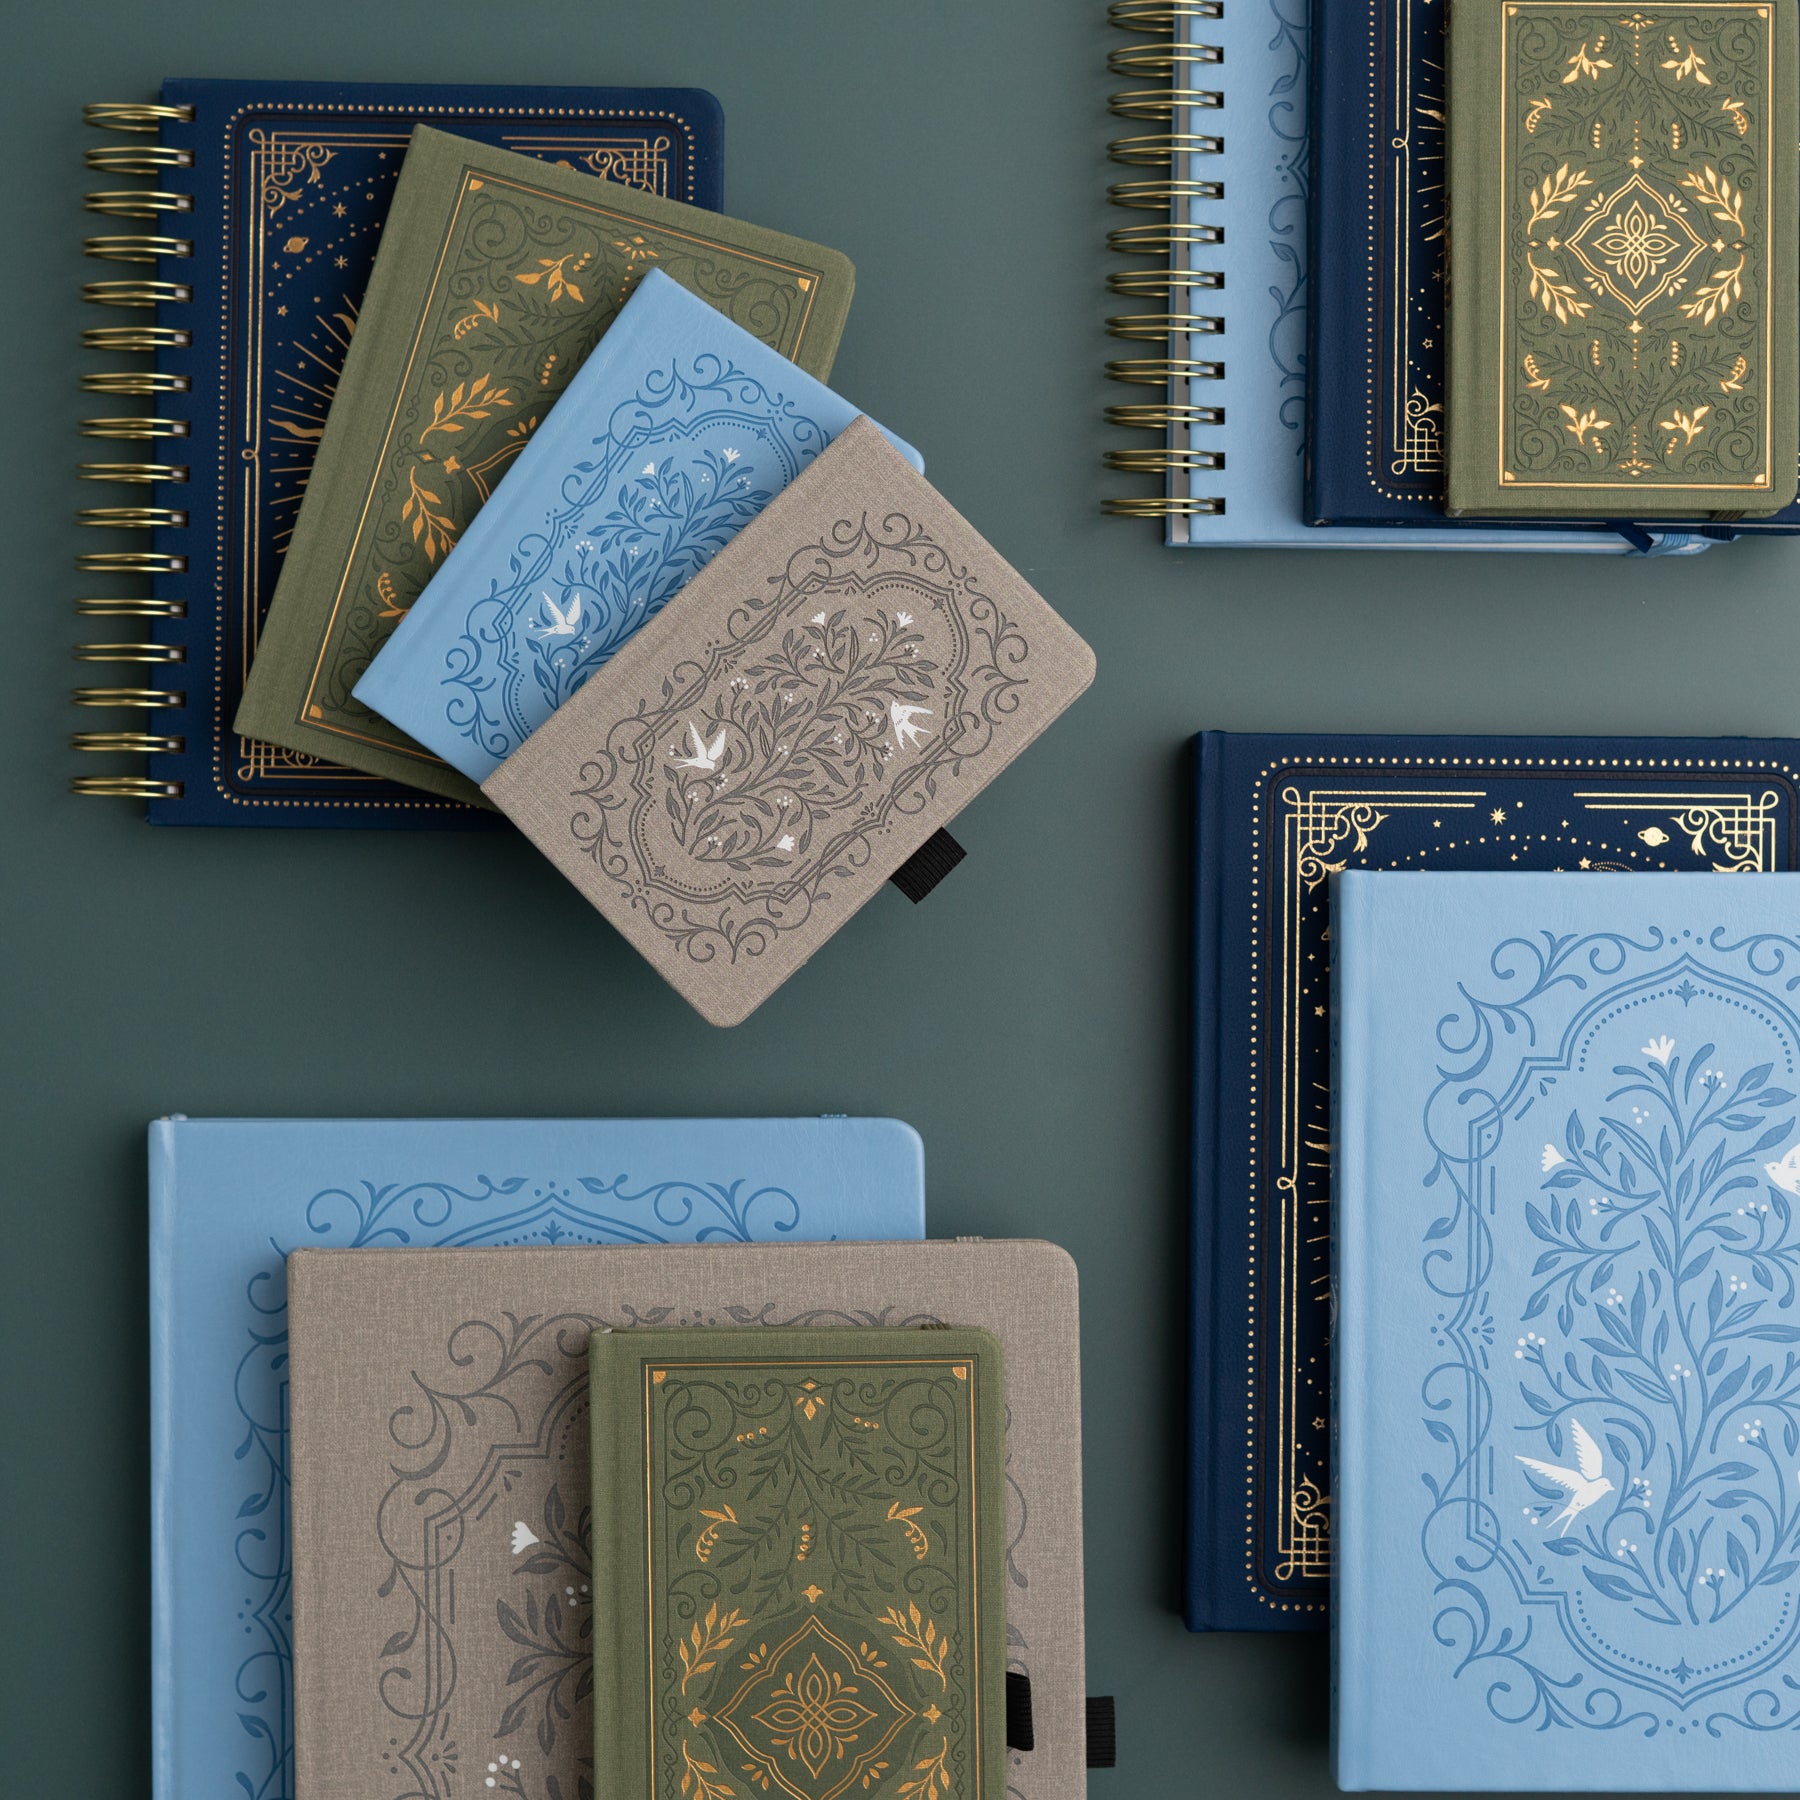
How to Cut Archer & Olive Printable Stickers with a Cricut
Want to make your own sticker sheets using the Archer and Olive Printable stickers and a Cricut machine?
Today, we’re walking you through how to print and cut our digital stickers using Cricut Design Space – it's easier than you think!

What You’ll Need:
- Cricut machine
- Cricut Design Space software
- Archer and Olive printable stickers
- Sticker paper of your choice
Step-by-Step Tutorial:
1. Set Up Your Project
- Open Cricut Design Space and select New Project.
- Click Upload, then Upload Image, choosing the PNG file without cut lines.
- Continue through the prompts and select Flat Graphic when asked.


Importing PNG file
2. Adjust Your Artwork Size
- If you see a warning sign, click Auto Resize Image, which will scale the image to fit your page properly.
- You can make the file even smaller if you would prefer smaller stickers.
- NOTE: you won’t be able to make the image bigger. This will result in the images looking pixelated and poor quality.
- If you see a warning sign, click Auto Resize Image, which will scale the image to fit your page properly.
- You can make the file even smaller if you would prefer smaller stickers.
- NOTE: You won’t be able to make the image bigger. This will result in the images looking pixelated and poor quality.


Resize your image to fit the page
3. Upload Your Cut Lines
- Go back to Upload, choose the PNG file with cut lines, and again continue through the prompts.
- Select convert upload to Single Layer.
- Manually resize your cut line file to match the artwork size exactly (you’ll see the measurements in a black bar).
- Highlight both layers, click Align, and then choose Align Left and Align Top to line them up perfectly.


Align cut file and illustration file
5. Use the Contour Tool
- Select the black cut layer and open the Contour menu (bottom right corner).
- Click Hide All Contours to clean up the background.
- Zoom in and manually click to add cut lines around your artwork. This part can be a bit tedious, but it gives you the outlines you need to kiss cut the images like a proper sticker sheet.


Contour menu to create cut lines
6. Prepare to Print and Cut
- Change the cut layer’s Operation to Print Then Cut so it stays aligned with your printed artwork. (You can always change back to Basic Cut if you need to make any additional adjustments).
- Select Make (in the top right corner) and preview your mat – everything should look properly aligned.

Change from Basic Cut to Print then Cut
7. Print Your Stickers
- Making sure you are on the 1st layer - the layer with the illustrations, send your design to your printer.
- Important: Make sure to turn off “Add Bleed” for a clean print.
- Print your sticker sheet!

Send illustrated layer to your printer
8. Cut Your Stickers
- Select your 2nd layer - the layer with the black cut lines.
- Click on I’ve Already Printed.
- Choose your sticker material setting.
- Set the pressure to Less for an easy peel.
- Load your mat, press Go, and let your Cricut do its magic!


Select layer 2 to cut and send to Cricut machine
And that’s it — you’ve created your very own sticker sheets ready to use in your planners, journals, or anywhere else you need a little creative touch!
Want to watch the tutorial? Click on the video below:
Cricut Cutting Machine Tutorial
If you run into any questions, feel free to reach out — we’re happy to help.
Happy crafting!


