Hello there! My name is Chelsea, also known as @line.unfolding! I love minimal bullet journaling and use my journal to infuse my life with creative productivity. You can find me on Instagram, YouTube, and my website. I've used Archer & Olive products for years, and I'm so excited to be here on the blog sharing some of my tried-and-true methods for getting rid of bujo block: modules!

As an artist, there are few things more frustrating than being in the midst of a creative block. When that happens for me and my bullet journal, I turn to modules. Modules are a section or specific part of a layout. When I turn the page to a fresh new week and I'm feeling totally stuck on how to organize the spread, I love using these to give me some inspiration!
For this post I'm sharing some of my own tried-and-true modules and the different forms and styles they take. Feel free to borrow mine to create your own modules, or design your own! My favorite thing about modules is that they're so versatile, and coming up with your own resource like this means you'll always have a place to start when you create a layout.
Supplies
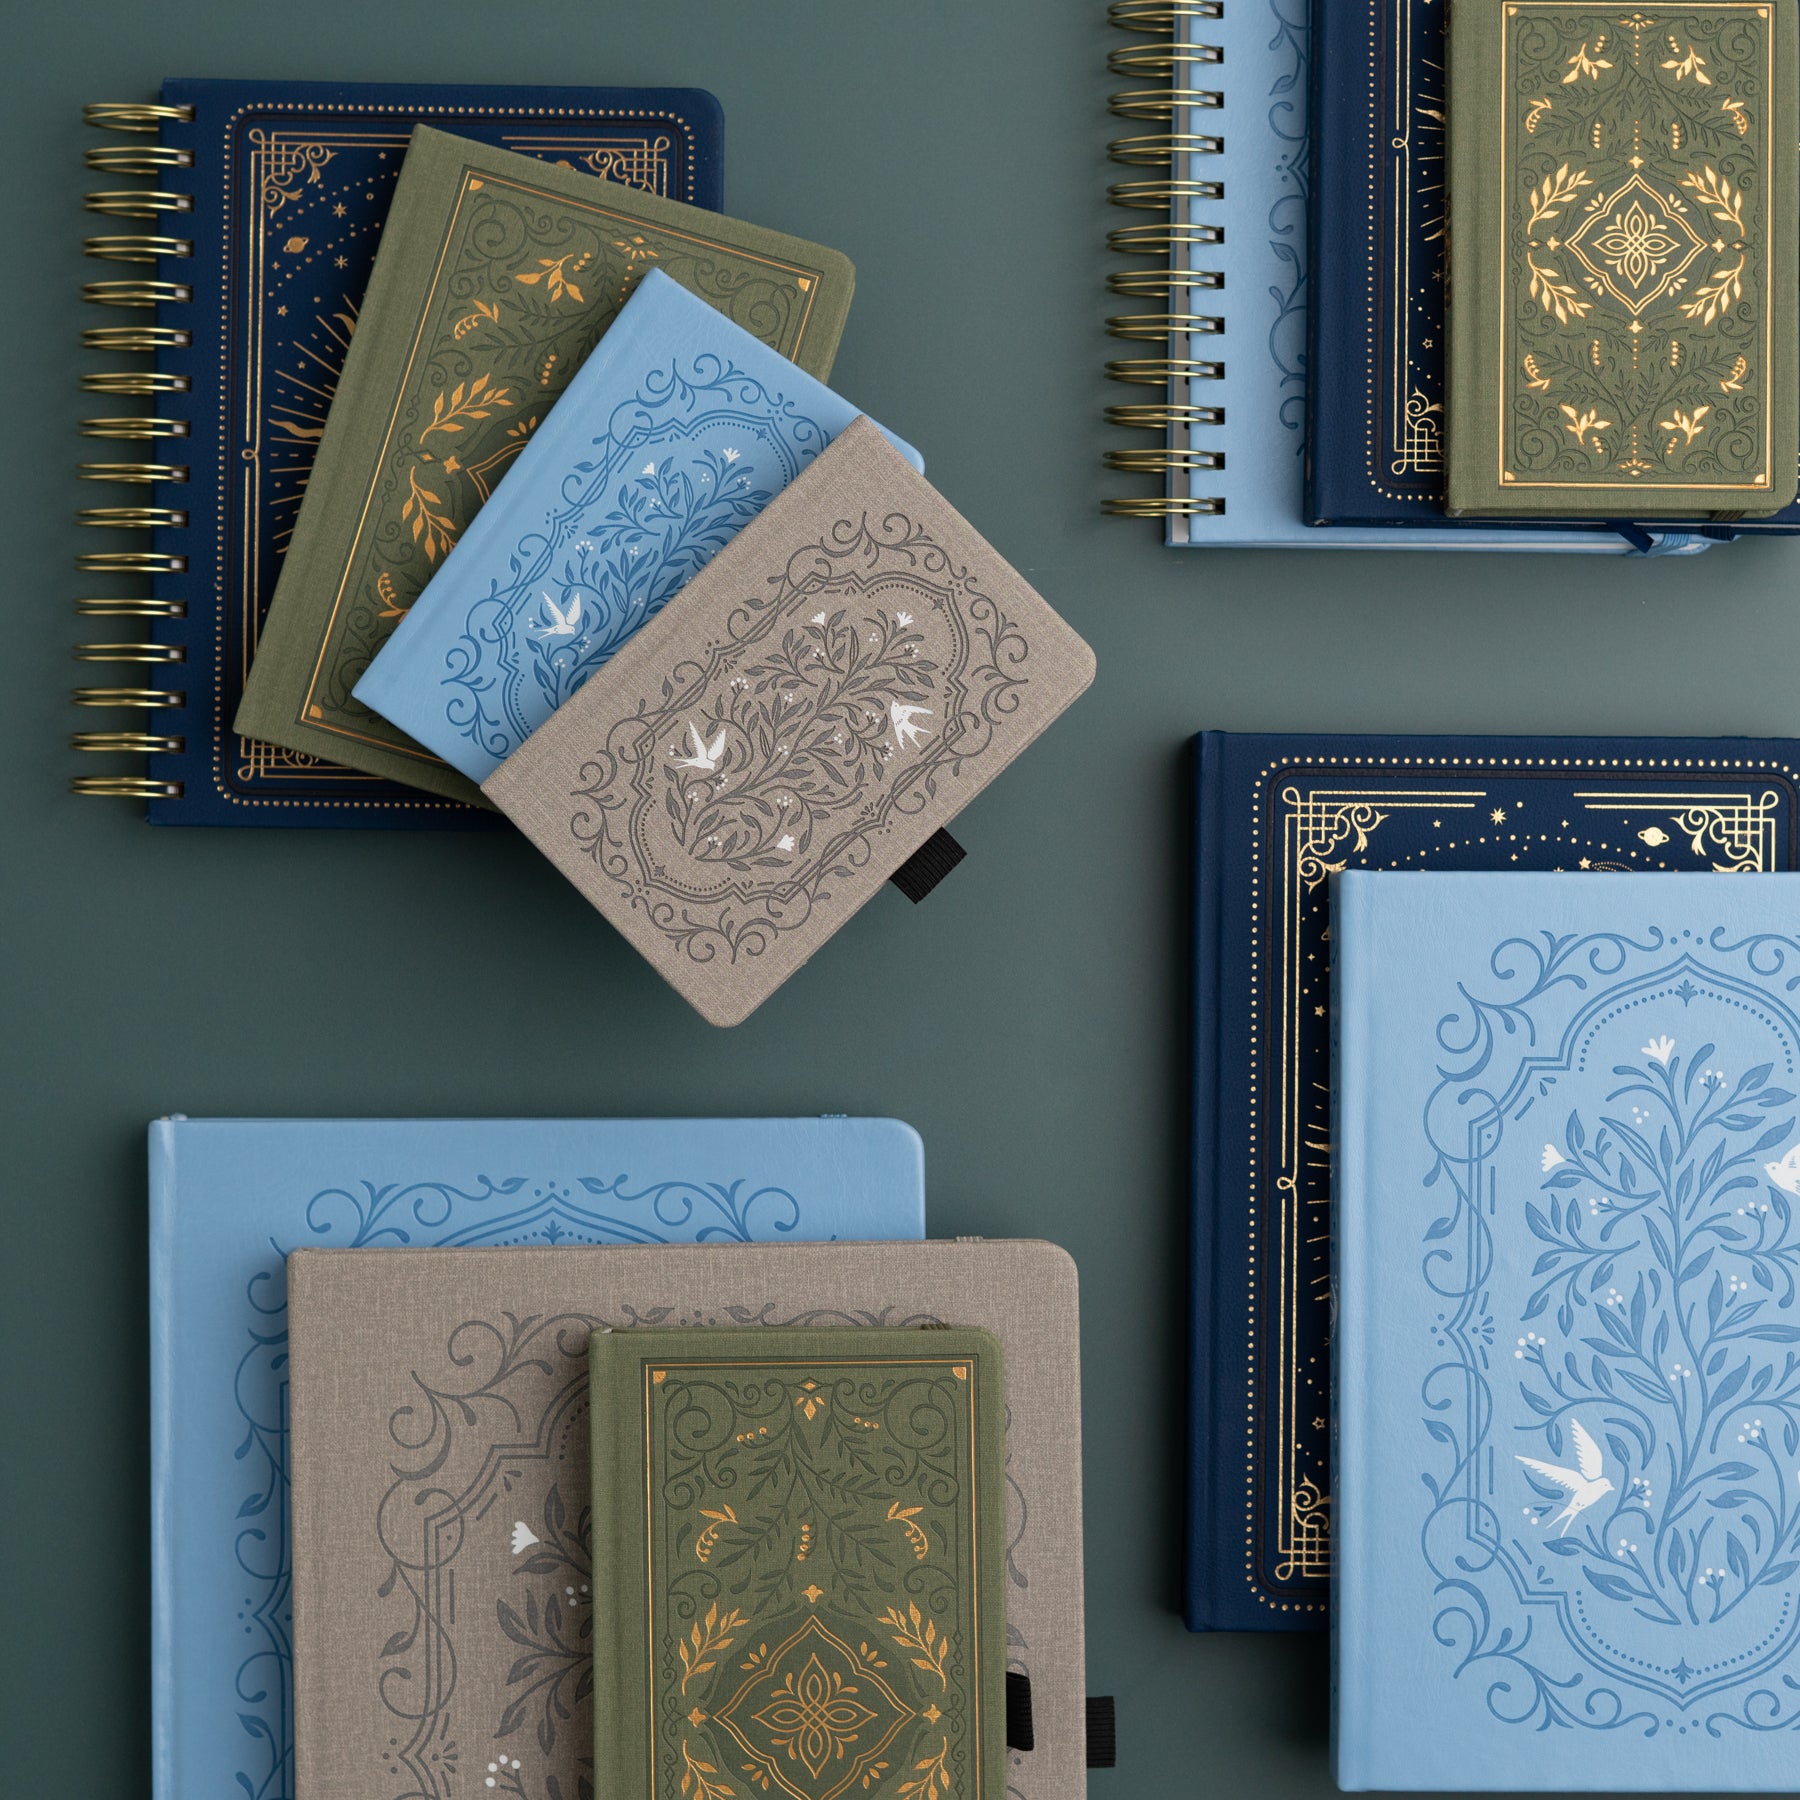
I used my Archer & Olive A5 Dot Grid Notepad so I could easily tear out the pages and use them as a reference while I create spreads! I just washi tape them up on the wall by my little folding desk (hi there, work from home in a small apartment life). Plus, they're exactly the same size and dot grid as my Archer & Olive bullet journal -- I'm currently using the Forest Night design and it is so satisfyingly sparkly -- so it's easy to count off the dots when I'm sketching my spread.
For me personally, I use four different modules in all of my weekly spreads: events, tasks, trackers, and headers!
Events
The event module is how you track your time and appointments. For me this usually takes up a big chunk of my weeklies because I love seeing my days laid out before me.

As you can see, there are a lot of ways you can create an events module! You can timeblock (bottom left) to get a real visual of your time, or you can include your tasks within it, too, in the very traditional bullet journal style (right options).
I love including the weather in my events pages - it's fun to look back on and see what the weather was like!
Tasks
The Tasks module takes up the other bulk of the space in a spread for me. I love a to-do list!

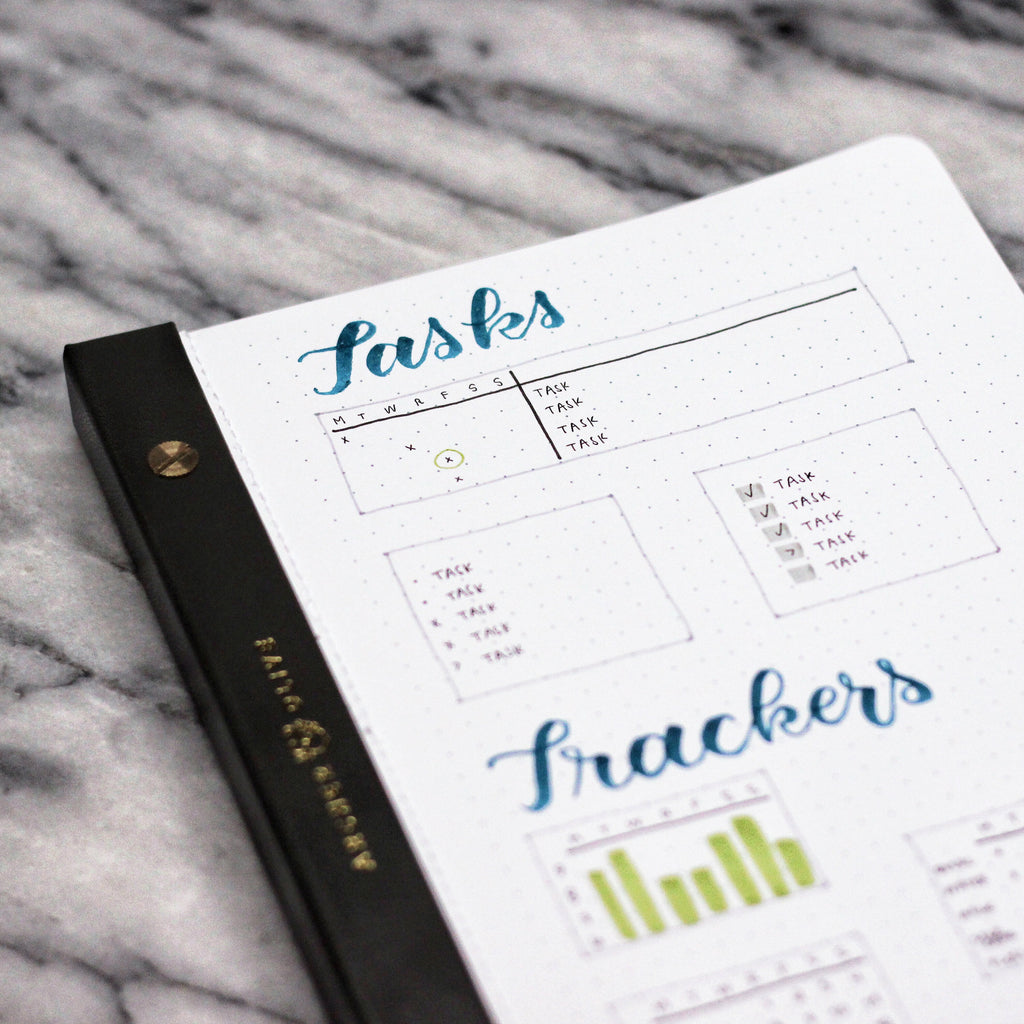
For me there's nothing like a running weekly task list, the first option at the top. You just make a column for each day of the week and then on the right of those columns write your to do list. When you complete a task, mark it under the day you finished it. The circles are for the day your task is due. It's so satisfying when they're complete!
You can easily use a traditional bullet journal dot-and-X system, too (the one on the left), or use a highlighter to create your own check box! You can also definitely make it more colorful than my minimal grey choice.
Trackers

I love, and I mean all-caps LOVE, having trackers in my weekly spreads. Somehow it makes me feel more in control, even if my week is crazy!
My three favorite trackers are pictured here. The top left is a sleep tracker--with the days as your columns and hours slept as your rows, you can use a highlighter or marker to create a simple bar graph.
On the right is a habit tracker. Again, use the columns as your days of the week and then each row is a different habit. You can use a dot, x, or even tiny icons or stickers to mark off if you've done a habit. I like to use my normal pen, but you could color code it!
Finally, my favorite tracker is a tiny calendar (if you follow me on Instagram, you definitely know this already!). I like to add the week numbers on the left hand side of the module if I have space.
Headers

Finally, headers can be a super fun part of your spreads, especially if you're a minimalist like me!
As a resource, this is less about the style of text (I used brush pen calligraphy here, but you can use whatever kind of lettering style you like) and more about the content of the header.
I like to include week number and the month/dates. You can use a ton of different combinations here--from writing them all out to something that is totally numbers based. Mix and match lettering styles with each one and it should take you a while to exhaust all your options!
Tips

Before I wrap things up, here are a few tips for using modules!
- Sketch out your spread design first on a notepad (like the Archer & Olive one I've used here). It will help you figure out if you like how you're including modules.
- Don't be afraid to mix and match! Each week might call for a different layout--maybe this week you're super busy and need more room for tasks, or the next you might have a slower week and want to focus on trackers. That's the beauty of bullet journaling, you can alway switch it up to make it work for you!
- Use the dot grid to your advantage: if you have a "bank" of modules like this, you can use the grid to easily sketch out a box for the module to make sure it will fit with your vision.
- This is a great way to try a new layout or get out of a creative rut!
Do you think you'll give modules a try, or do you already use them in your bullet journal? I'd love to know in the comments below, or feel free to say hi on Instagram anytime!


1 comment
Love this idea – thanks for sharing!