


10 Easy Nail Art Designs and Tips Using Acrylic Paint Pens
Hello everyone! It is Erin Floto from @erinflotodesigns here. In this blog post, I’ll be sharing a way to use acrylographs other than in your beautiful bullet journals. Acrylographs are an acrylic paint pen that can also be used on your nails to make nail art. In this blog I’ll share some tips and tricks that I have learned by using acrylographs on my nails, as well as a few nail designs that you can incorporate on your own nails.
But first, here are the items you will need:
- Acrylograph Pens - Choose a couple colors that fit the theme/art you want on your nails. For more detailed art, use .7mm, for full color nails, pick 3mm.
- White Nail Polish - This is a great base to start any of your nail art designs. Even if you are using acrylograph colors to paint the full nail.
- Top Coat - I personally like to cure gel top coat, but any type of top coat will help seal the design and prevent chipping.
- Creativity and Patience - Like more art, this one is going to use some creativity. But I also suggest some patience for your non-dominant hand!
Prepping Your Nails
This step is not necessary but for those who are always painting their nails, proper nail care is definitely encouraged. Especially because you will want to paint your nails a lot once you get to add fun art to them!
First we should push the cuticles back in the nail bed and shape the nails to our preferred length and style (such as rounded, square, coffin, almond, etc.) If you are using gel nail polish like I typically use, using a dehydrating serum can help to reduce nail dust and creates a stronger bond to your nails. I also like to use a nail strengther to add nourishment since I paint my nails often. In this particular video and the photos shown in this blog, I am using almond acrylic nails that are bonded on my nail using nail glue. That step is unnecessary but I am growing back a few nails that broke so this is a great option to be consistent with my length and shape.
Painting Your Nails
My first tip is to paint an undercoat to have a base color. This will reduce the amount of ink you need and also make the art pop off of the nails. I personally like to use lighter base colors like white, nude, or pink. White is my favorite because any color scheme I want to incorporate will work with white. Since they are lighter colors and to avoid streaks, I use two base coats.
For this nail set up, I used three different colors: a white, a beige, and a blue glitter as my accent nails. Be sure that your nails are fully dried before adding your acrylograph art!
Adding The Art
Make sure to give a good shake to your acrylographs to get the ink running smoothly prior to starting the art. Another tip I would suggest is to have the theme and the art planned out ahead of time. I have created a printable for you to practice and plan out your designs!

I would also suggest drawing the less-detail oriented designs with your non-dominant hand. It really is amazing how the muscles in your non-dominant hand are atrophied compared to your dominant. That means lines will be particularly shaky. So maybe stick to simple lines, polka dots, full color, or even just painting the tip. Another way to disguise your non-dominant hand is to purposefully do messy squiggles as your design. Or get a bullet journaling friend or family member to help you out!
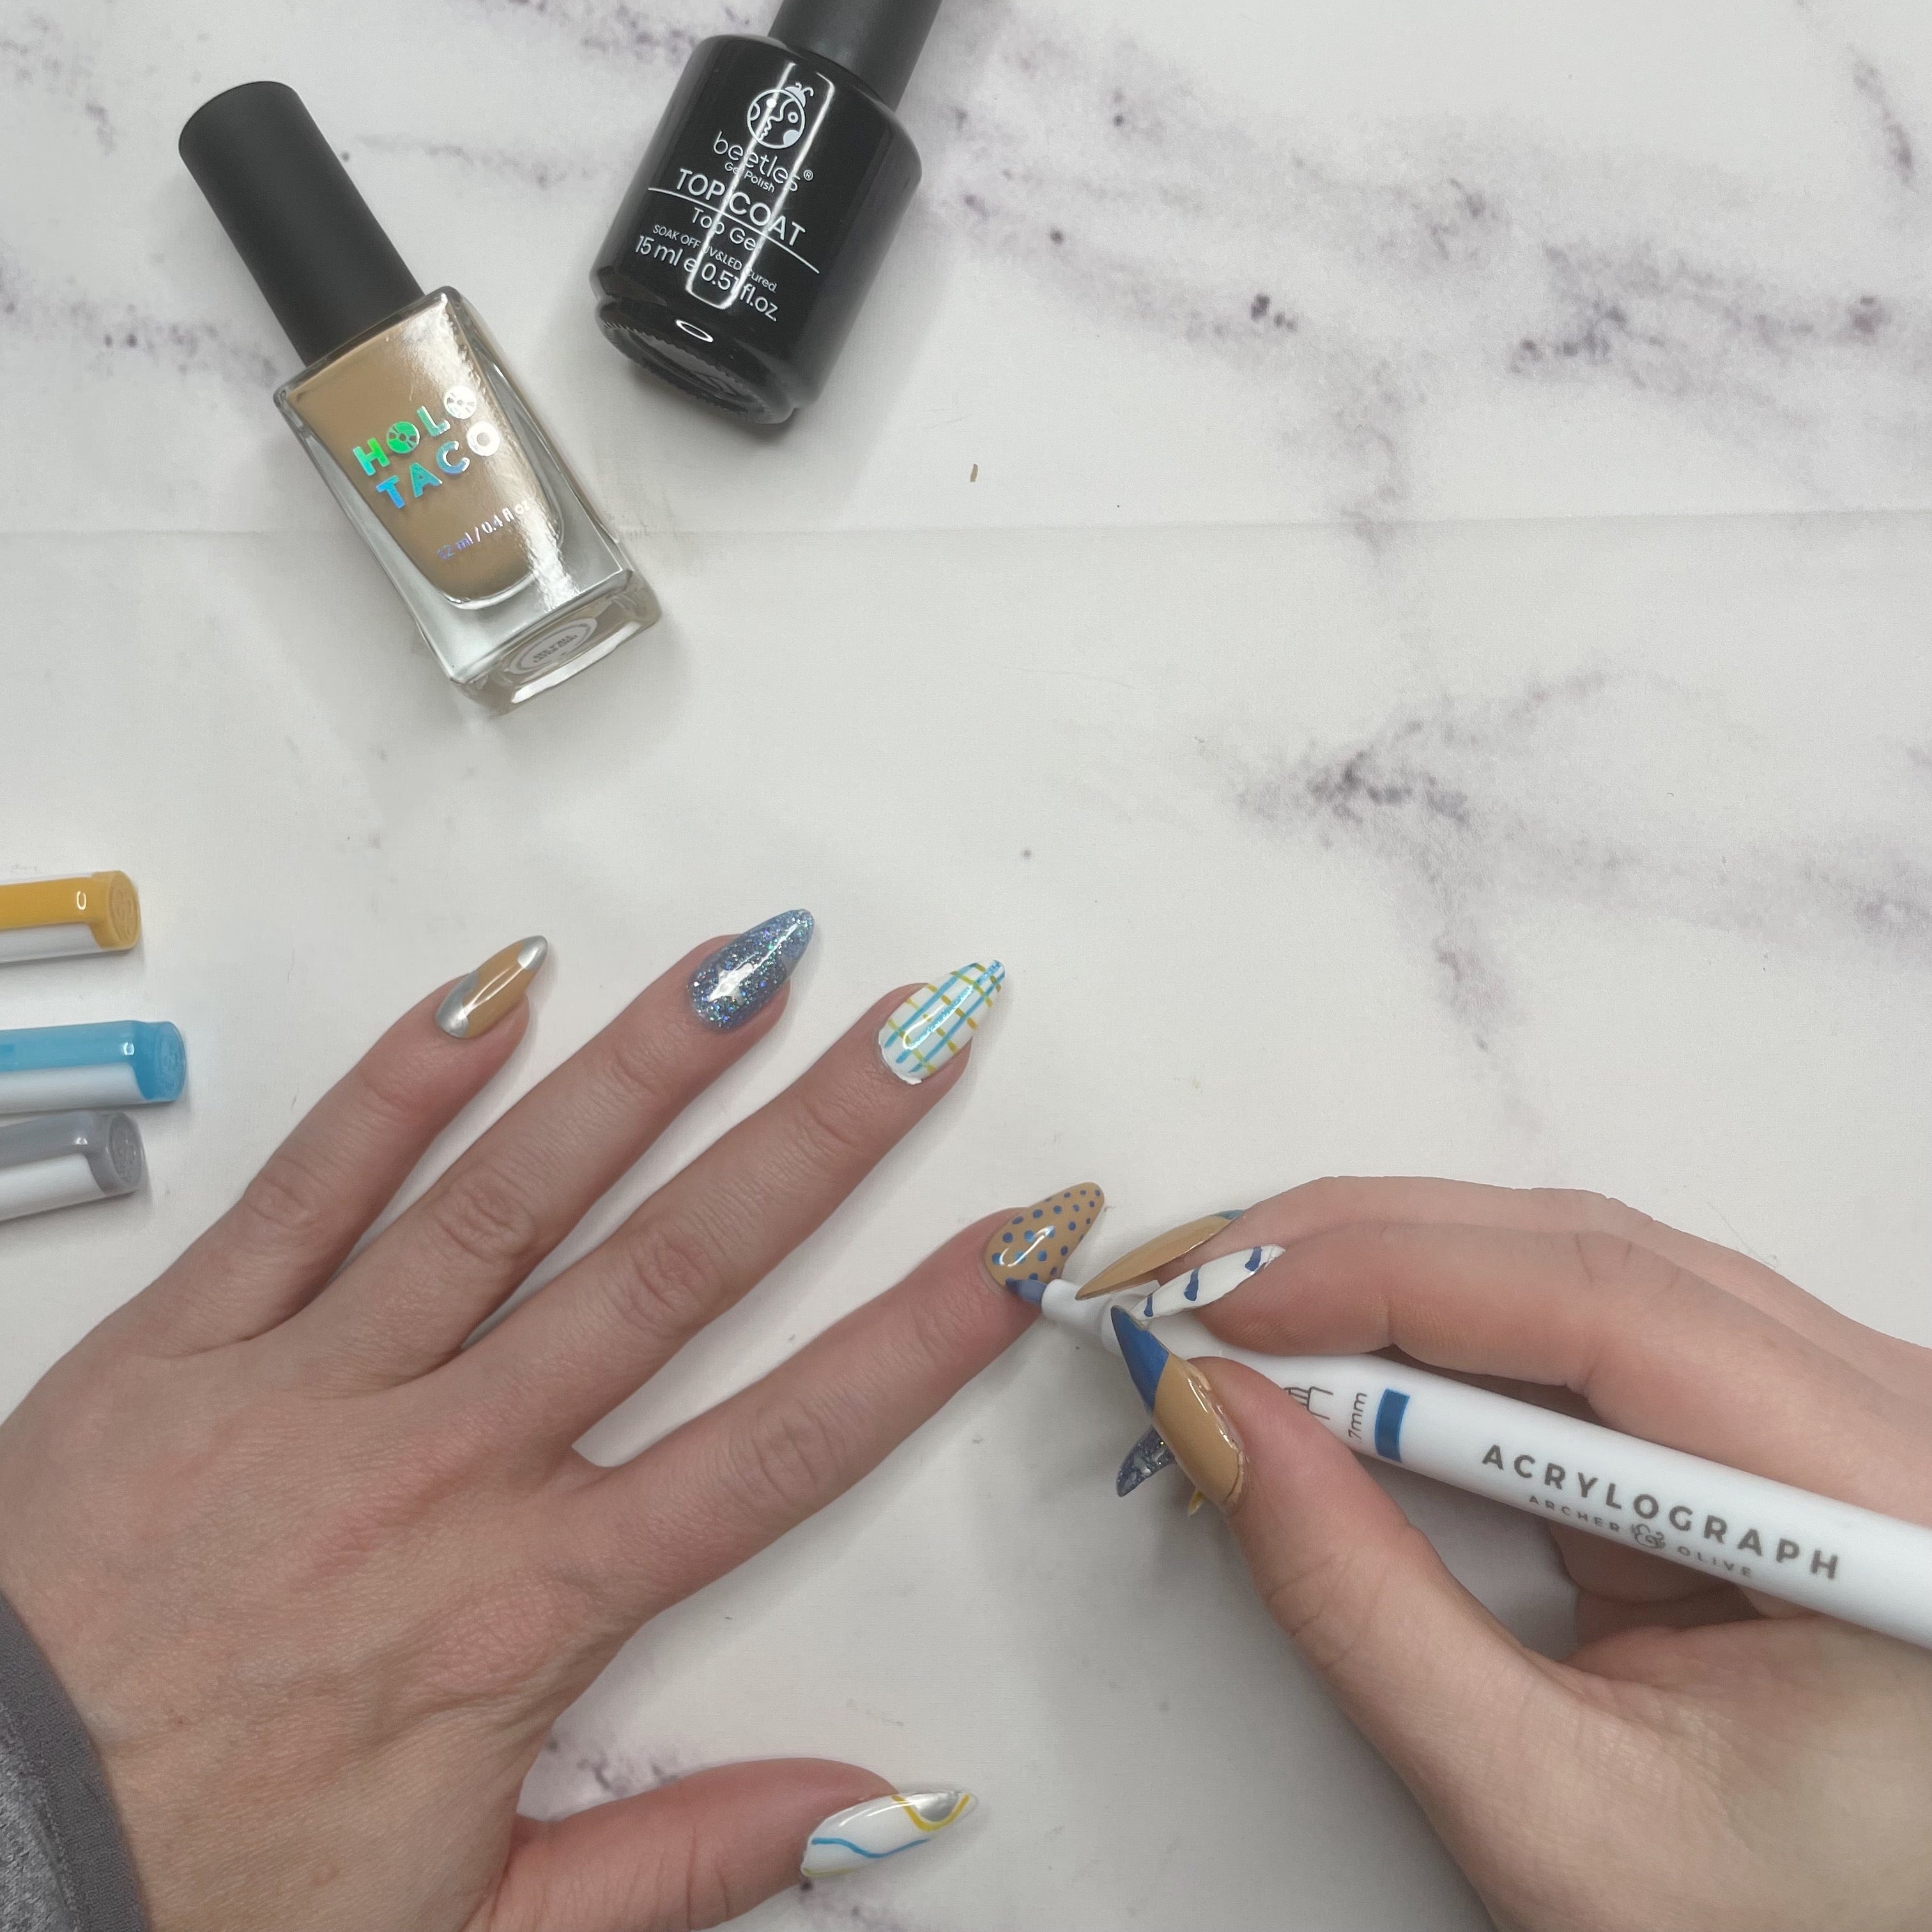


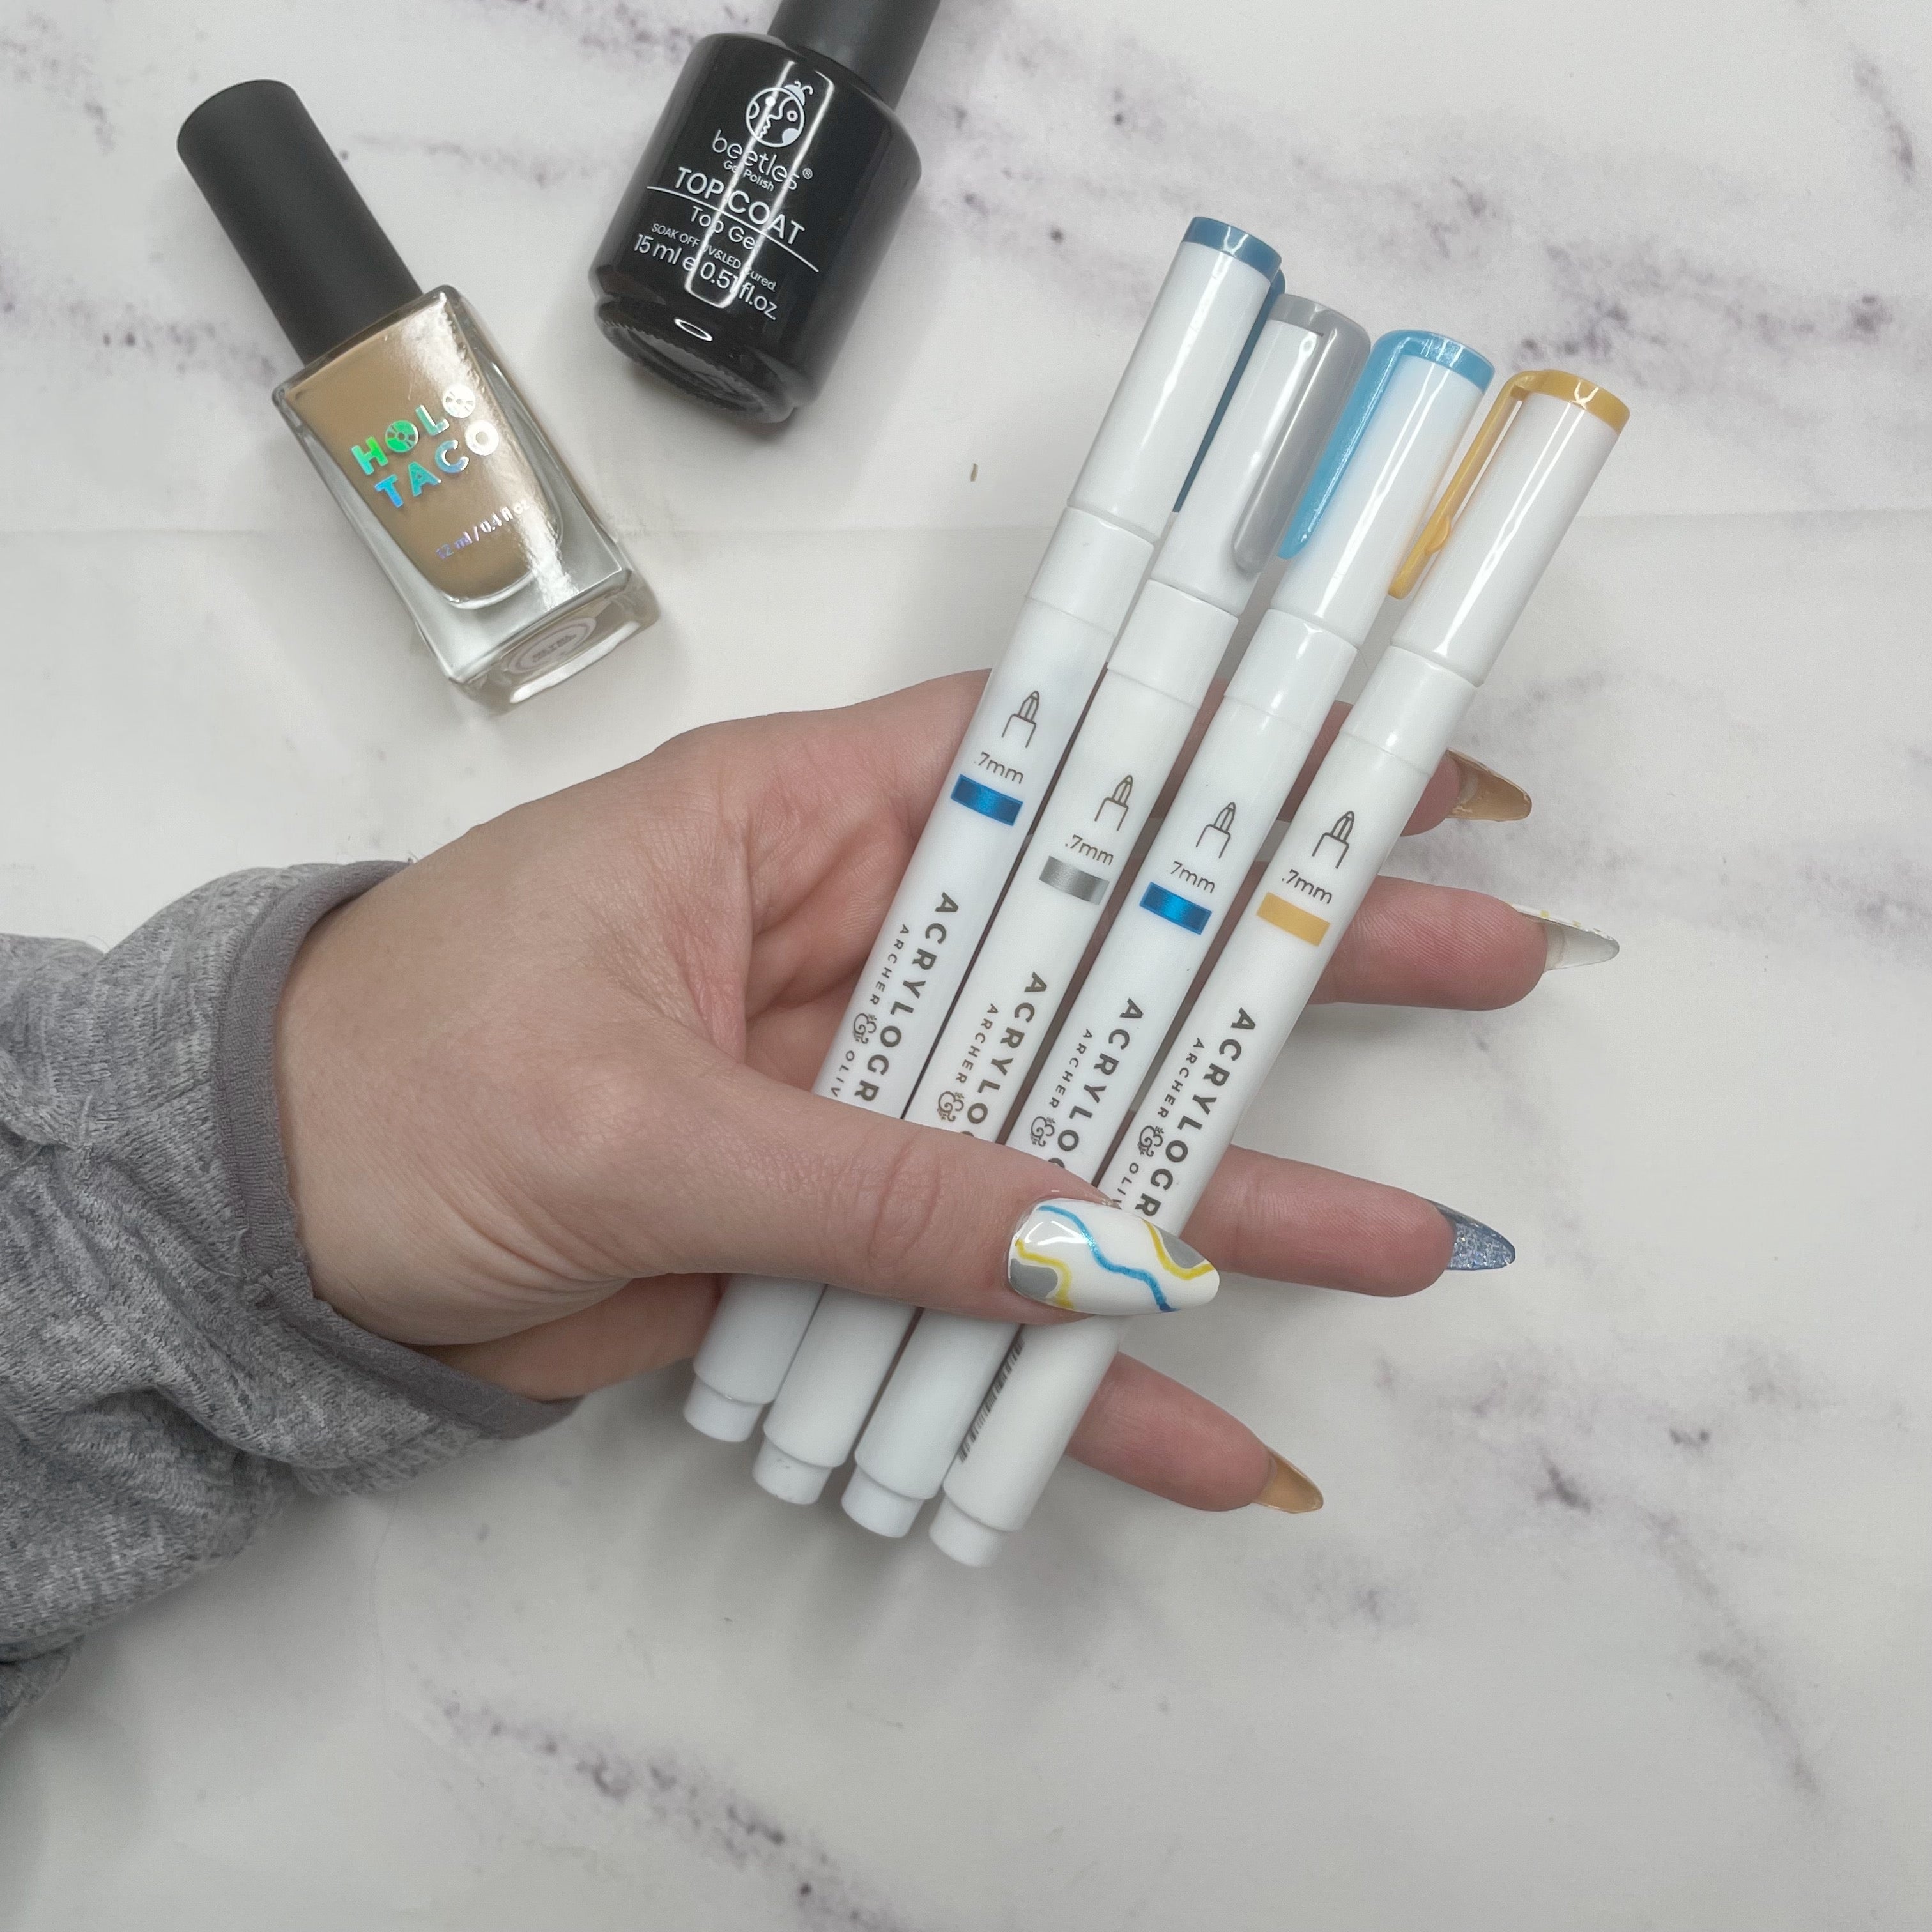
The colors I picked out for this particular design are the .7mm Metallic Blue, Glitter Blue, Silver, and Golden Hour. It went perfectly with the nail colors I picked and the silver was able to sparkle, even on top of the glittery blue nail polish.
Avoid Chipping
Now that all of the art is on your nails, let it dry fully before we start the next step: a top coat. If it does not dry, the liquid of the top coat will cause all of your beautiful designs to be distorted. I made that same mistake while I was rushing through my Christmas nails! But it was easy to correct by using the metallic green acrylograph to color the entire nail. Using acrylographs is perfect to jazz up your nails during any holiday!

To avoid chipping the art and nail polish, use a top coat to create a barrier and protect your designs! I personally like to use a gel top coat and set it with UV light for nails because it lasts a long time. However, it can easily be air dried. Just be sure to protect those nails for a while after you are complete!

In addition to the photos and printable above, I have created a wonderful video where I talk about the process and my own experience below!
I hope this blog, video and printable gives you the inspiration you need to create some cute and fun nail art to day! Thank you so much for joining and please tag @erinflotodesigns and @archerandolive and #aoshare on Instagram with any nail art you create!!