


Hello friends, Adrienne from @studio80design here to show you a fun way to create stipple lettering in your Archer and Olive Notebooks! These notebooks are great for lettering because the paper is thick and smooth, so your pen marks won’t bleed through the pages and your nice pens will be protected!
As an artist, it’s fun to go back to your earlier work and see the progress and improvement you’ve made over the years. One thing that is sure to help your craft improve, is consistent practice. As you look back on your work, you will see steady growth along the way! Let’s get started!
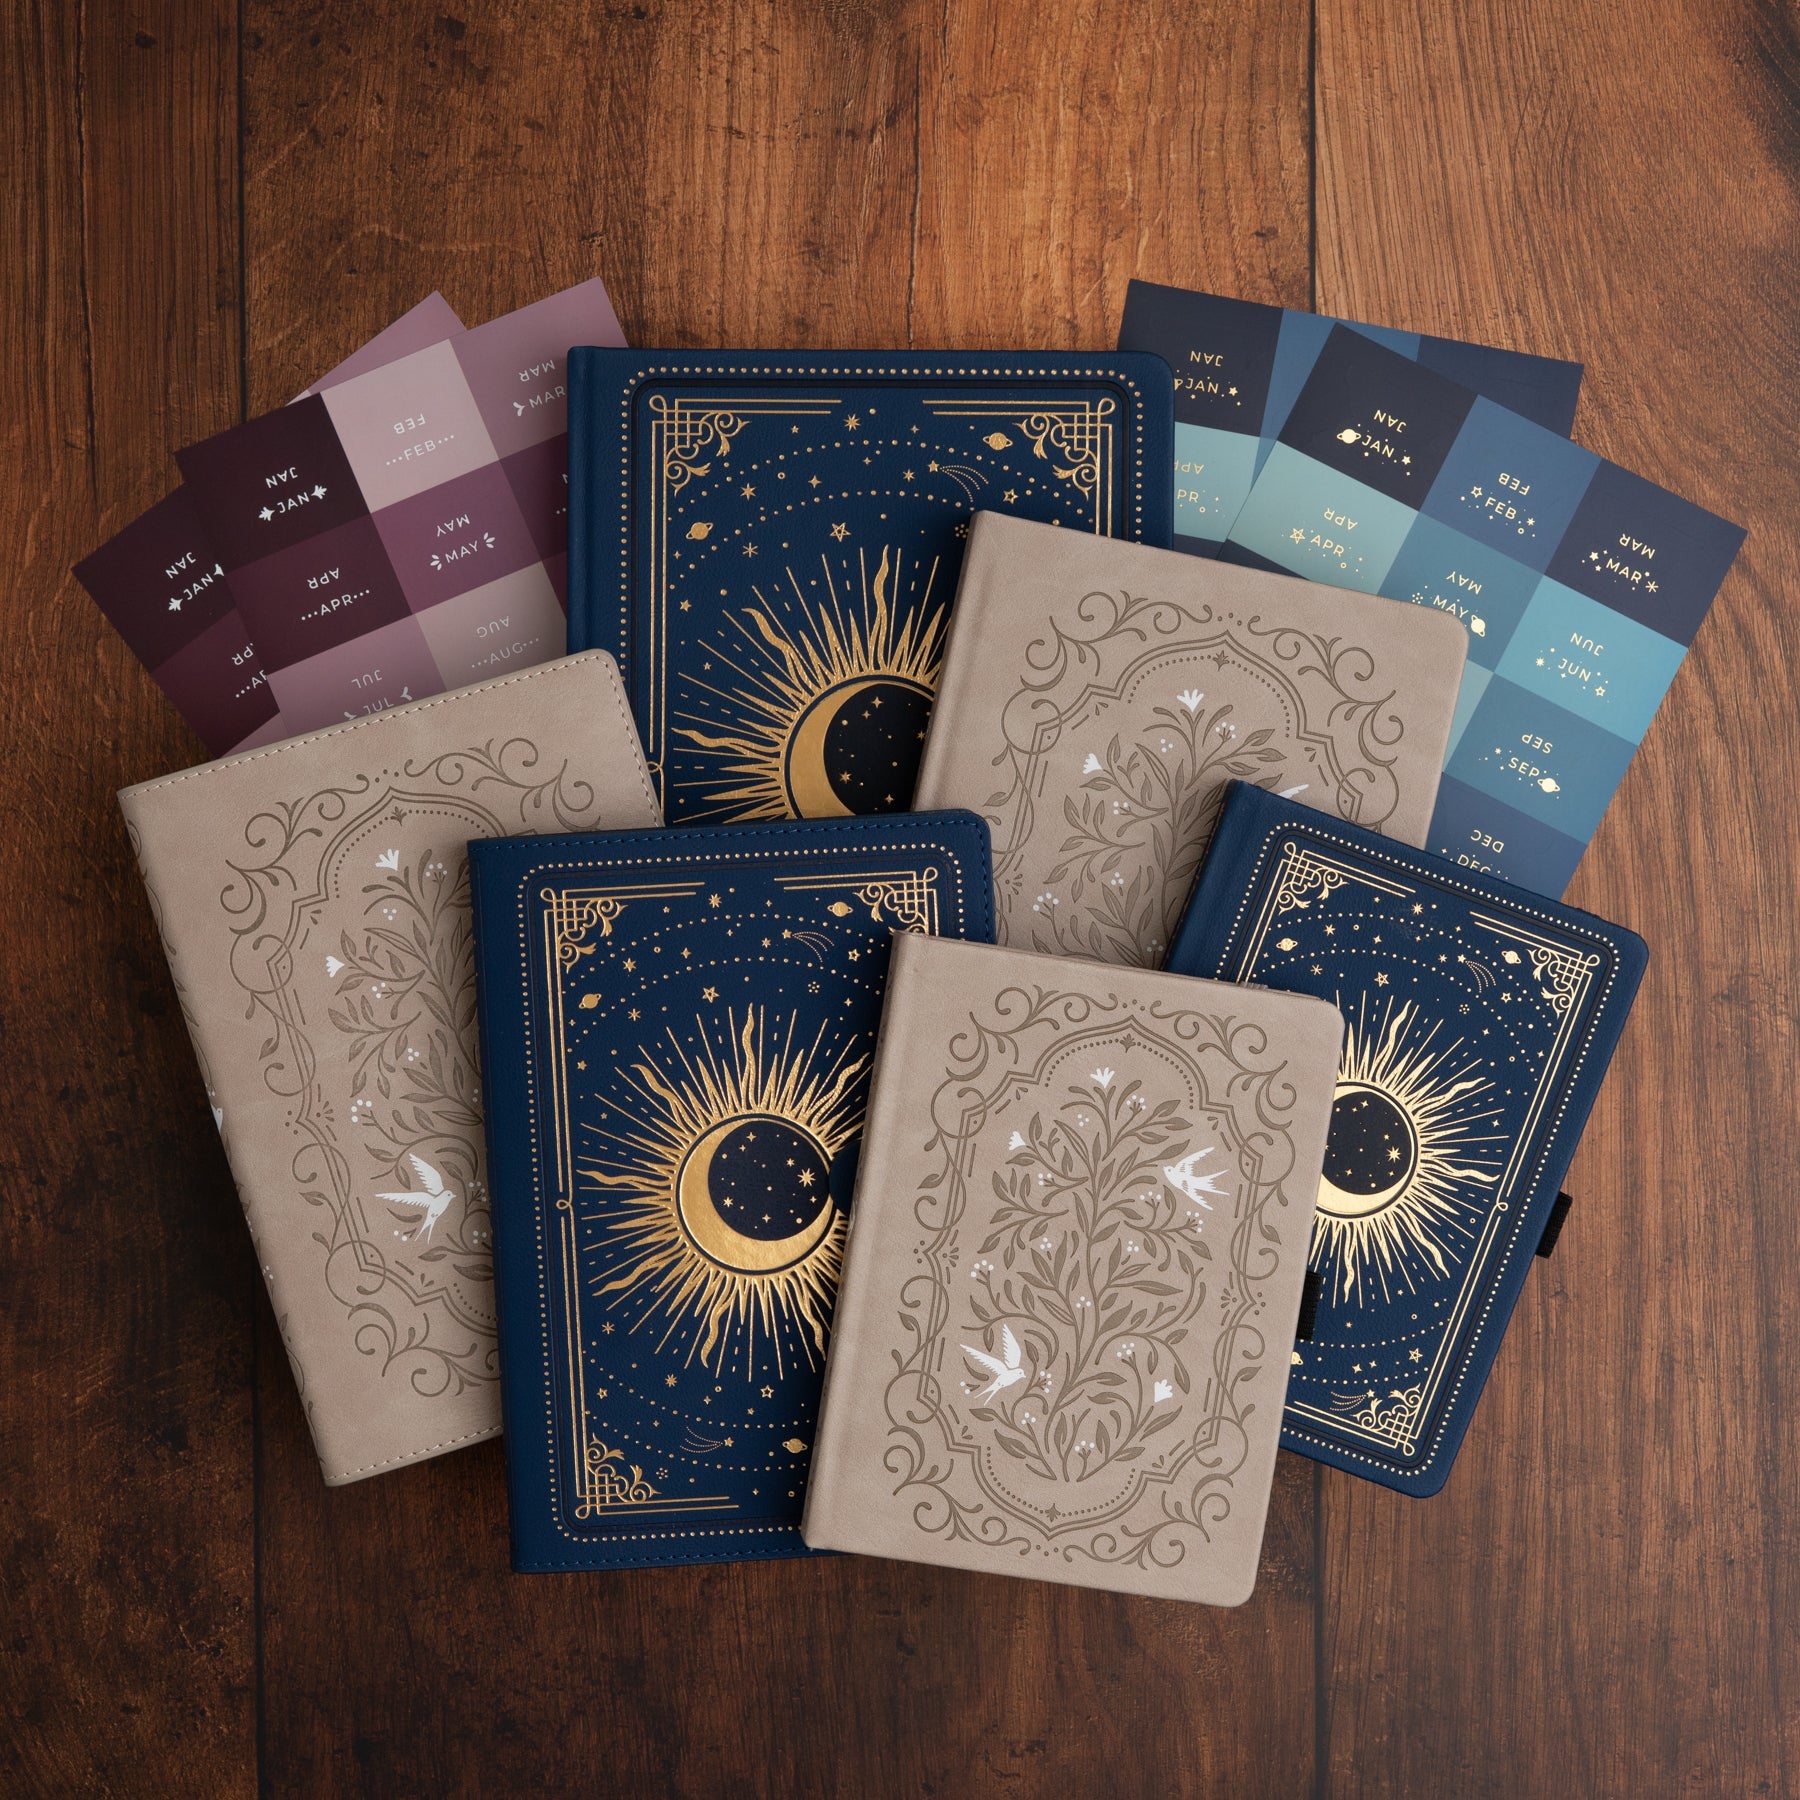
Materials you’ll need:

Step 1
Lightly sketch out word with your pencil in the middle of the page on your Archer and Olive Notebook.

Step 2
Create a thicker outline of the word by adding space to both sides of the line lightly with your pencil.

Step 3
Use a monoline pen to draw a shadow on all the letters. I made mine a bottom right shadow. I love this effect, you can already make out the word with just a shadow!

Step 4
Start to stipple small dots on the right half of the sides of each letter. Make the stipple pretty heavy, so it blends into the shadow.

Step 5
Finish the stippling effect by drawing in a lighter stipple on the left half of each of the letters. This will create the illusion of going from light to dark in each letter!

Step 6
Erase the pencil lines with your eraser. Then fill in any bare areas in your word with stippling.

And that’s it for this stipple hand lettering! Thanks for visiting today, I hope you found this tutorial helpful! For more inspiration like this, make sure to follow me @studio80design!

0 comments