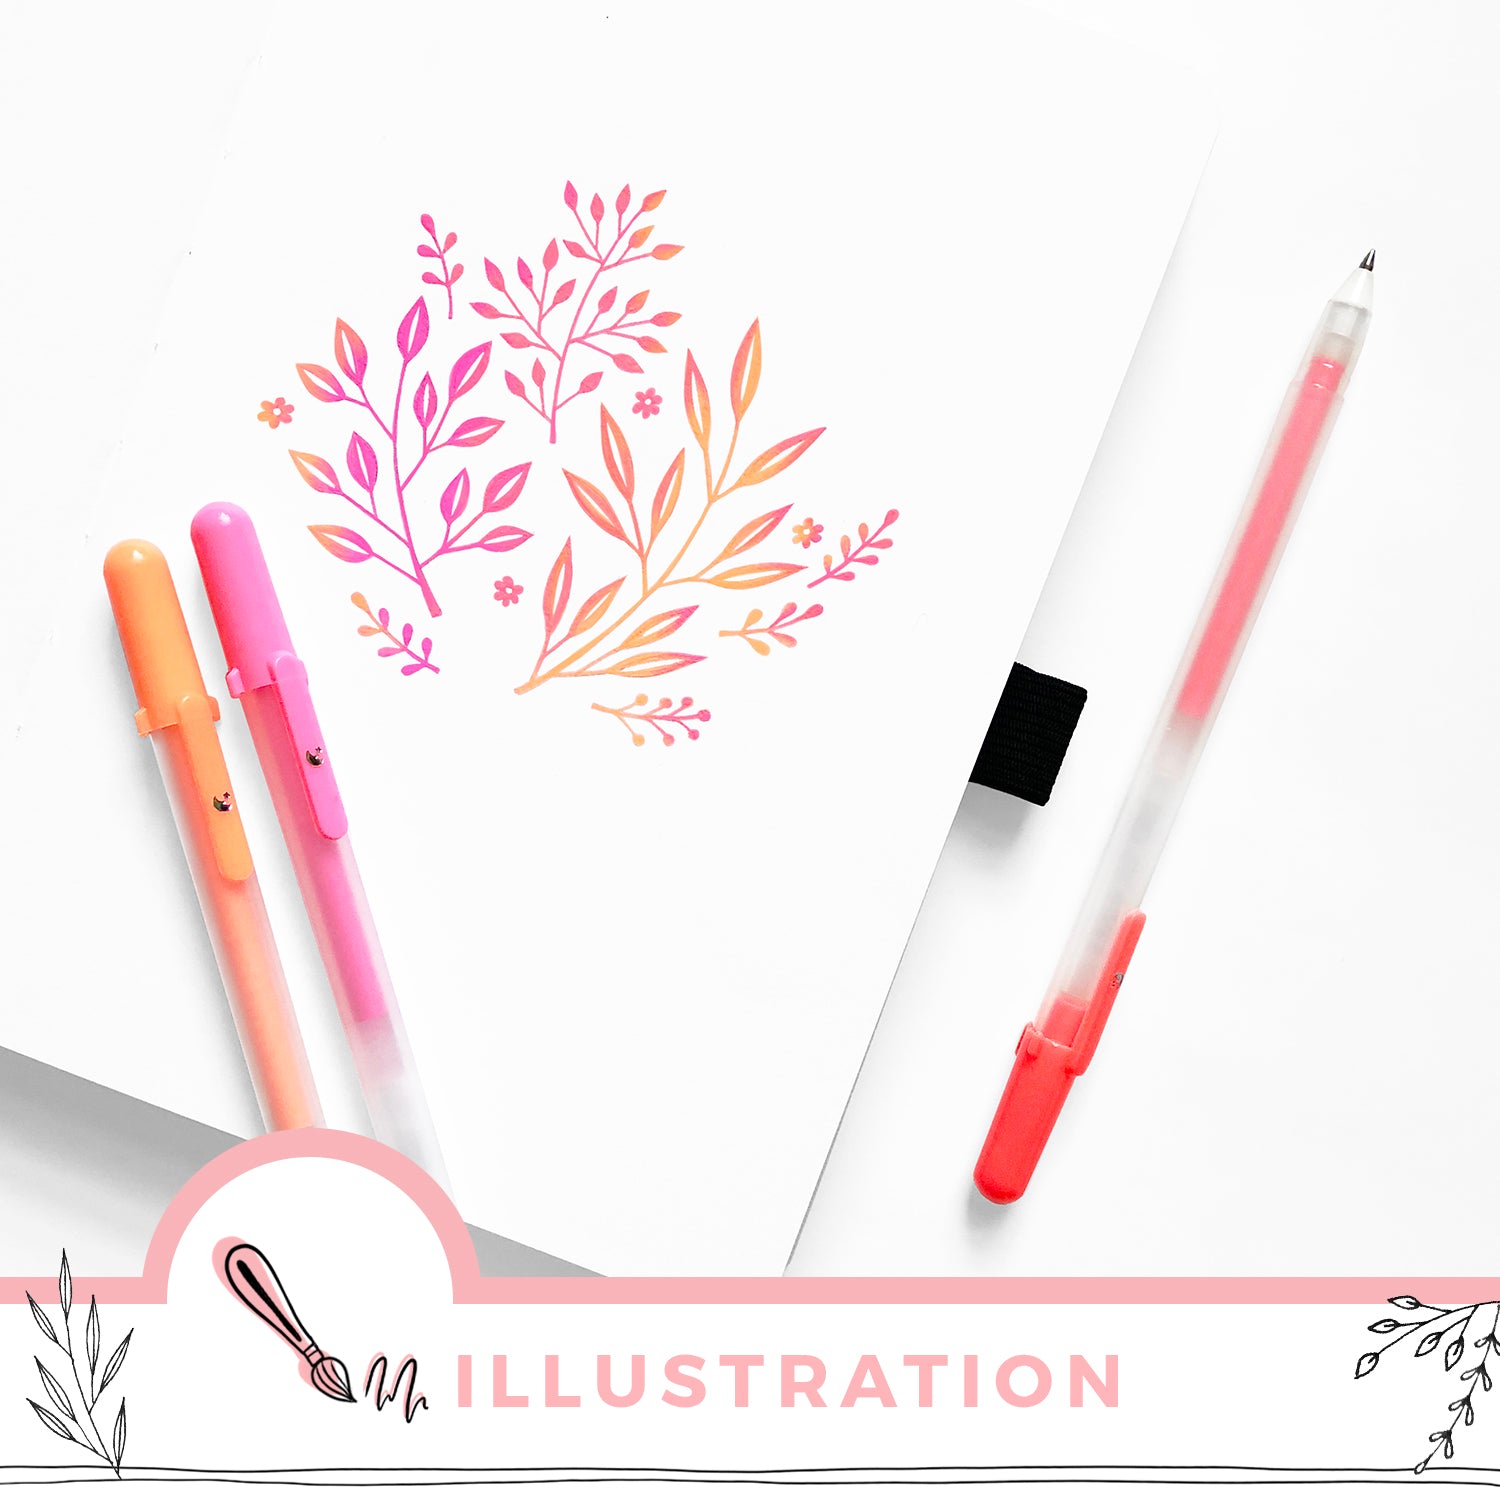


Recently I was gifted with some (totally awesome) gel pens. Such a flash back! We used these all the time in junior high. What I have now discovered, that I was unaware of all those years ago - gel pens blend REALLY WELL! It's super easy, and I can't wait to share the how-to with you all.
Supplies:
Gel Pens - I'm using Gelly Roll. They have always been my favorite.
Quality, thick paper - Like the paper you find in Archer and Olive sketchbooks. Wet gel is like paint, and you really need a paper without a tooth (for maximum smooth) and thick enough to withstand the ink.
Paper towel or rag - This will be getting ink on it.
Before getting started: This works best with two colors that are close to each other on the color wheel. Although, I have had some success working with two colors on opposite sides.
---
Step 1:
Start with your lighter color ink. Draw the entire shape you would like to apply the gradient to.

---
Step 2:
Apply your darker ink on top of the lighter ink in the areas you would like the darker ink to appear at 100%, as well as the area you would like the gradients to appear.

---
Step 3:
With your lighter pen, go over the areas you would like only the gradient to appear. Continue drawing over the area until you create a gradient you are happy with. Wipe off any excess ink that appears on the tip with a rag.


9 comments
I didn’t know you could do that! Thought i needed a special blender or something
Wow thank you so much it is so creative yet so easy.
By the way do you know what pens you use?
Love the awesome technique!
Amazing! I never knew you could make gradients with gel pens!
What colors do you recommend for beginers
Wow! Awesome technique and images. So great!
Do you wait for each color to dry between each step or do you do everything while the ink is still wet?
Great post! Thanks for sharing very powerful post.