


Hey again! It’s Hayley here (@hayleyremdeart on Instagram), and today I want to show you a way to really make your blackout pages pop!
I've always loved painting on the watercolour notebook paper and then sticking it in my regular journal. The paper is so beautiful to paint on, and it allows me to use all the water I want with no warping. Recently, I moved to a Blackout Notebook, and I've been getting so much amazing feedback on how vibrant and unique watercolour looks against the black pages. So keep reading to find out how I created this Northern Lights theme, and get some inspiration on different layouts possible when sticking the watercolour paper in your journal!

Recommended Supplies:
- Blackout Notebook – The same amazing quality dot grid journals, but with black paper! The dots are just the right size and colour to see easily, but blend in when you’ve finished a spread.
- Watercolor Notebook - The paper in the Archer and Olive Watercolour Notepad is absolutely amazing. I regularly use this paper to stick into my regular journal, but you can also use it as you main bujo too!
- Acrylographs - The new pens from Archer and Olive with acrylic ink. Perfect for an opaque finish on the black paper.
- Watercolours - My favourite watercolours are Daniel Smith as they are extremely pigmented.
Step-By-Step Tutorial
Here's a quick timelapse of how I made all these spreads:
Overall, what I did was...
Step 1: Pencil in dimensions on watercolour paper
Step 2: Paint the desired design
Step 3: Trim down watercolour painting
Step 4: Stick the painting into your journal
Step 5: Finish the spread with your Acrylographs!
So if you're ready to get going, here are some layouts possible with the watercolour notebook paper:
Layout Inspiration
The only downside of sticking in watercolour paintings, is that you're slightly limited in page layouts due to the size of the paper. After doing quite a few monthly set-ups in this way, I have figured out quite a few different layouts that really work!
Fun But Functional Weeklies
Of course, one of the most staple layouts in a bullet journal is your weeklies:

I love how this layout has ample space for each day, a to-do list AND space for a watercolour painting.

Full Page Designs
Some layouts are really useful but don't take up much space. For these ones you can actually almost fill a full page with a watercolour design:

There will be a small space as the watercolour paper is a bit smaller than the journals once you cut off the ring holes, so I like to incorporate that space into the spread:

Box Layout
This is my staple spread for my future log, but it could also be an amazing layout for dailies!

Full Header
This layout has so many uses:
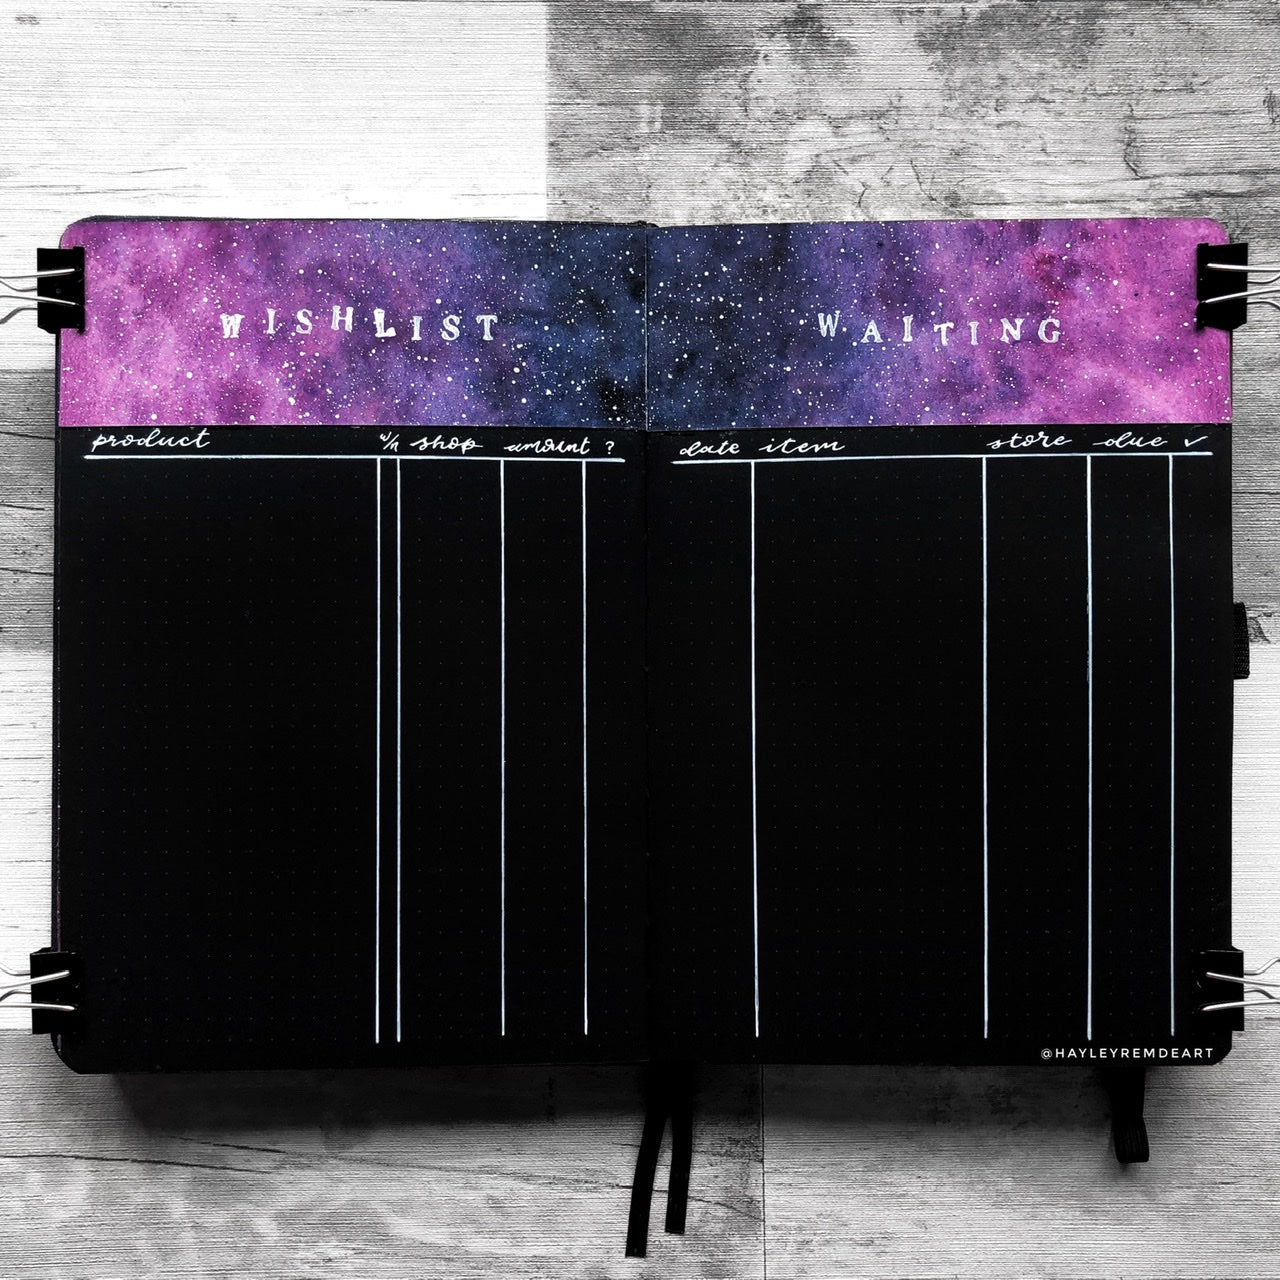
For many spreads you just need a nice header, and this is my favourite spread for this!

Corner Header
Following on from the full header, you could also do a corner header!

Full Border
And finally, if you really want to do something fun, have a go at this full spread border:

Hopefully I’ve given you some inspiration for using the watercolour notebook in your blackout notebook! If my blog has helped, I would love to see, so tag me on Instagram (@hayleyremdeart) and use #hayleyremdeinspired to get the chance to get your creations featured in my stories!


0 comments