


Hey again! It’s Hayley here (@hayleyremdeart on Instagram), and today I want give you a tutorial on how to create a bubble theme in your Blackout Journal. I absolutely loved this theme. It was so much fun to create, and even more fun to use each month.
If you want to give this theme a try, keep on reading!

Essentials for a Bubble Theme:
- Archer and Olive Journal – As always, it will be no surprise to you that this is my pick. The lovely and thick pages have no bleeding or ghosting, so you get a clean start for every project spread!
- Pencil Crayons – My favourites are the Faber Castell Polychromos.
- Tortillon – Tool for blending pencil crayon.
- Circle Stencil/Compass – To create the perfect circles.
- White Acrylographs/White Gel Pen – To create the rest of the layouts and add an extra highlight on the bubbles.
Remember, you can now even use my affiliate code HAYLEY10 to save money at archerandolive.com!! But anyway, lets jump straight into the tutorial...
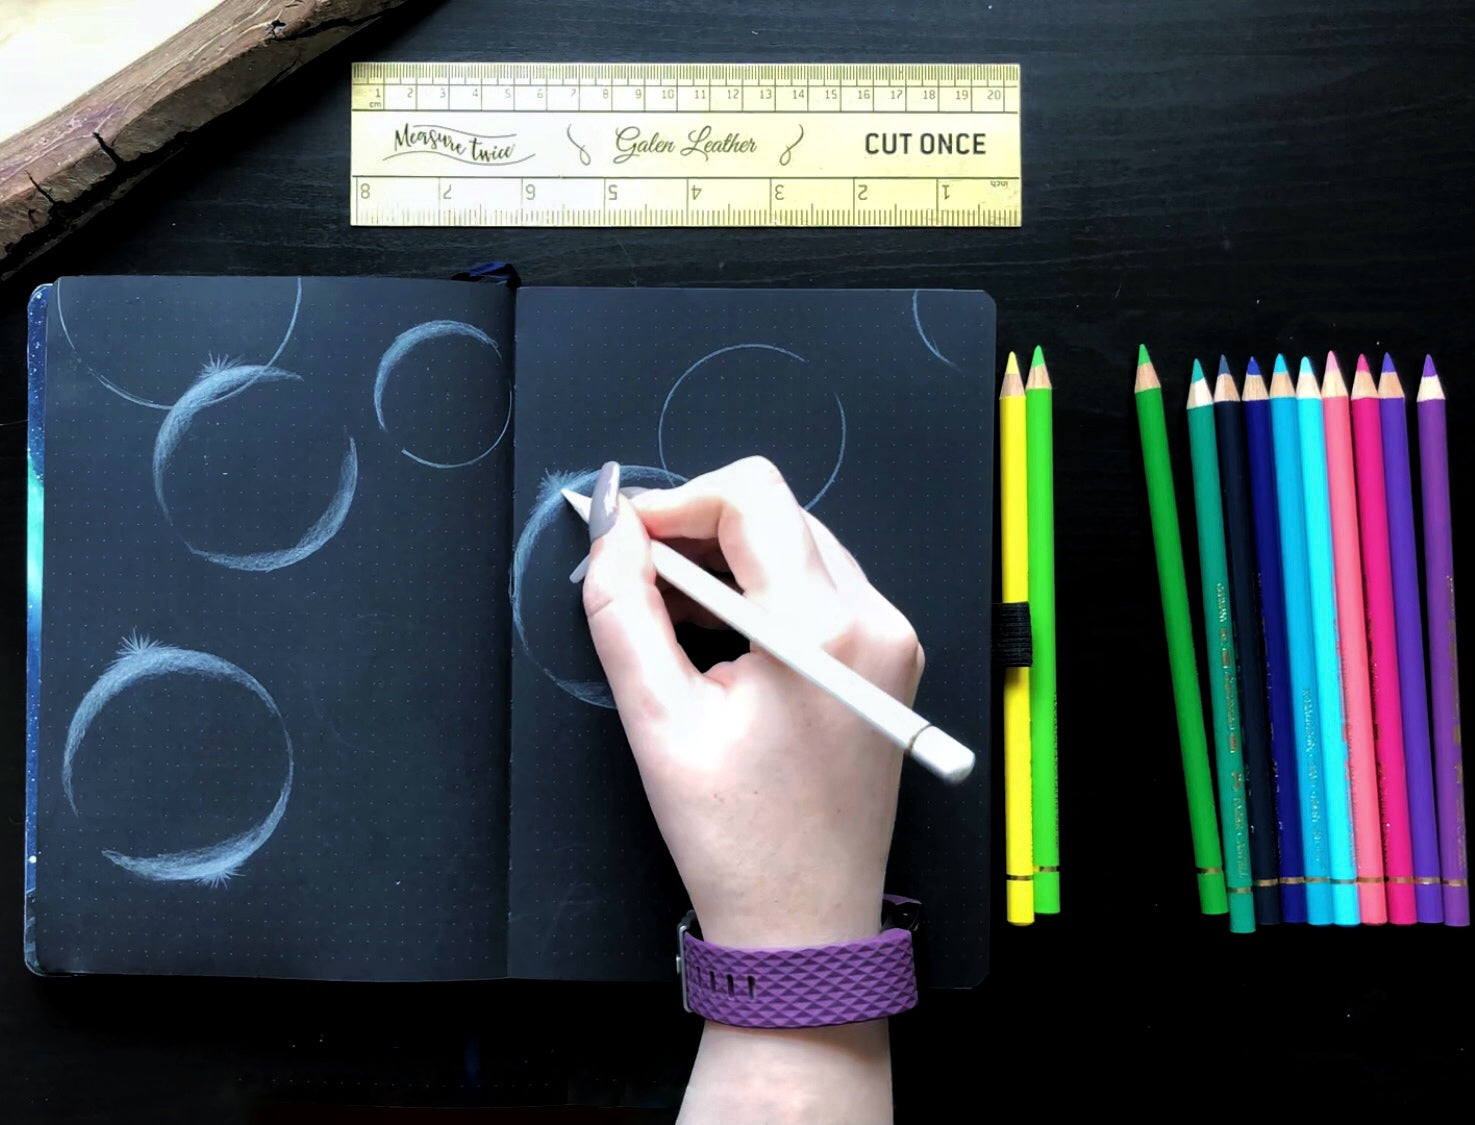
Step 1: Sketching Out The Circles
The first thing I did was use a compass (to plan out where I wanted my bubbles to be. You can also use a circle stencil or any circular object (glass, candle, lip balm) to do this too.

It’s good to stagger the bubbles randomly, creating circles of different size and some overlapping.
Step 2: White Base (Light Source)
Then you need to decide on where you want you light source to be. I settled on having two: one at the top left of the page and one at the bottom right.
I then shaded the outside of the circles closest to my allocated light sources, blending out the pencil with a tortillon. I decided to go in with white base first for two reasons. First so I could sketch out the shape without switching pencils, and second to make the colours pop even more once I added colour.
Step 3: White Base (Inside Light Reflections)
I then focused on sketching in the inside of the bubbles. To do this I created almost curved triangle shapes around the side of the circles to mimic how the light would catch parts of the bubbles and reflect.

To create a spheric effect, I then added smaller, more circular shapes in the middle of the bubbles. You can also add flares of light on some of the bubbles in the direction of the light source.
Step 4: Adding Colour
Now it’s time to bring the bubbles to life! To do this you want to include a gradient of several colours to mimic the rainbow reflection you see when light hits a bubble/water. I chose two different gradients for each light source to ensure only complementary colours were mixing. The first gradient was dark blue, purple and pink. The second was light blue, light green and dark green.

When colouring in the bubble, try to keep the lighter colours in the gradient near the light sources, and get darker as you go towards the middle of the bubble. Also, make sure to blend the colours by putting several light layers of pencil crayon down, and utilise the tortillon if needed.
Step 5: Highlights
Finally, add extra highlights to the bubbles to really make them pop off the page.

To do this I used a fine gel pen and the 0.7 white Acrylograph. I placed the highlights close to the light sources in random lines and dots to further imitate how the light would reflect of a bubble. Also, make sure to focus the highlights on the light flares on the sides of the bubbles to really make them shine.
Full Theme
Finally, here’s a quick video of me making my bubble theme spreads, and a flip through of how the whole month turned out!
Hopefully I’ve given you some tips and inspired you to create a bubble theme in your blackout journal! If you have, I would love to see any spreads you make, so tag me on Instagram (@hayleyremdeart) and use #hayleyremdeinspired to get the chance to get your recreation featured in my stories!


0 comments