


Hey, everyone! This is Quinn from zquinns_art on Instagram. I’ve been making paper-cut art for many years now, and I’ve even included a few pieces in my journal. But I’ve never tried cutting the paper in my journal to make a piece until now. For my cover page this month, I wanted to create something fun and unique, so my boyfriend suggested that I try cutting out something instead of painting something like I normally do. I loved the idea and thought I’d give it a try. It turned out so well that I wanted to share it with all of you!
This is a tutorial for those who have never done paper-cut art or for those who are experts around an x-acto knife. I definitely encourage you to give it a try!
Supplies

- Journal- I’m using an Archer and Olive A5 sized journal, but any of their journals would work for this! You can also use the notepads if you don’t feel comfortable cutting paper in your journal.
- Sketching Utensils- pencils, erasers, and a marker of some sort to make thicker lines.
- X-Acto knife- don’t forget extra blades!
- Cutting Board- there are cutting boards made specifically for using an x-acto knife, but I’ve found them a bit thick to use in a journal. They can sometimes make a crease on the page when you use it. You can try using a clipboard, thick cardstock, the back of a spiral notebook, a piece of cardboard, or something else. The idea is to have a protective layer under the page you are working on so you don’t cut too many other pages. I used a quilting template maker. It’s a thin but durable plastic that worked super well!
- Tape- used if you make any mistakes.
- Optional: Colored paper and glue
Getting Started
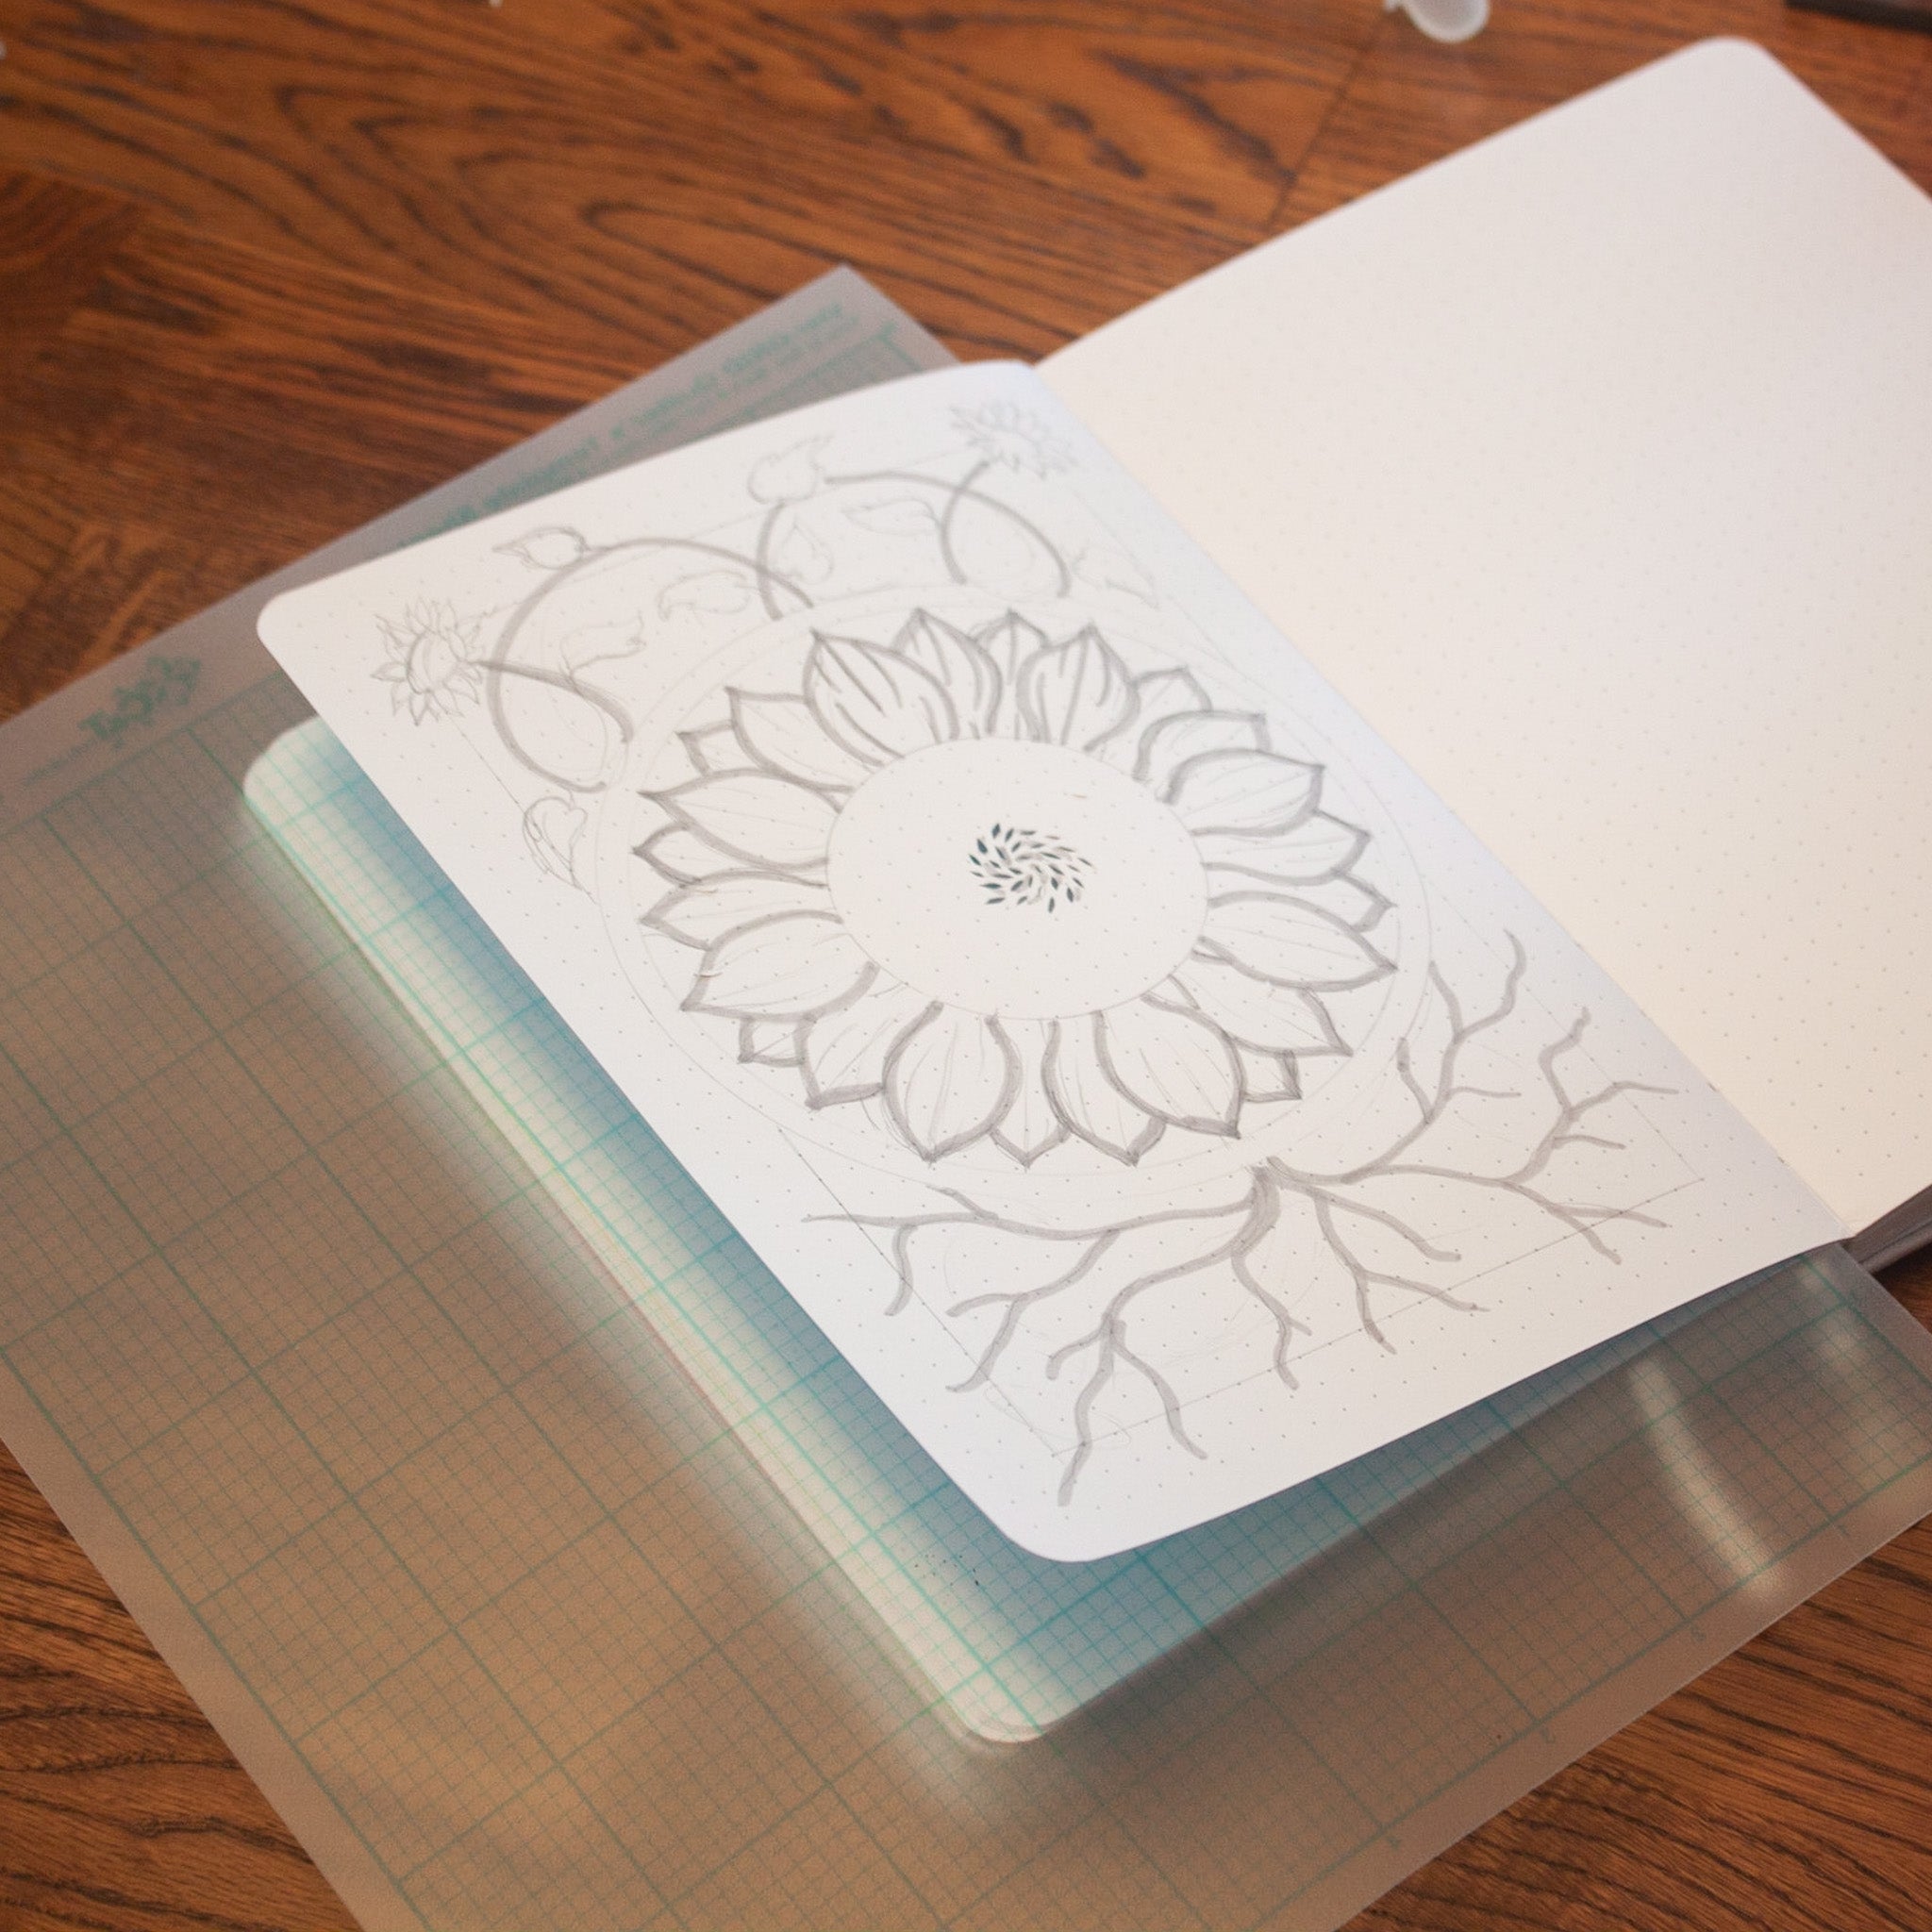
Before you begin, you want to sketch ON THE BACK side of the page you want to make the design on. You can also tape in a template to the back of the page. I’ve included a template for the design I created for you to use as a template if you want.

When you use the template, just keep in mind that you want to take out the purple parts of the design and keep the white ones.
If you want to create your own design, try to make one that isn’t too complicated. The thinner the lines, the tighter the turns, or the more you cut out, the less stable and more difficult the piece becomes to cut out. The design I created is of a medium difficulty. One thing I like to do is go over parts of my sketch with a thicker marker. By using the marker, I make room for the lines to be large enough that I don’t need to worry about the design being too complex.
Cutting it Out

Once you are happy with the design, you can just start cutting the piece! It’s as simple as that, but I do have a few suggestions to make the process easier.
- Start in the middle and work your way out. This will give you the most paper to hold onto and work with.
- Start with smaller and more difficult parts before taking out larger chunks of paper. This way you can keep more integrity to the paper as you do all the annoying and fiddly bits.
- Cut towards your body. This is safer, gives you better leverage, and gives you better control.
- Move the paper as you need to. I kept my paper fairly straight to film for the video, but feel free to move the page around as much as you need to get the best vantage point.
- Keep your area clean. There will be lots of bits of paper flying around, and they can get under your work, making the whole piece more difficult to cut out.
- Take your time. Most of my mistakes come from me rushing to finish a piece or get part of it done. That’s how you can mess up lines or cut off whole pieces you never wanted to.
- Fix your mistakes with tape! Check out the video to see how I do it. It’s pretty easy.

You can watch my YouTube video to see how I moved around the page for this piece. It may give you a better idea of how best to approach your own piece of art!
What to do Next

With the finished piece, you have many options. You can leave it as is, you can put a piece of colored paper behind it to make it pop, or you can even paint a background to better fill in the page! It’s entirely up to you how you want to finish it. I am probably going to put a purple piece of paper behind the page as I love the color and it goes well with my monthly theme.

Congratulations! If you’ve followed this tutorial, you’ve got a beautiful piece of paper art now. Feel free to share your creations with me or Archer and Olive on Instagram! You can tag us or DM us. I love to see what you all make, and as a lover of paper-cut art, I’m always excited to see more, particularly in your journals!!


0 comments