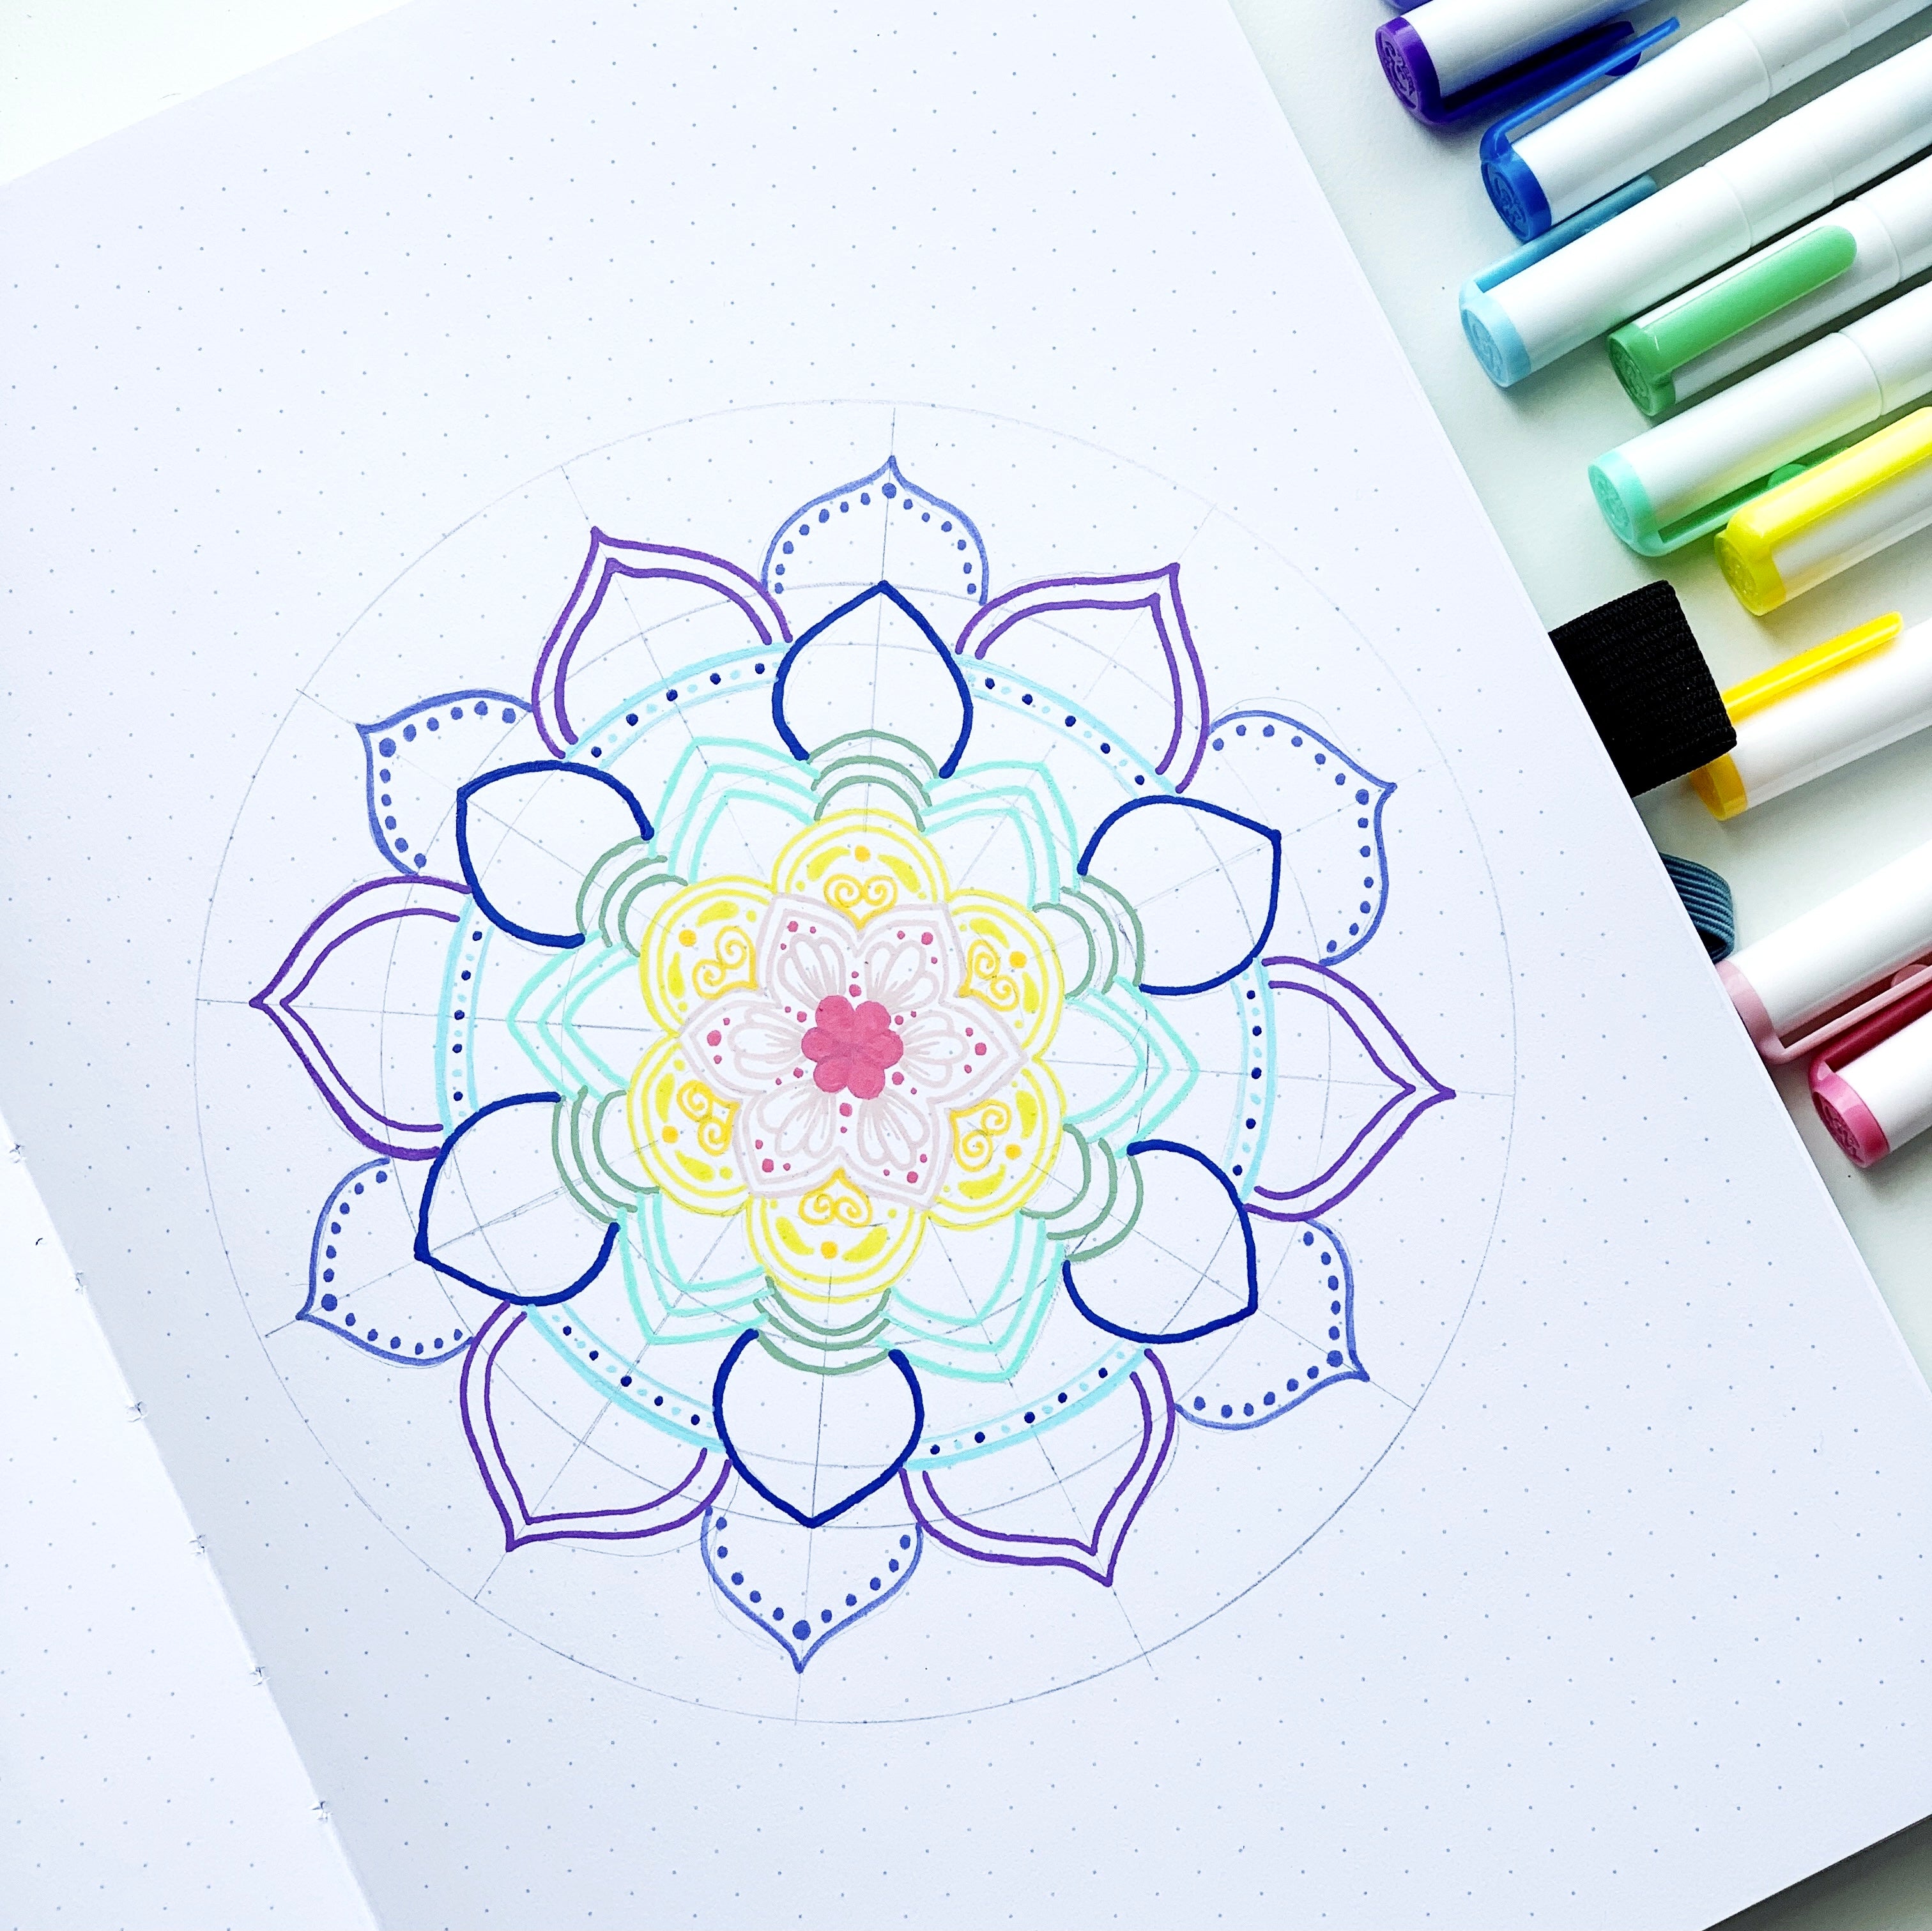
Hi friends, Adrienne from @studio80design here to show you how you can create a mandala using the Archer and Olive Acrylograph Pens! I have been loving using these pens recently, the colors are bright and perfectly opaque!
Materials you’ll need:
- Archer and Olive B5 Dot Grid Notebook
- Archer and Olive Acrylograph Pens in assorted .7mm
- Helix 360 Degree Angle and Circle Maker
- Tombow MONO Graph Mechanical Pencil
- Tombow MONO Eraser

Step 1
Today I am using the larger B5 Dot Grid Notebook because there is more room to create a larger mandala! Using the MONO Graph Mechanical Pencil and Helix 360 Degree Angle and Circle Maker, draw your circle and angle guide In the middle of your page. This tool is so handy and I use it for a variety of projects, but it’s especially handy for drawing mandalas! I draw various sizes of circles and then draw line guides every 30 degrees around the circle.

Step 2
Next, use your pencil to draw shape guides for your mandala, just so you have an idea of how everything will fit and how it will look together on the page. You can always decide to change it, but having a guide will help!

Step 3
Now it’s time to paint! I used a combination of .7mm colors from the Tropical, Primary, and Jewel sets to create my own rainbow palette. I’m starting with the pink/red color and painting in the center of my mandala shapes.

Step 4
Continue to draw in the shapes of the mandala using various colors of the Acrylograph Pens.


Step 5
Once the General shapes of your mandala are painted in, go back in and add all the small details to fill in the shapes. I like to look for any large white gaps that need to be filled in. Wait to make sure the ink has completely dried and then use the MONO Eraser to erase any extra pencil marks!
Since these paint pens are very pigmented, you may find that you have painted over a previous layer when adding the details. So if you need to, jut go back in and brighten up any lines that may have been painted over!

And that’s it! I hope you found this tutorial helpful and you try it out! For more inspiration like this, make sure to follow me @studio80design!


0 comments