


Hello! Lisa (from @nolalettering) here with another greeting card tutorial. With Thanksgiving fast approaching, it’s time to think about thank you cards to show your love and appreciation for your friends, colleagues, and family. You can go the simple route and purchase pre-made cards at the store, or you can make your own and personalize it to your recipient. In today’s tutorial, I will show you some tips and tricks to making your own thank you card to give out to your loved ones, including different ways you can write “Thank You” and doodles you can add to your design.
Materials
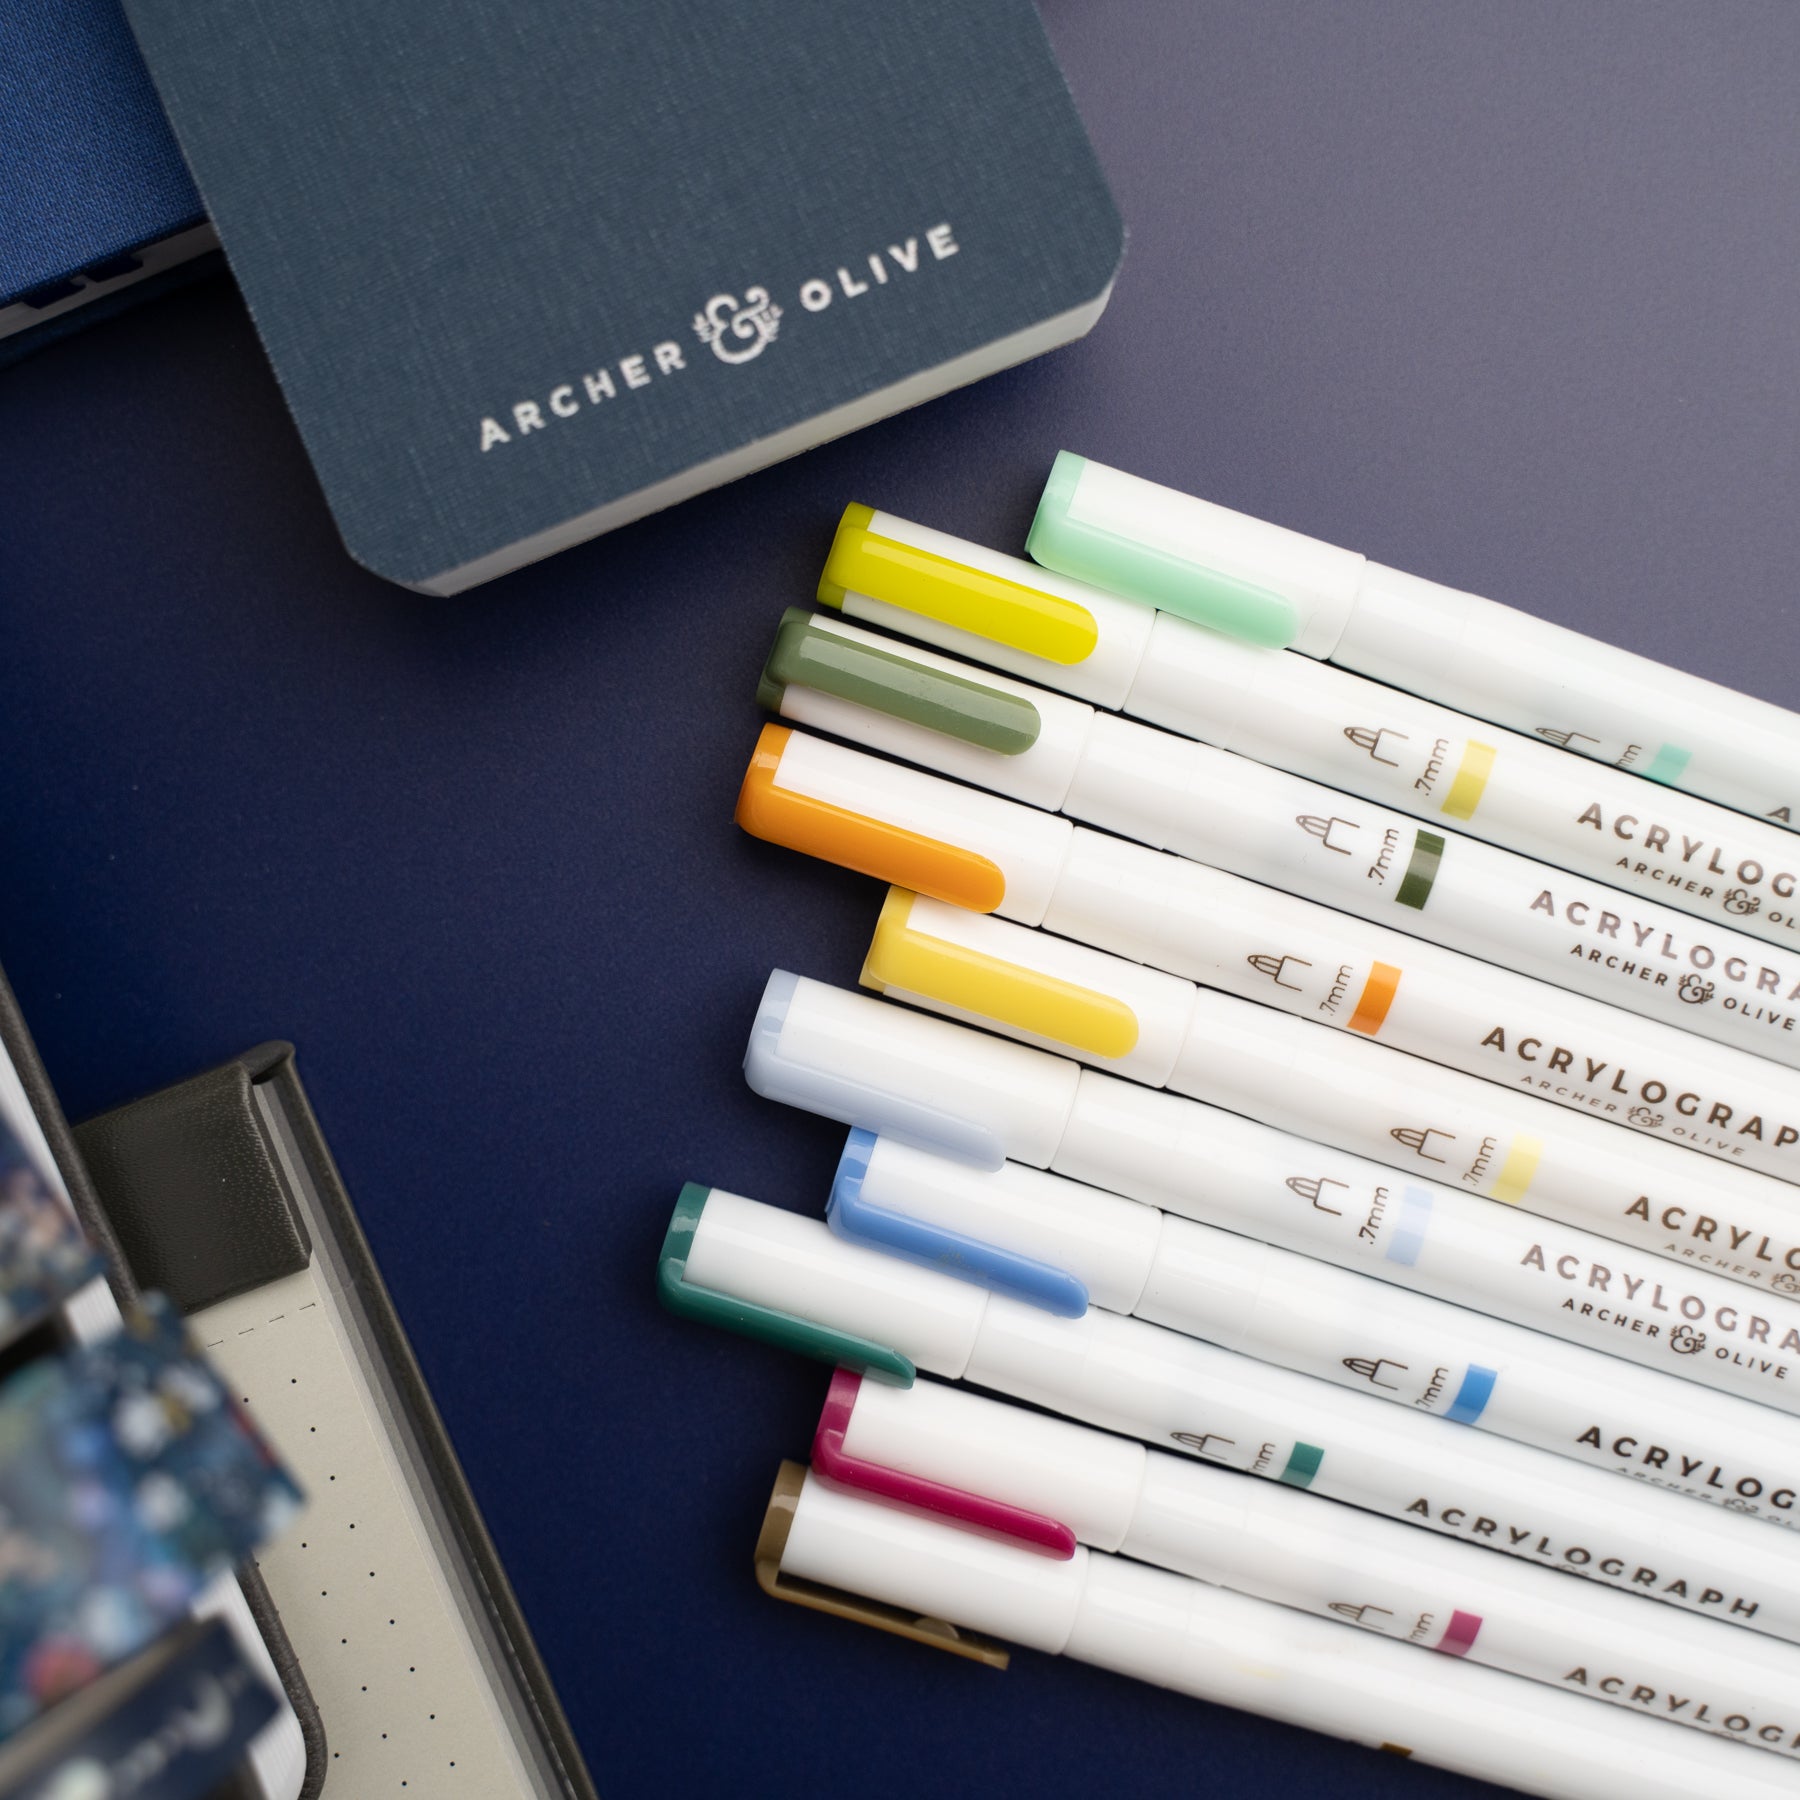
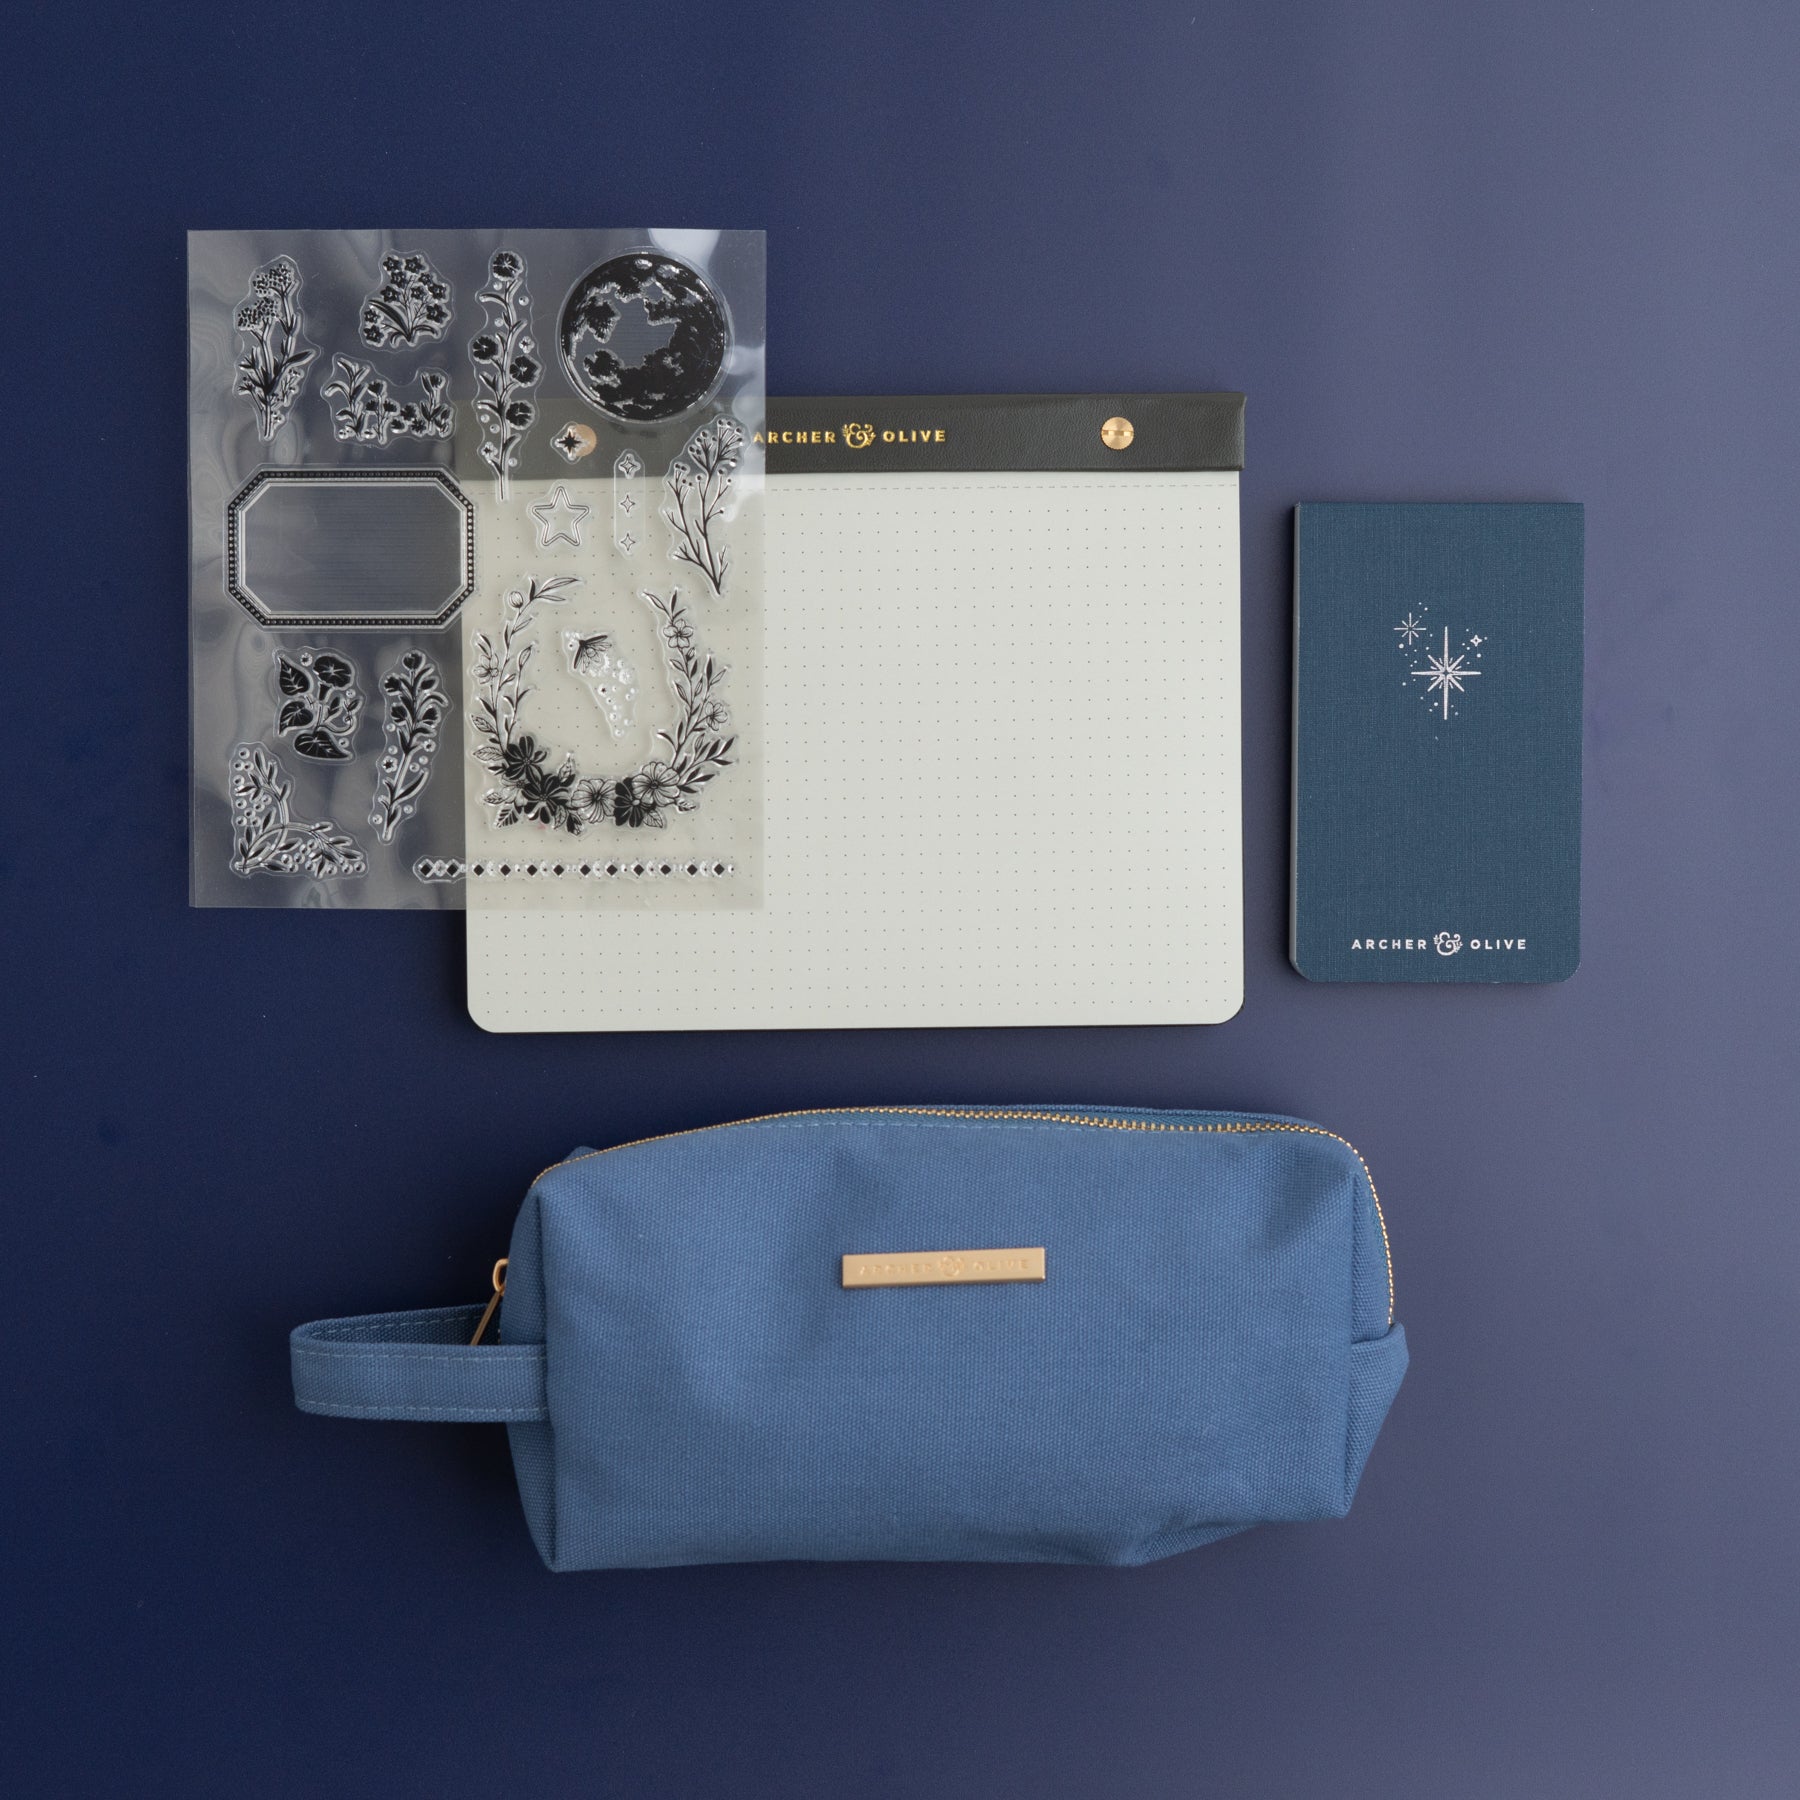
- A&O Acrylographs
- A&O Calliographs
- Card stock or blank greeting card
- Pencil and eraser
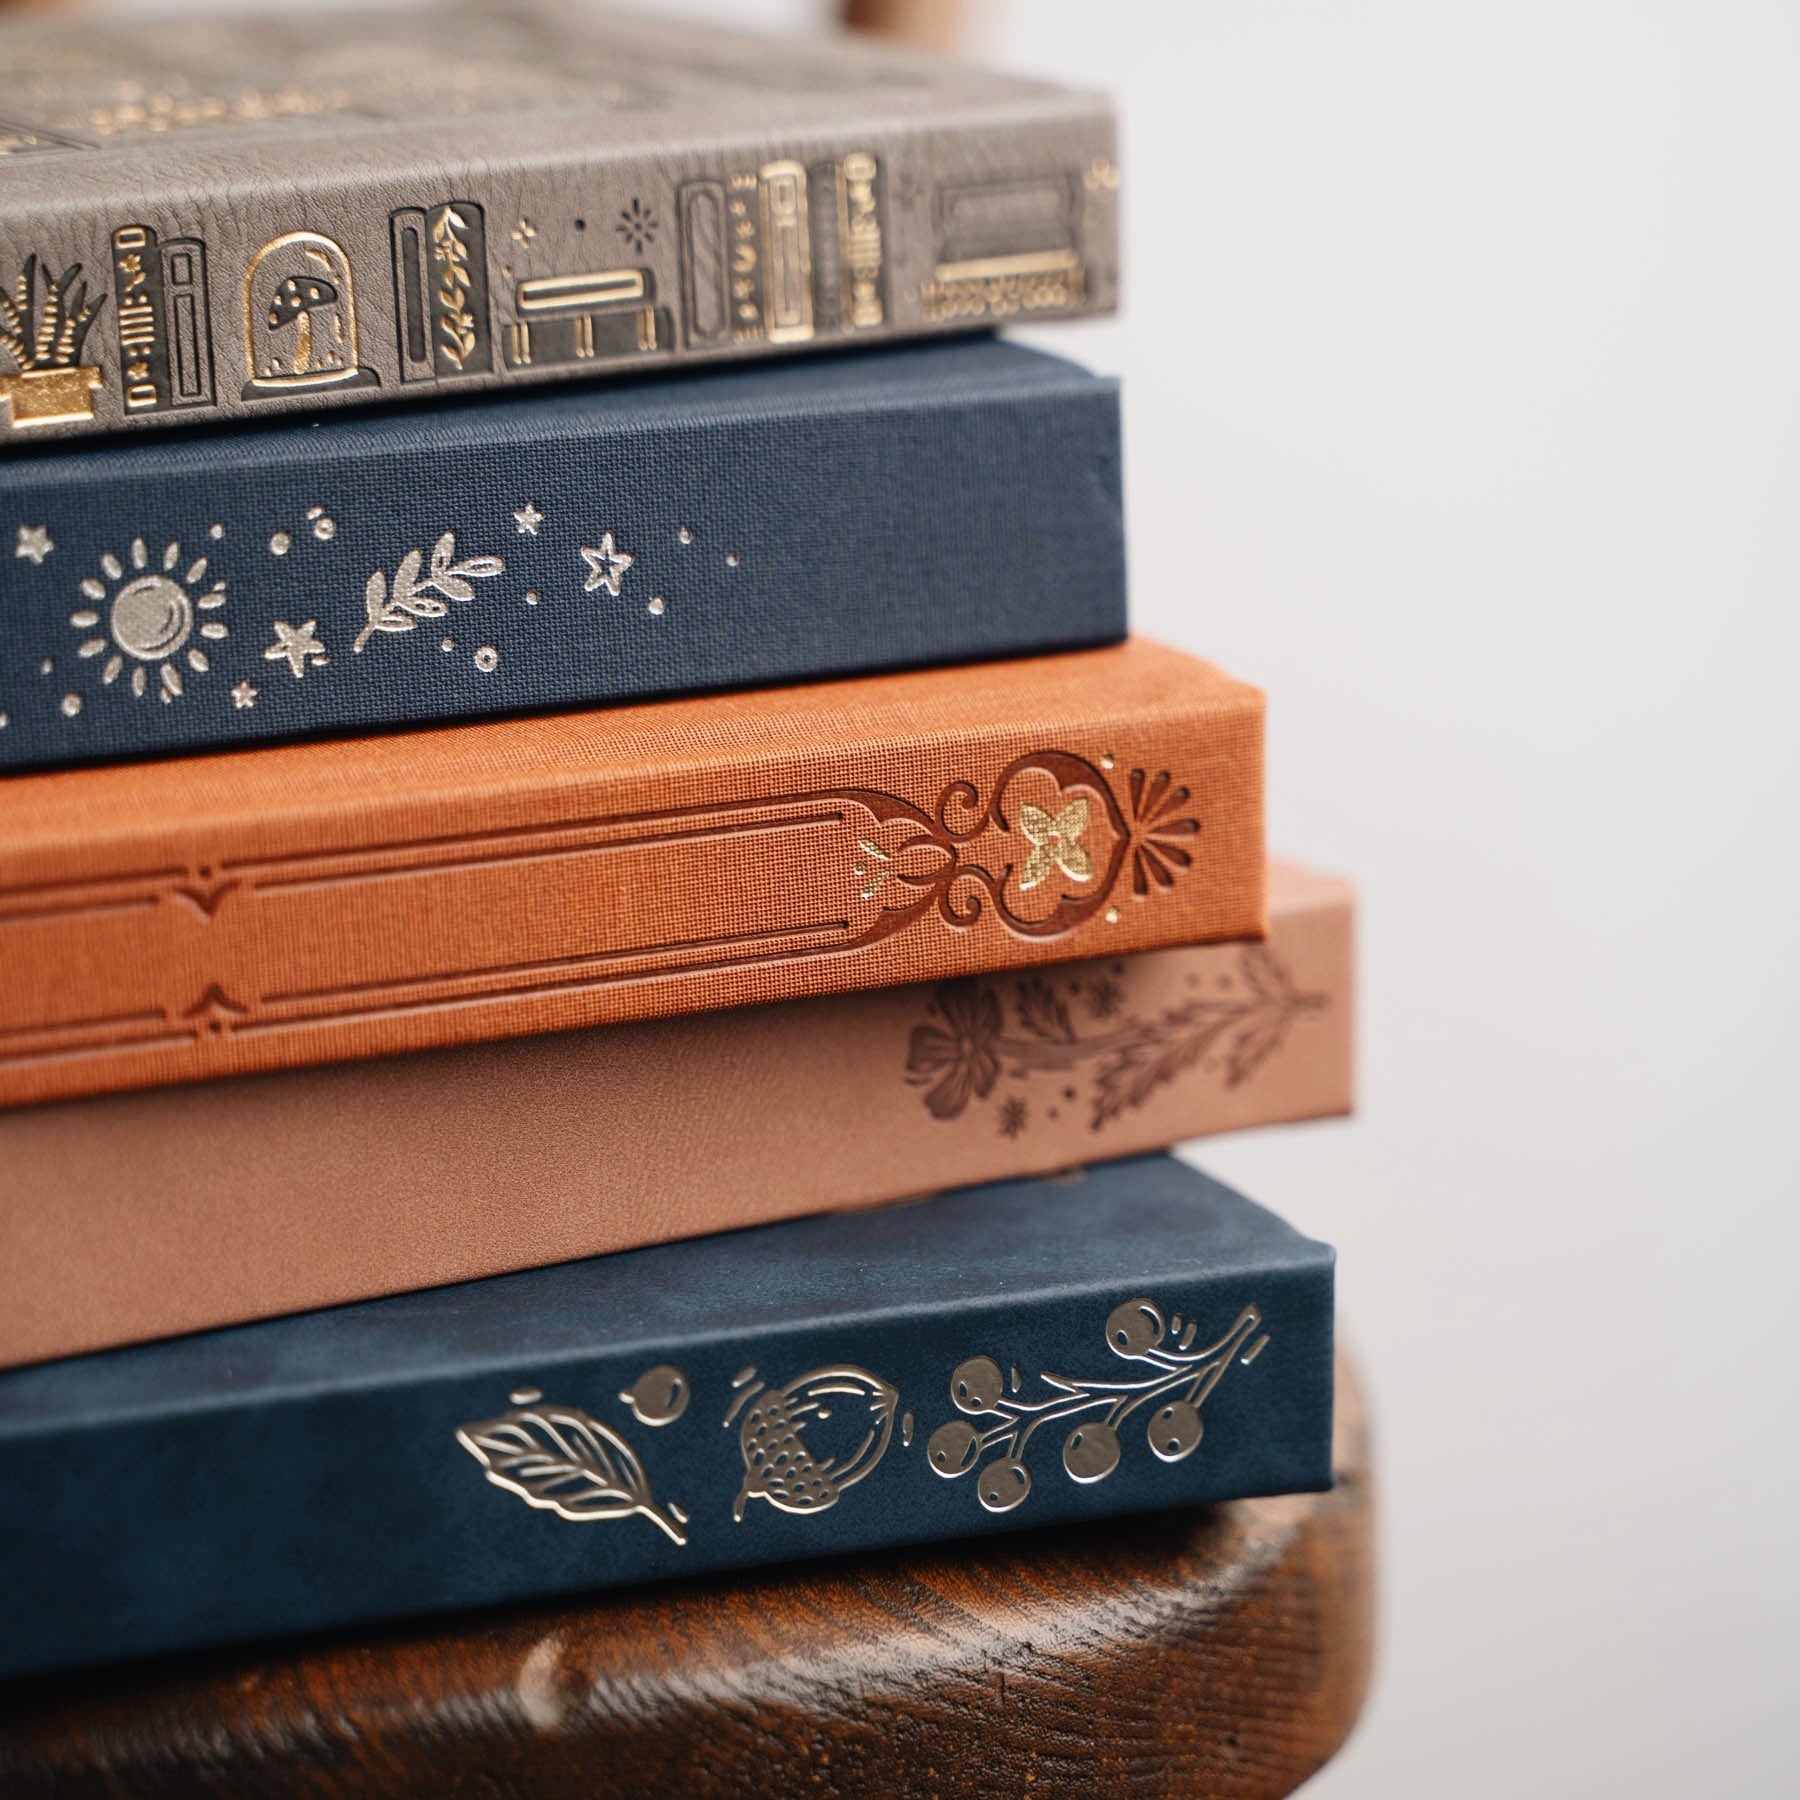
Pick your card(stock)

You can find blank greeting cards at your local craft store or you can make your own! If you have cardstock at home, you can cut it down to whatever size you’d like and fold it in half. It will be easier to fold if you have a tool to score the crease first, but it’s not necessary. The great thing about making your own card is you can choose the type of paper and color you want.
The easiest is white heavy cardstock, which is what a lot of the pre-made cards use. If you like to do everything in watercolor, you can consider creating the cover on a watercolor paper and then gluing that to your cardstock. The possibilities are endless, and you can personalize it to your intended recipient. If your friend is a fan of pink, get pink cardstock; if you friend likes black and white, use black cardstock.
Personalize the text

As I mentioned previously, being able to customize your card according to your recipient is one of the funnest things about making your own card. If it’s a work colleague or an acquaintance from a more formal setting, a simple thank you on the card cover is enough. However, if it’s someone close to you that you can share silly jokes with and you know loves puns, you can create a cover with a fun thank you pun, like my “Thank you beary much.”
So when you’re picking what to write on the front, consider who you’re giving the card to and what they like. The thought that you put into it will make the card feel even more special to the recipient. But if you’re ever uncertain, a simple thank you in a pretty lettering style will be more than sufficient.
Personalize the lettering style

Different lettering styles can give off different vibes. For example, the script style can feel more formal and elegant, but if you make it a little more rounded and bouncy, that’ll give off a more fun and relaxed vibe. Similarly, sharp angled block letters can feel more formal and professional, especially with thinner weights. But if you round the corners and make the letters more chunky, then it can feel more bubbly and chill.
So when you’re deciding on what style to use in your card, think about your recipient and the message you’d like to send with your card. In my example, I’ll be giving this card to a good friend who I know loves cute things and puns, so I went with a cute bubble letter style to fit in with the bear theme. I even made the lines of “beary” not too straight to give it a fur feel. Little details like this can make your lettering style stand out even more and also feel more personalized.

Here are some of my more frequently used styles. Watch the video below to see how I create these letters. But please remember that your lettering doesn’t have to be perfect. The point of a hand drawn card is not perfection, as in that case, you can use a font to type out thank you and print it out. It would be perfect, but it would feel far less personal.
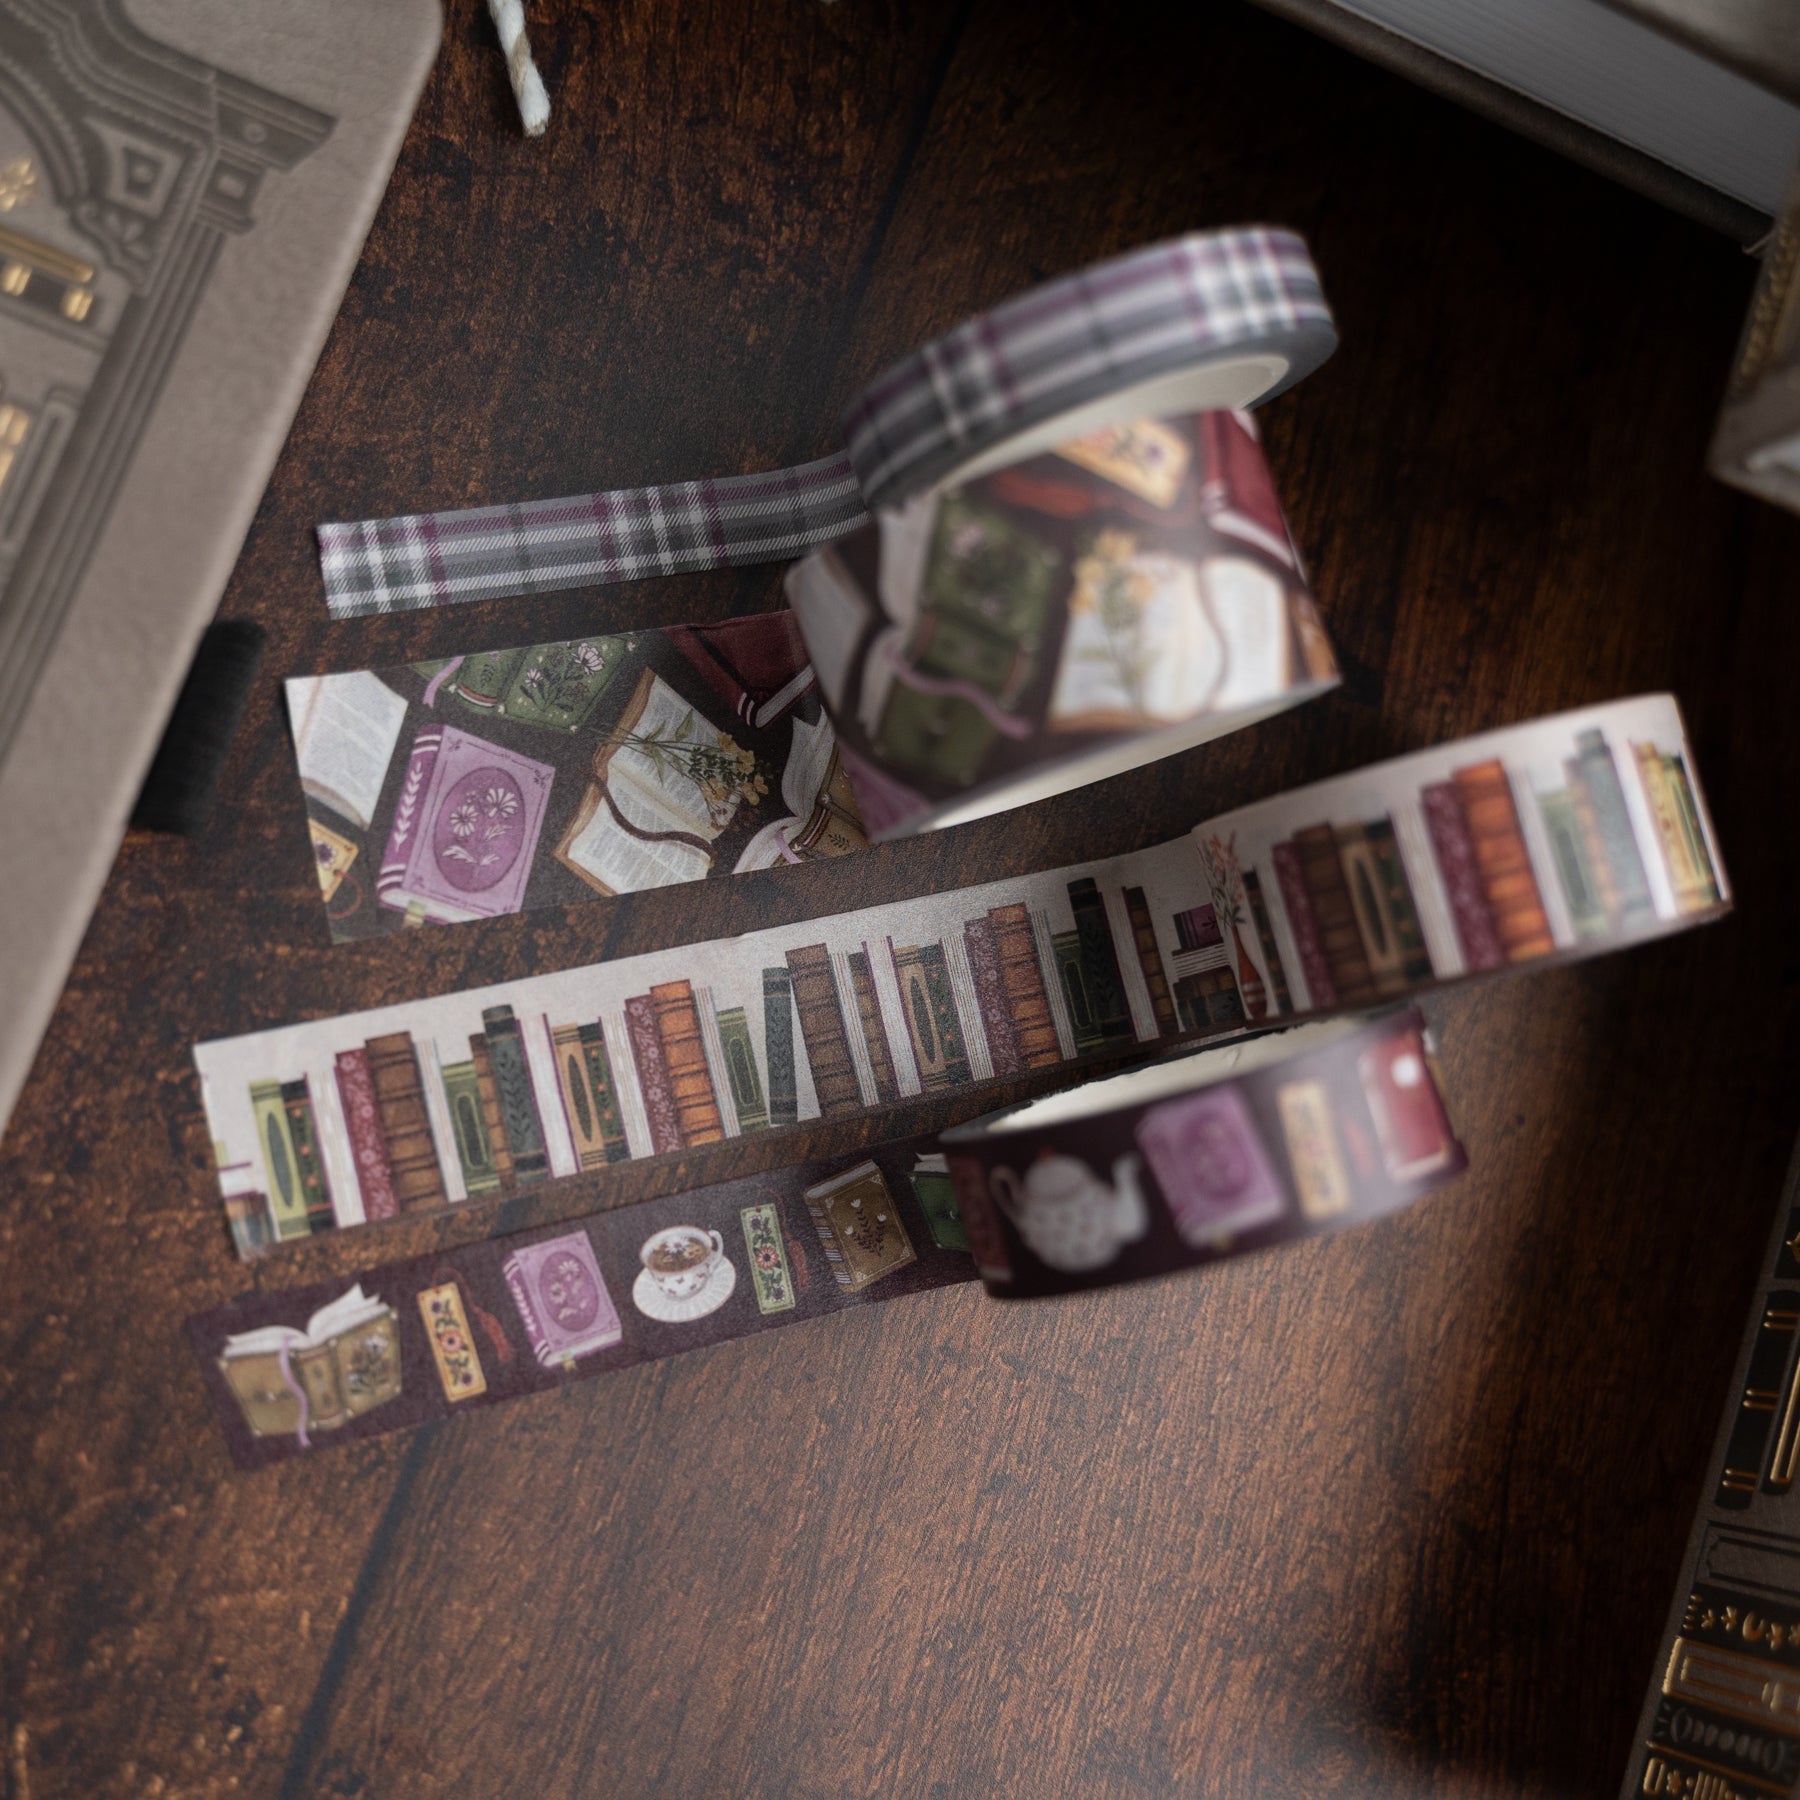
Add doodles and extras

My last tip is always the same - add in doodles and any extras you feel like! If you have cute stamps or washi tapes that can be incorporated into your card theme, then add them!. If you feel like there’s too much blank space, add in simple doodles like stars, hearts, dots, and other easy shapes. Or if your card has a specific theme, you can add doodles related to that theme. For my example, I went with a bear as my text has the word bear in it, and I wanted the bear to be the one saying thank you, so I added in a speech bubble.
Here is the finished card

If you are stuck on ideas, I’ve included a few lettering styles in the printable, so feel free to use any of those in yours.

And that’s it for my tips and tricks. I hope you found it useful and fun! If you create any thank you cards, please share with us on social media and tag me, @nolalettering, on Instagram along with @archerandolive, @archerandolive.community and use the hashtags #AOShare and #archerandolive so we can see your beautiful creations.

0 comments