Materials you’ll need:
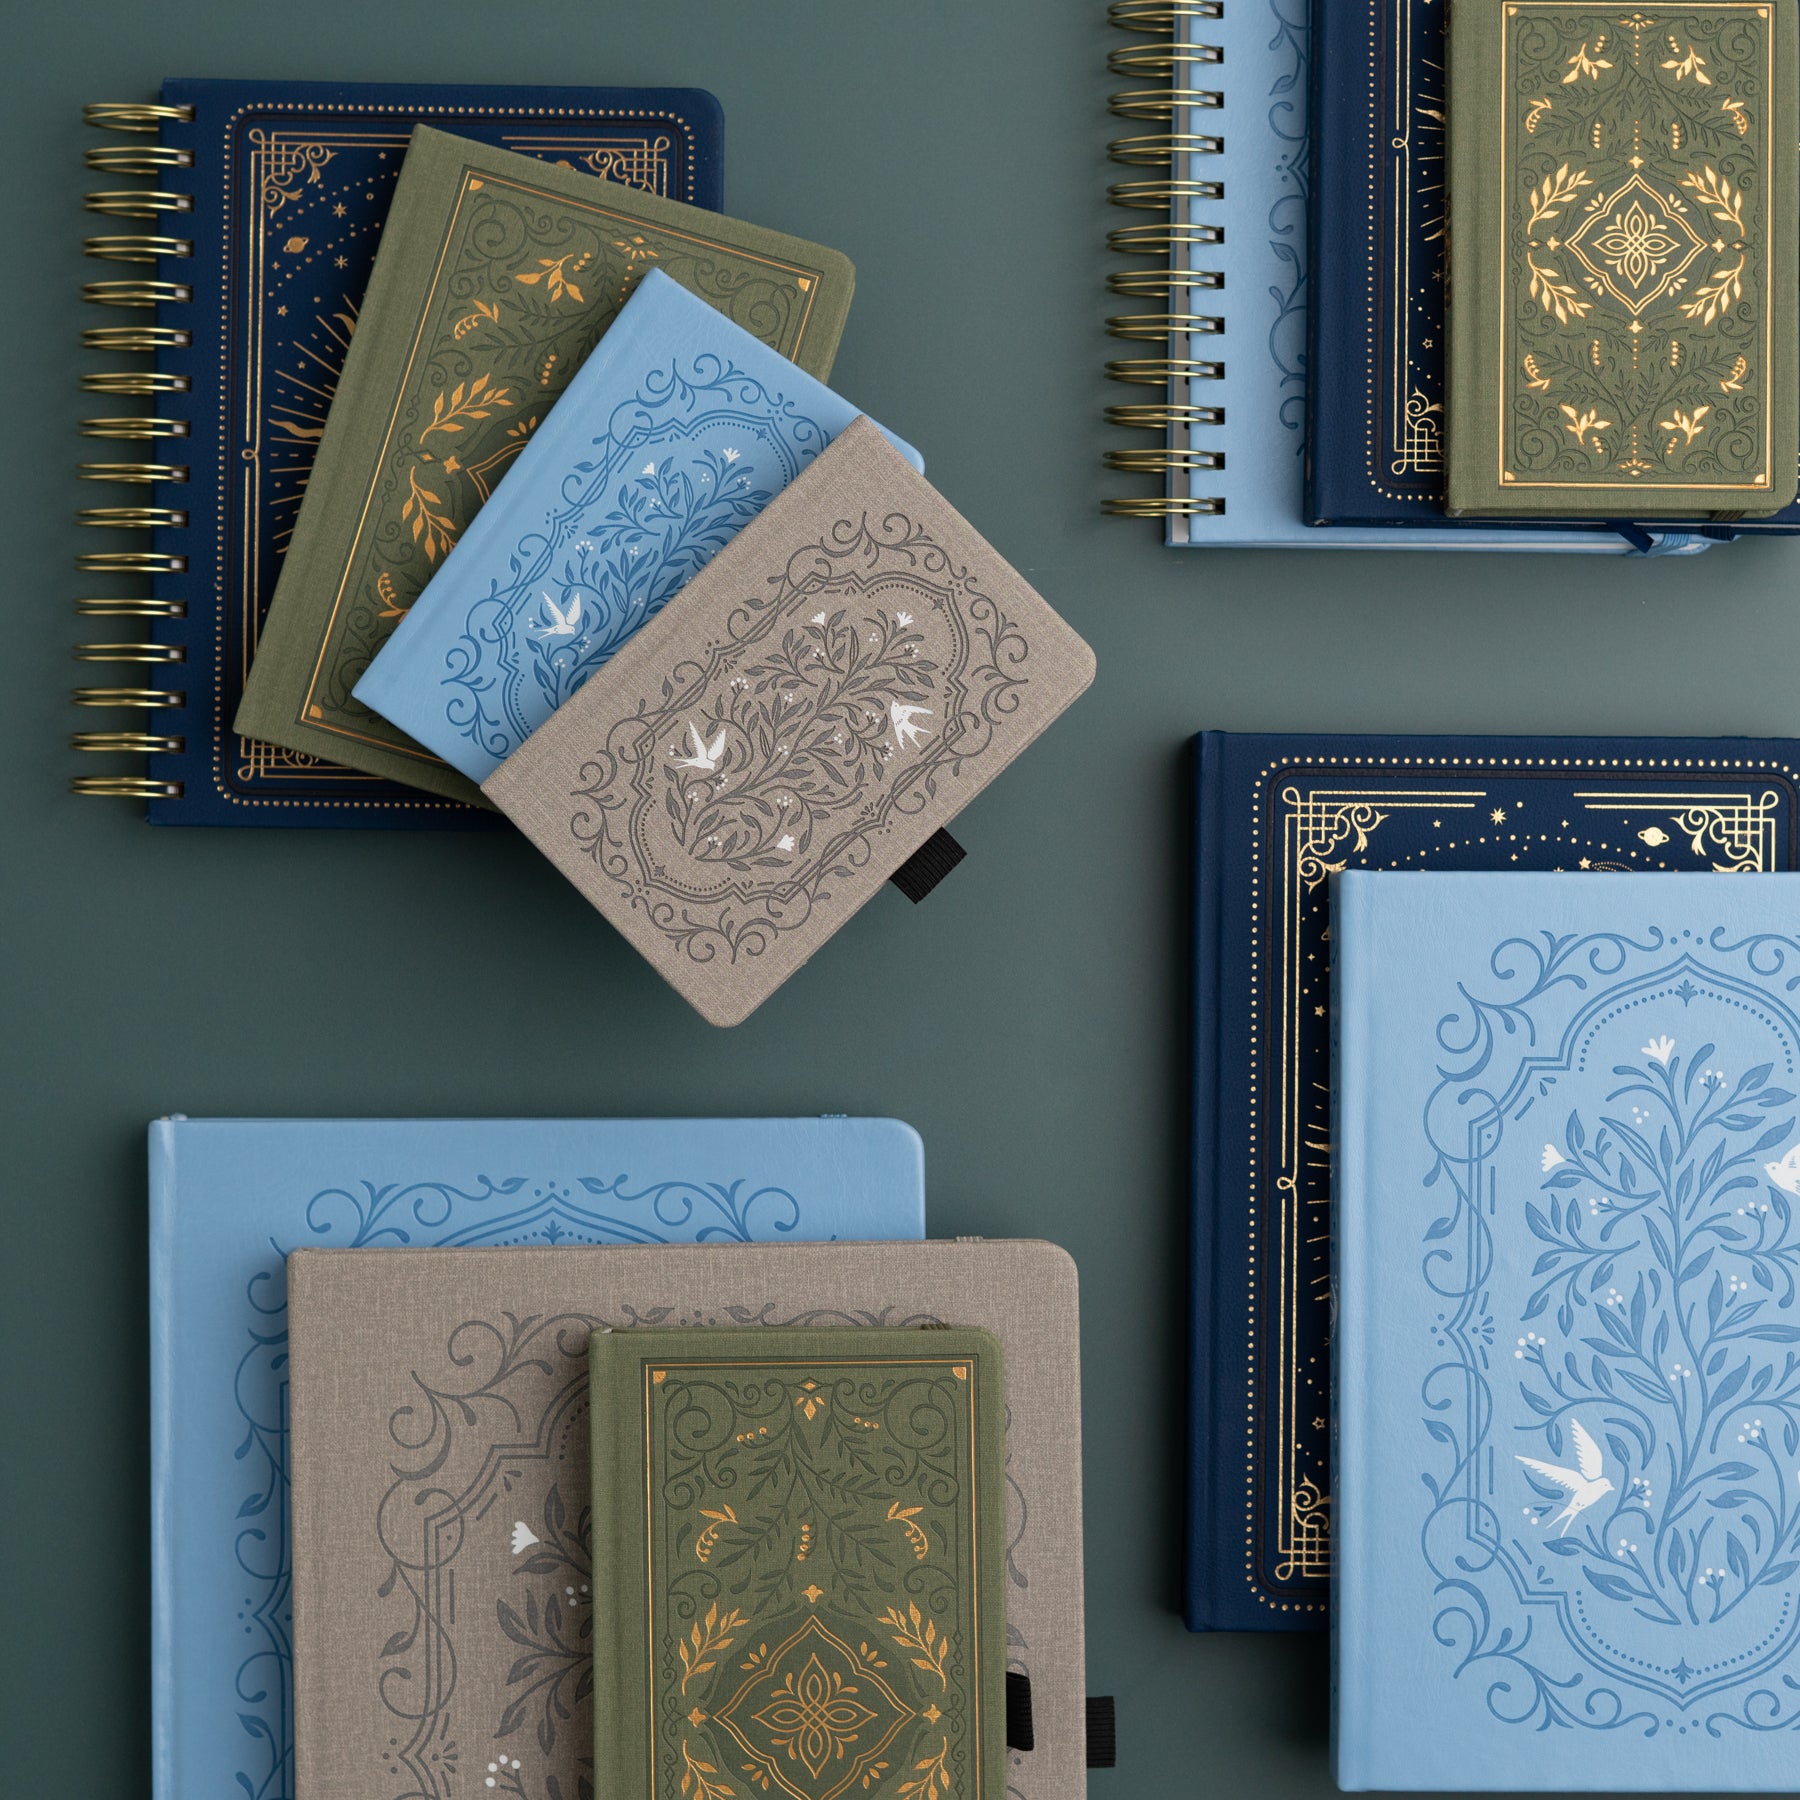
- Archer and Olive A5 Signature Dot Grid Notebook
- Pencil
- Tombow MONO Drawing Pen 01
- Tombow MONO Eraser
- Tombow Dual Brush Pens in light gray/blue shades (I used 291, N60 & 451)

Tip 1
I love drawing snowflakes, but drawing them on blank paper can be challenging. That’s why I love using dot grid paper to make sure my snowflakes are symmetrical and even! The dot grid notebooks from Archer and Olive are perfect!
Tip 2
Use pencil to sketch your initial design. Snowflakes have six sides, so draw six lines coming out from the center. Use the dots on the grid to help you! Then draw your lines to design the snowflakes, making sure each side is the same so it's symmetrical.
Tip 3
Use a small black monoline pen to outline the pencil marks to make the snowflake two-dimensional. Then use your eraser to erase any extra pencil marks. The Tombow MONO Eraser is my favorite to use because it will erase all the pencil marks without compromising your ink you just put down!
Tip 4
For an added bonus, use a small light gray or light blue marker to draw an outline around each snowflake. This will add a little color to your pages! I used the bullet tip of the Tombow Dual Brush Pen Markers to outline each snowflake.
Tip 5
Use your monoliner to draw in small dots and stars to add in a little sparkle!

Thank you so much for visiting today, I hope you found my tutorial and tips helpful! For more inspiration like this, make sure to follow me @studio80design!


0 comments