


Hello, Lisa from @nolalettering here today to show you how to create cute Halloween-themed doodles in your journal. There are so many different Halloween-related items you can draw, but I will show you my five favorite doodles that you can use not only for your journal spreads and layouts, but also for handmade greeting cards, candy bag toppers, and so much more! For this tutorial, I will show you the materials you will need, how to doodle ghosts, pumpkins, candies, cauldron, and spiderwebs. I will also demonstrate how to include all these doodles to make an October cover page for your bullet journal. Let’s get started!
Doodle Materials
- Archer and Olive dot grid journal
- Archer and Olive black Acrylograph
- Archer and Olive Calliograph
- Pencil and eraser to sketch
Ghosts

When I’m first learning to draw something new, I like to break it down into simple shapes. For example, with version one of the ghost, you can consider it to be an upside down U with squiggles on the bottom. The squiggles don’t have to be precise or the same number of up and downs. You only need to give the illusion that it’s a flowing sheet. And then two circles for eyes, and you have your cute and easy ghost doodle.
Version two is equally easy if you break it down into its two shapes - a circle and a little curved cone. Then you connect the cone to the circle and you have your version two ghost. You can face him to the left or to the right, which is determined by which side your cone is on. If you want it to face right, then the cone will be on the left side. You can also give it more character by adding a little flick of the tail. Add some circles for eyes and a mouth, maybe some eyebrows to give it more expression and cheeks, and now you have a cute (angry) ghost!
Pumpkin

Can’t do Halloween doodles without pumpkins! There are so many different ways to draw a jack-o-lantern, but here are two fairly simple doodles you can do.
The first version, draw a elongated trapezoid with curved corners. Then add the circle for the body, two triangles for eyes, and a wide U with two pointy bits on each side for mouth. You can leave it here and color it in, or add some doted lines to denote where the bumps are in the pumpkin. Add in the curly line for the vine, color it, give it some shadow and highlights, and there you have a simple pumpkin.
Version two is slightly more detailed. You start with a long oval, draw two more on either side. Then, stick the stem on top; you can do the first version’s stem or do one with a little circle at the top and then two lines down to the pumpkin. Then fill in behind the stem with two little arcs. This is all done with pencil first because then you’re going to go in and erase the middle area so you can add in the eyes and mouth and not have lines running through them. Then you can add dotted lines if you have the space to show where the bumps are.
Your pumpkin faces don’t have to be triangles either, you can also do circles for eyes and just a regular U mouth for a cute pumpkin. You can add more ovals to either side to make it a fatter pumpkin as well. So many different variations that you can play around with once you get the basic shape down.
Candy

Just like with the pumpkins, there are so many different ways to draw candy, especially coz there are so many different types of candy. Here are a few that I most frequently use. Of course there’s candy corn, which is essentially a triangle with rounded corners and two lines through it. Make sure your lines are curved to give it that 3D feel. Then there’s the simple circle candy with ruffles on both sides to represent the wrapper.
Lollipops are fun and simple to draw as well. You can do a sideways circle candy with a stick on one end or draw a swirl with a stick. Adding in shading and highlights to all the different candies can make it feel even more three dimensional, but that is not a necessity. And if you want to make it even cuter, adding faces is always fun!
Cauldron

If you’re going for a witchy theme, a cauldron is a nice addition. Start off with an oval for the top of the cauldron, then draw a circle below it that is slightly wider than the oval. Your circle doesn’t have to be perfect. It’s actually more fun if the circle is slightly wider to make the cauldron look chonky. Then connect the top oval with your circle with two curved lines and you have your basic cauldron shape. Add another little oval to the top to give your cauldron a lip and little triangle feet for it to stand on.
You can have an empty cauldron or have something bubbling inside it. Draw some little arcs in the oval and have some circles come out the top to give your cauldron some movement. And then lastly, give it a handle by drawing a wide U connected to the top of the cauldron, and if you want, color your cauldron in!
Spiderweb

Spiderwebs are great space fillers. If your composition has some blank spaces that you can’t really fit another doodle in, consider a spiderweb.
In version one. draw a center line straight down and then two slightly curved lines to the right and left of the center line with the tops touching. Then, connect the bottom ends of the lines with an arc (upside down U). It is entirely up to you on how curved you want your arcs to be, but keep in mind the space you have available. If the space is narrow, you don’t want the arc to be too curved because that will make everything look squishier. Then you continue with more arcs until you reach the top. Try to keep the arcs equal distance apart, and do give it some space. Packing in too many arcs will make your spiderweb look darker, but if that’s the look you’re going for, go for it!
Version 2 is similar to version one, but goes all the way around. Instead of curved lines for the frame, it’s straight lines. First, draw a cross (1 & 2) and then diagonal lines that go through the center of the cross (3 & 4). Try to make these lines more or less equidistant, but it doesn’t have to be exact; you can eyeball it. Most important is to make sure your vertical and horizontal lines are slightly longer than your diagonal lines. Then you do the same arc process as in version one! You can also do half a web, a third of a web, etc. The possibilities are endless.
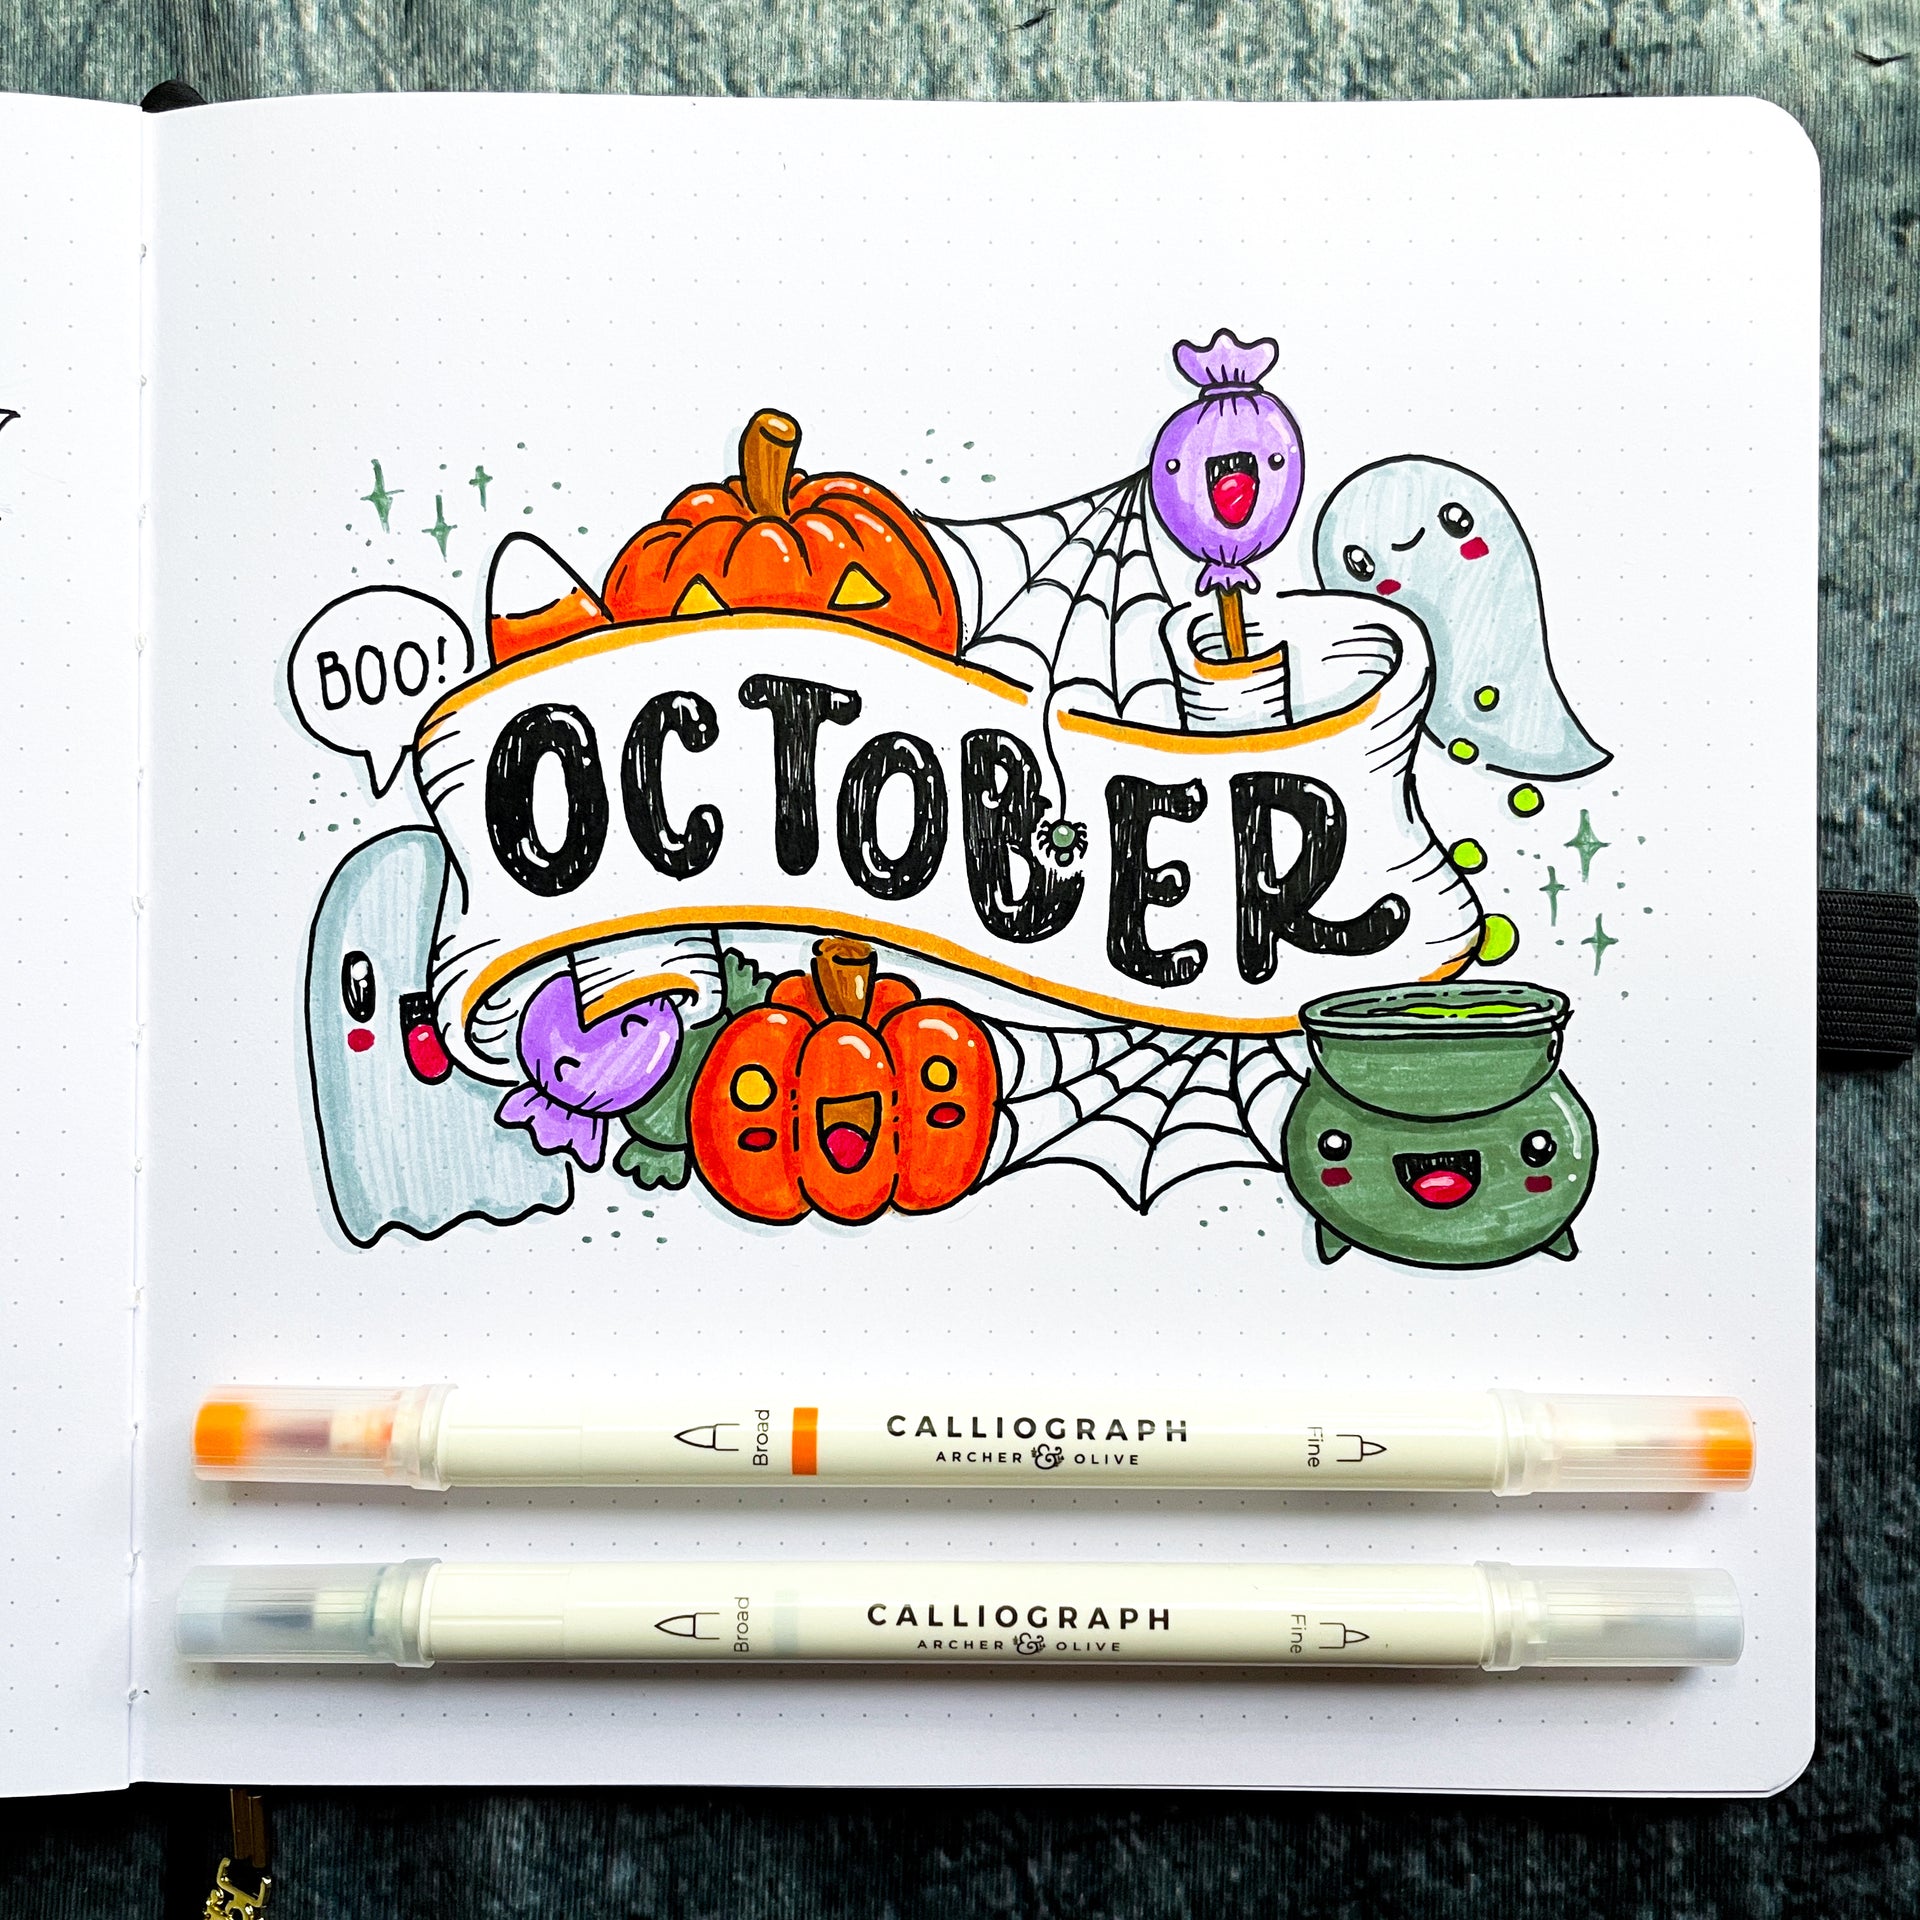
Composing a cover page
What can you do with these doodles? So many things - make a Halloween card for your friends and family, include them on a trick or treat sign, or make an October cover page for your bullet journal. In the video below, I show you how I incorporate all these simple doodles into a cover page.
You can also make a cute little coloring page full of Halloween doodles to give out. If you would rather just color in the doodles instead, I’ve included a printable of a coloring page filled with cute Halloween doodles.

That’s it for today’s tutorial. I hope you found it useful and fun! If you create any Halloween doodles or color in the coloring page, please share with us on social media and tag me, @nolalettering, on Instagram along with @archerandolive, @archerandolive.community and use the hashtags #AOShare and #archerandolive so we can see your beautiful creations.


0 comments