


Hi there, friends! Sarah here from SHEdesignsKC and the Archer and Olive Ambassador team. Today I want to talk about all things Calliograph! The Archer and Olive Calliograph brush pens are one of my favorite tools to use in my bullet journal and in my art and lettering in general. There are so many great ways to use them! They’re such versatile pens allowing you to get many different looks from just one pen - but of course, we want all the colors, right?! I’ve compiled my 5 favorite tips and tricks for getting the most of out of the Calliograph pen. If you have a set, or if you’ve been thinking of purchasing some, this blog post is for you!
SUPPLIES
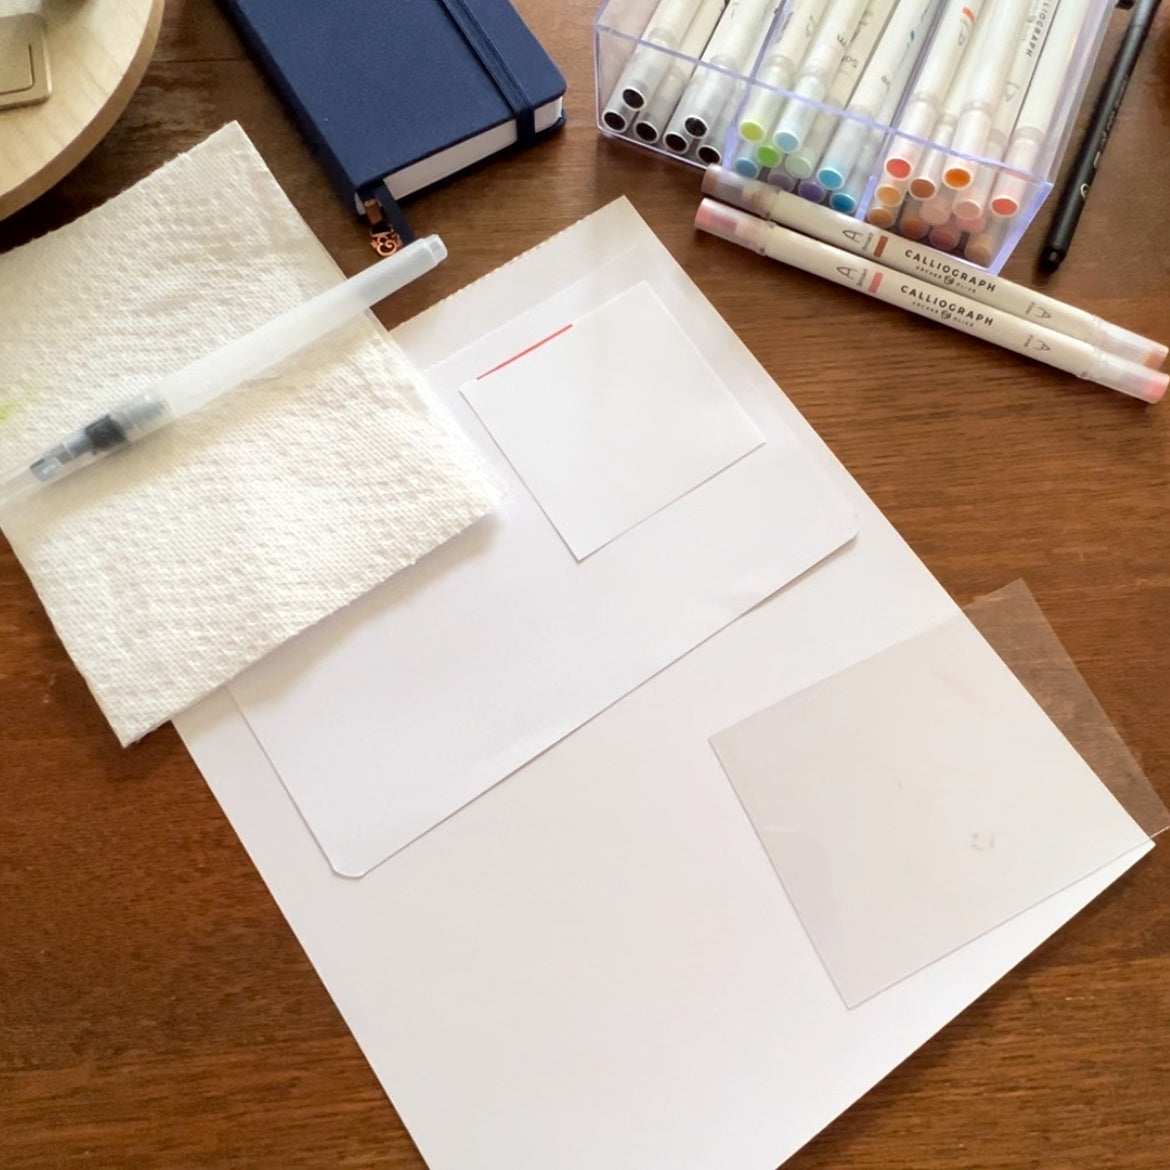
The supplies I’m using today are:
- Archer and Olive Calliograph pens
- Archer and Olive notepad paper
- Mixed media paper
- Water brush pen (a paint brush and water will work as well)
- Blending palette
- Paper towel
- Scrap paper
If you’re shopping for any Archer and Olive supplies, perhaps another set of Calliographs *wink, wink*, be sure to use my affiliate code SHEDESIGNSKC10 to save 10% of your purchases! We love a savings! Now, let’s talk Calliograph tips and tricks!
CALLIOGRAPHS AS WATERCOLORS
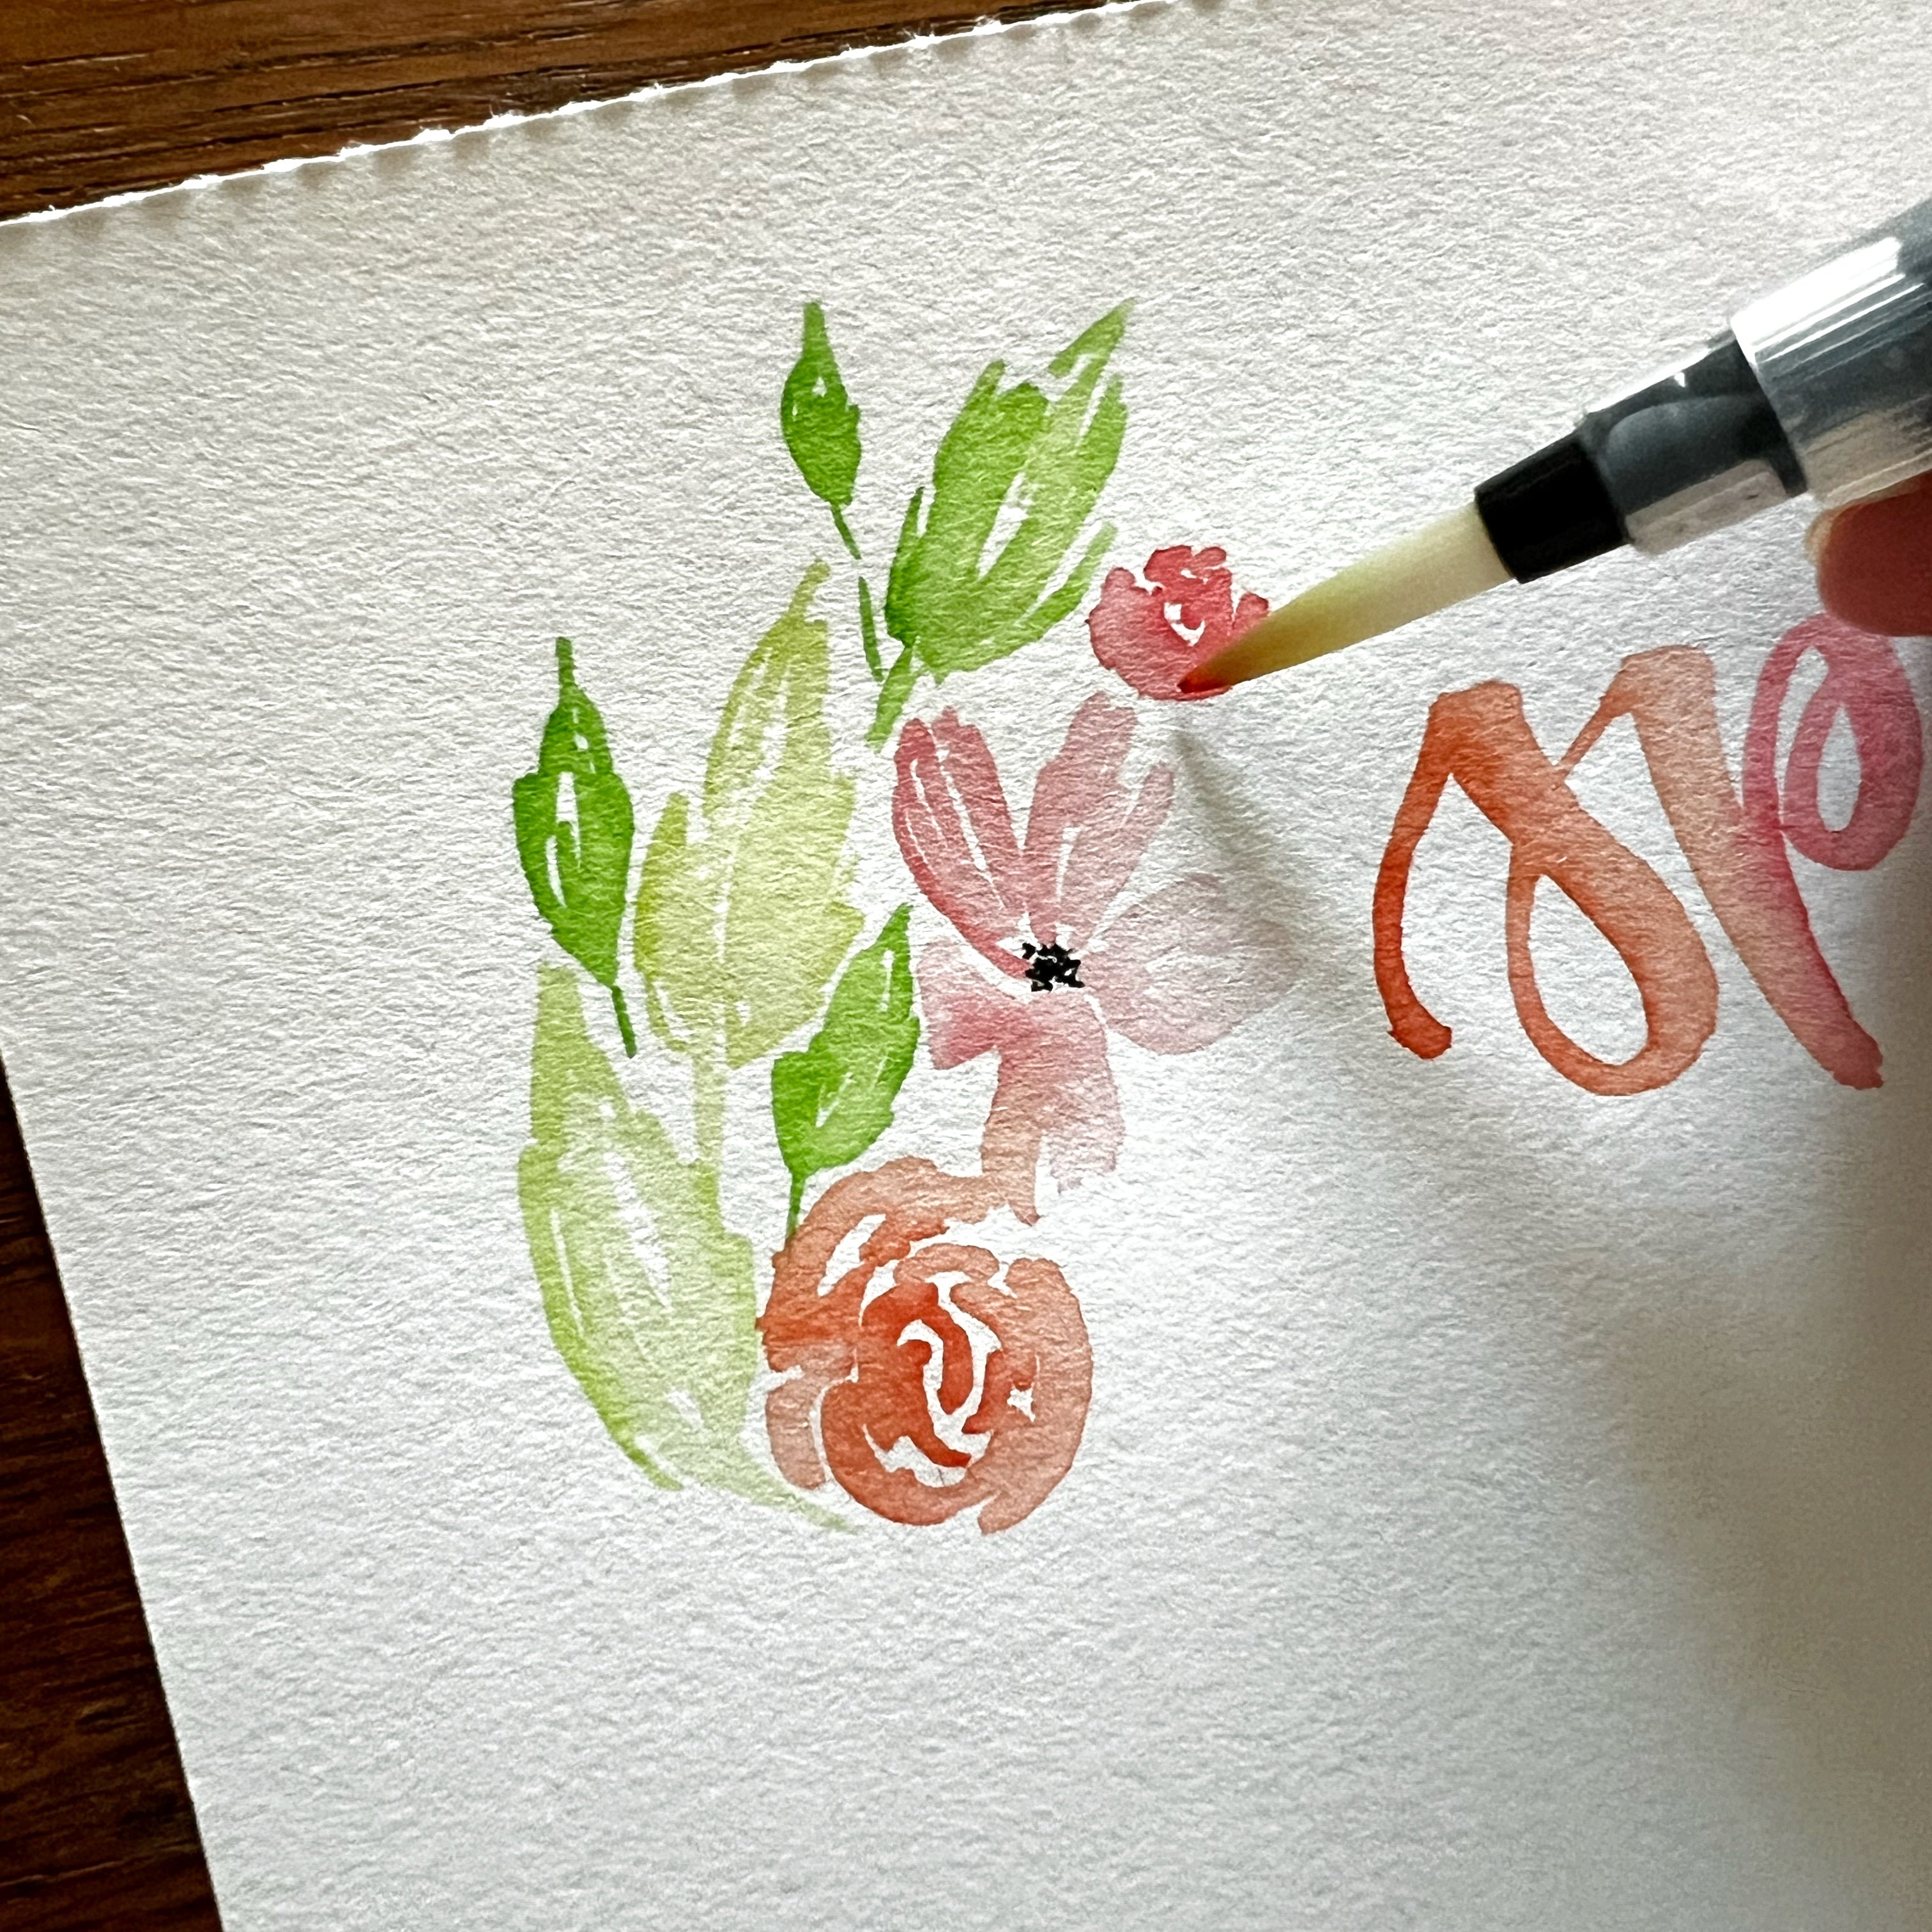
One of my favorite ways to use my Calliograph pens is as watercolors. There’s just something about the look of watercolor that is so elegant and sophisticated, and that look can be achieved with a Calliograph pen! I’ll scribble some ink down on a blending palette, and use a water brush pen to pick it up and paint. If you want to try this, but don’t have a traditional blending palette, you can use a variety of things to serve that purpose. I’ve used a trinket dish, a bit of plastic I cut off of some packaging, etc. You can even use a plastic baggie! I love how I’m able to get a lot of variation in shades by adjusting how much water I use with the ink I pick up. More water gets a lighter shade, and less water gets a darker shade. This is a great technique to stretch the use of a Calliograph!
BLENDING CALLIOGRAPHS
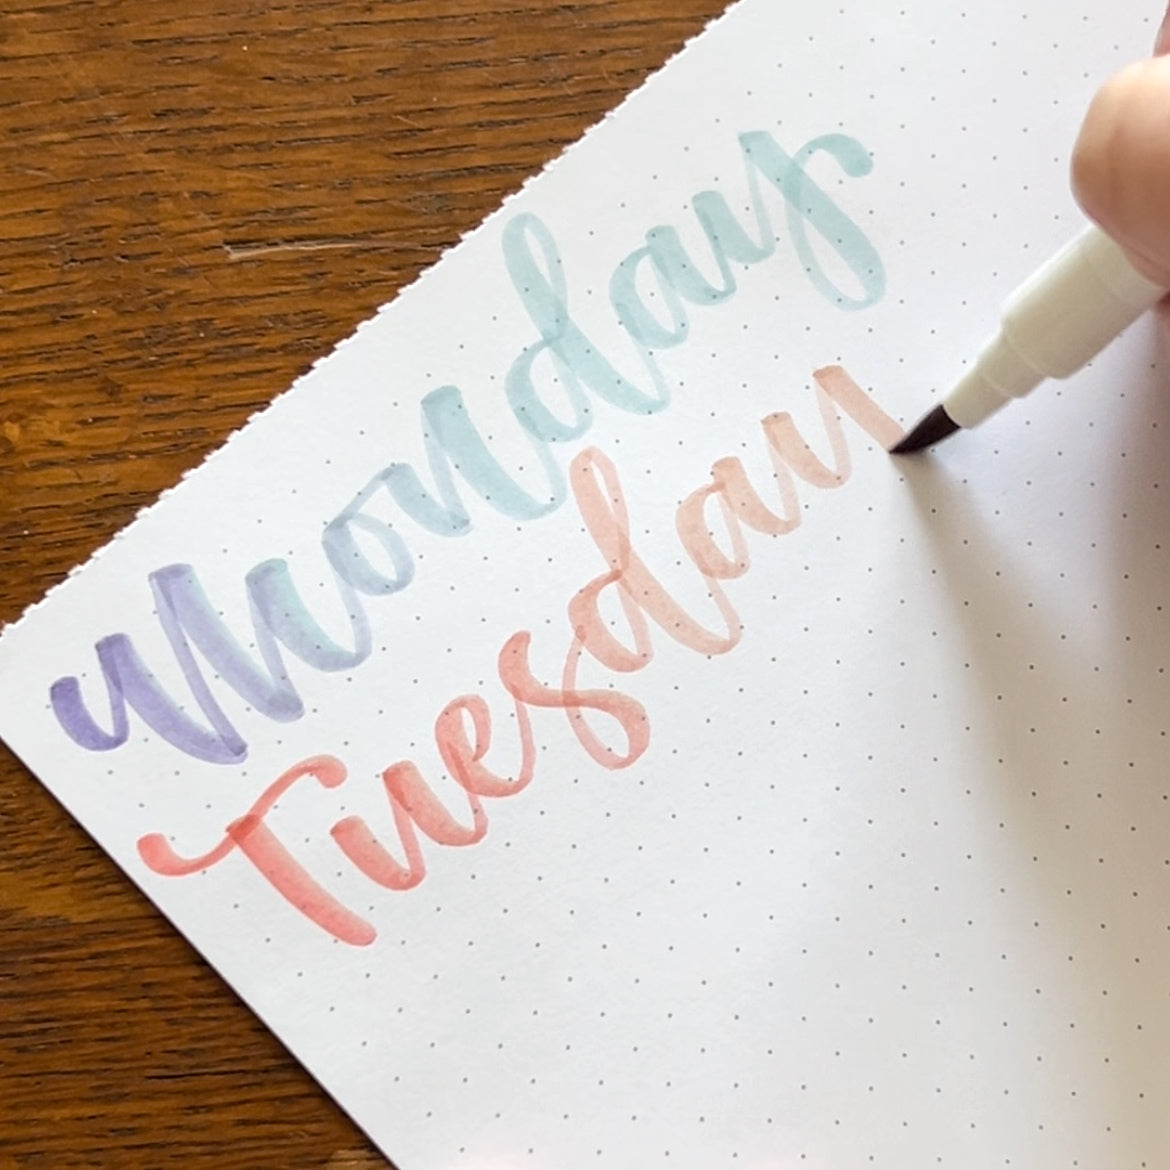
Create a new color combination by blending two Calliographs together. This look can be achieved by laying down some ink on a blending palette, and then dragging a different colored pen through the ink to pick up the color. As you write, the color will blend from the palette color to the color of pen you’re using. When I use this method, I typically use two pens of the same color, but different shades, like a dark and light blue. I lay down whatever color is darker on my blending palette and use the lighter colored pen to pick up the ink. And no worries about ruining the original color of the pens - the pen will go back to its original color after the darker ink wears off. Usually, this doesn’t take more than a little bit of scribbling on some scratch paper.
ADD SOME POP WITH THE FINE TIP
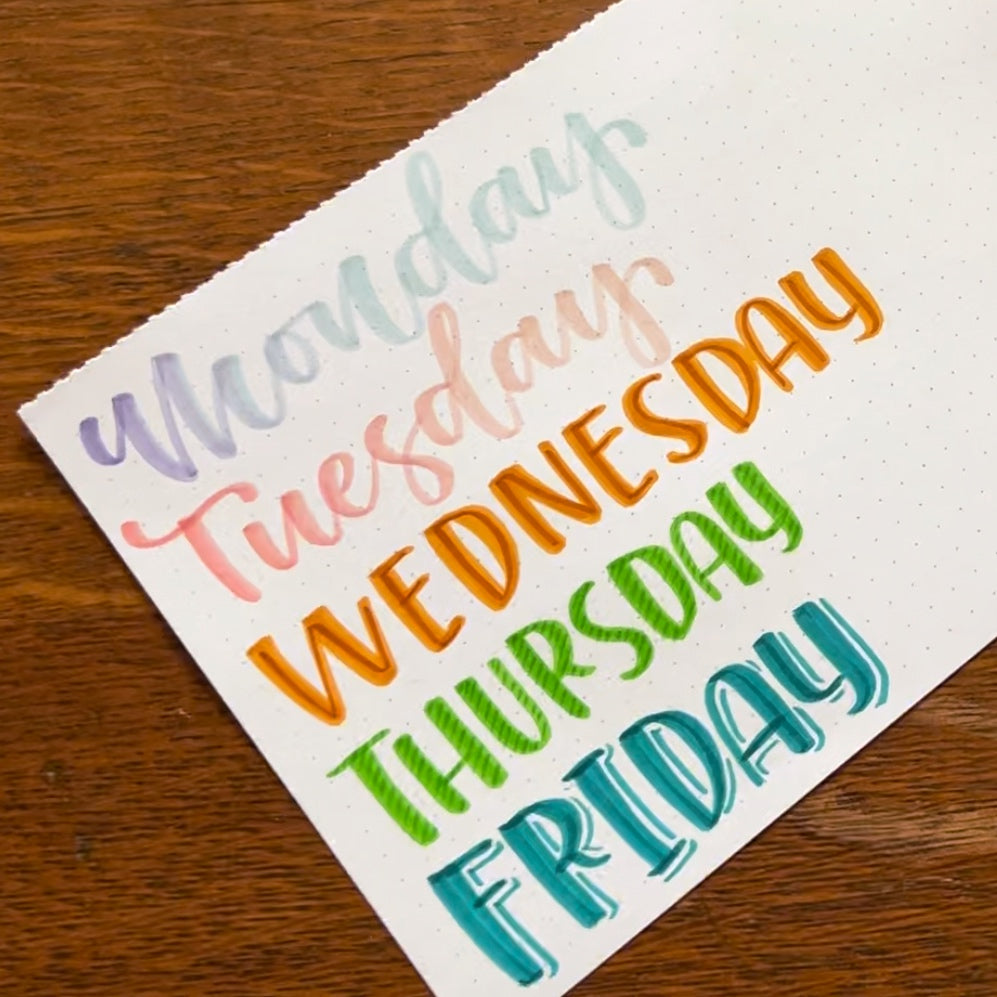
The thing that really sets Calliograph pens apart from other brush pens on the market is the fact that there are brush tips on both sides. I love to do smaller lettering with the fine tip side, but there are other great ways to make your pieces pop with the fine tip! Since the two tips of the pen are slightly different shades of the same color, you can add some great shading by using both sides. Let’s hear it for drop shadows!! Gosh, I love a drop shadow! A center line is a fun addition to lettering done with the broad tip. I simply write out my word in a chunkier style of lettering, and then go over each letter with the fine tip, trying to stay in the center of the lettering. Adding some stripes or dots with the fine tip over top of broad tip lettering is another cute effect. An ombré look is one of my favorite ways to use the fine tip of the Calliograph. I do some lettering with the broad tip, and pick roughly where I want my ombré effect to begin. Sometimes I draw a horizontal line with pencil so I can easily see where I want the darker color to fade. Then, I switch to my fine tip and trace over the letters, stopping by the horizontal line I’ve imagined, or drawn. I always use a feathered stroke so there isn’t a straight line from darker color to lighter. The feathered stroke makes the ombré effect much more natural. So many simple ways to get a little extra pop!
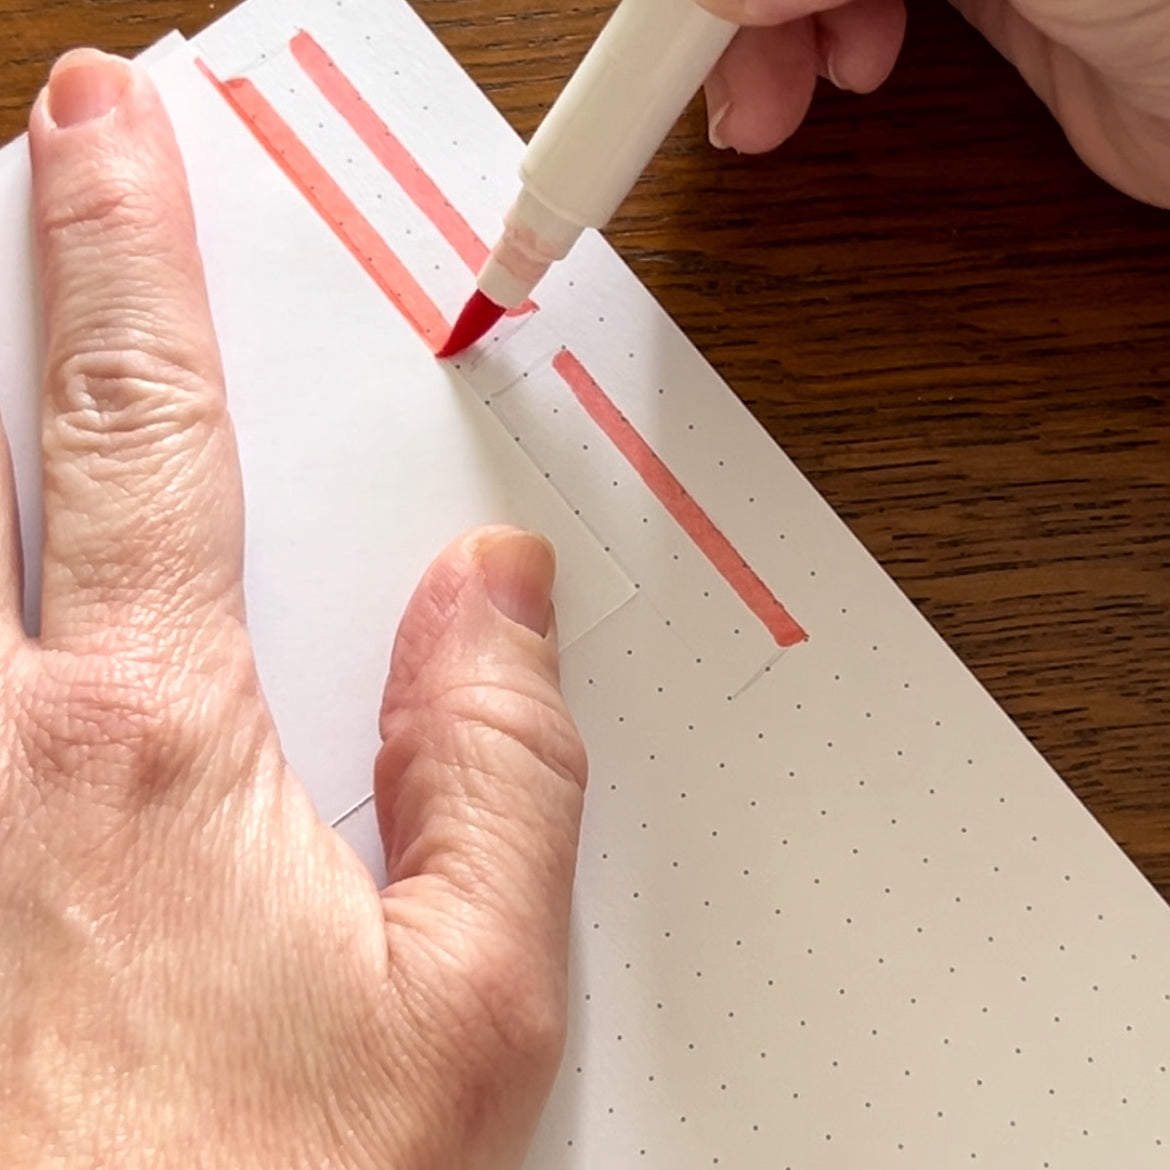
STRAIGHT EDGE TRICK
If you’ve ever wanted a crisp, straight edge with a Calliograph, this tip will save your tip! I never drag my brush pen along a ruler, since that is going to damage the tip in a hurry. I use a piece of scrap paper as a ruler. I place some scrap paper down where I want my straight edge to be, then drag my Calliograph along it, slightly overlapping the edge of the paper. Ta da! No damage in sight, and a perfectly straight edge!
STAMP YOUR CALLIOGRAPH
Another great way to take full advantage of the unique features of the Calliograph, is to use the brush tip as a stamp. It’s a simple way to create leaves, flowers, decorative borders, etc., with no real artistic inclination required! Just lay the side of the brush tip on the page and there’s a teardrop stamp that can be used in soooo many different designs. This is really only limited by the imagination, so it’s a really fun thing to just play around with!
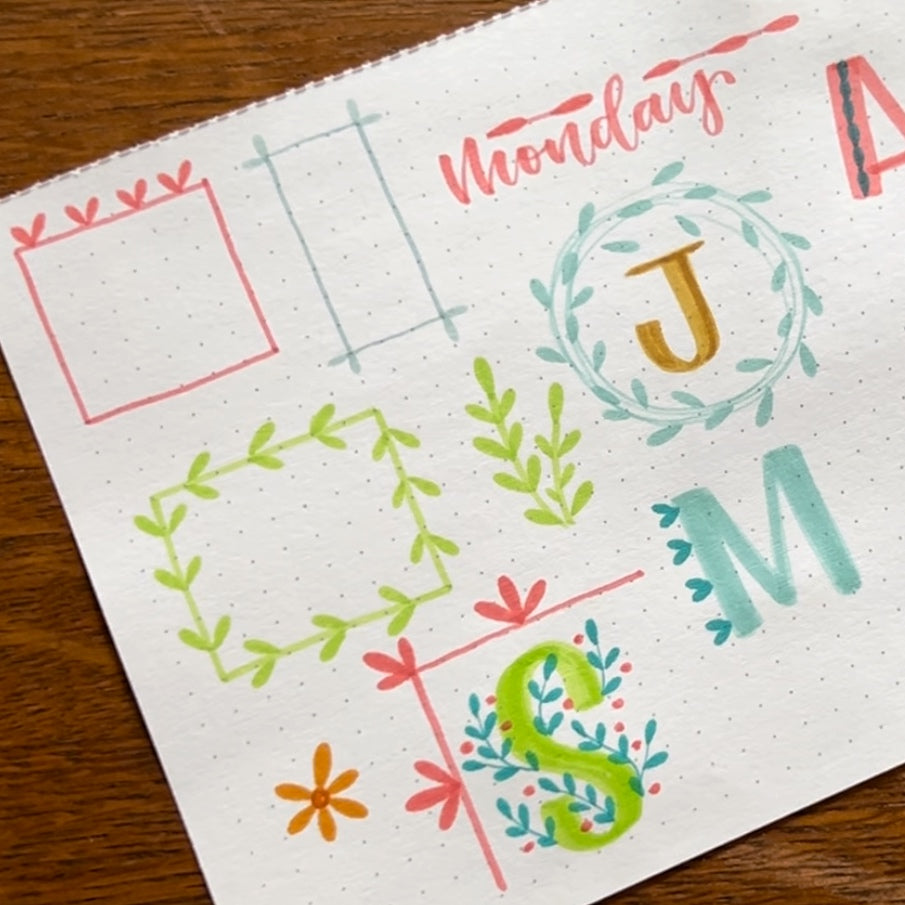
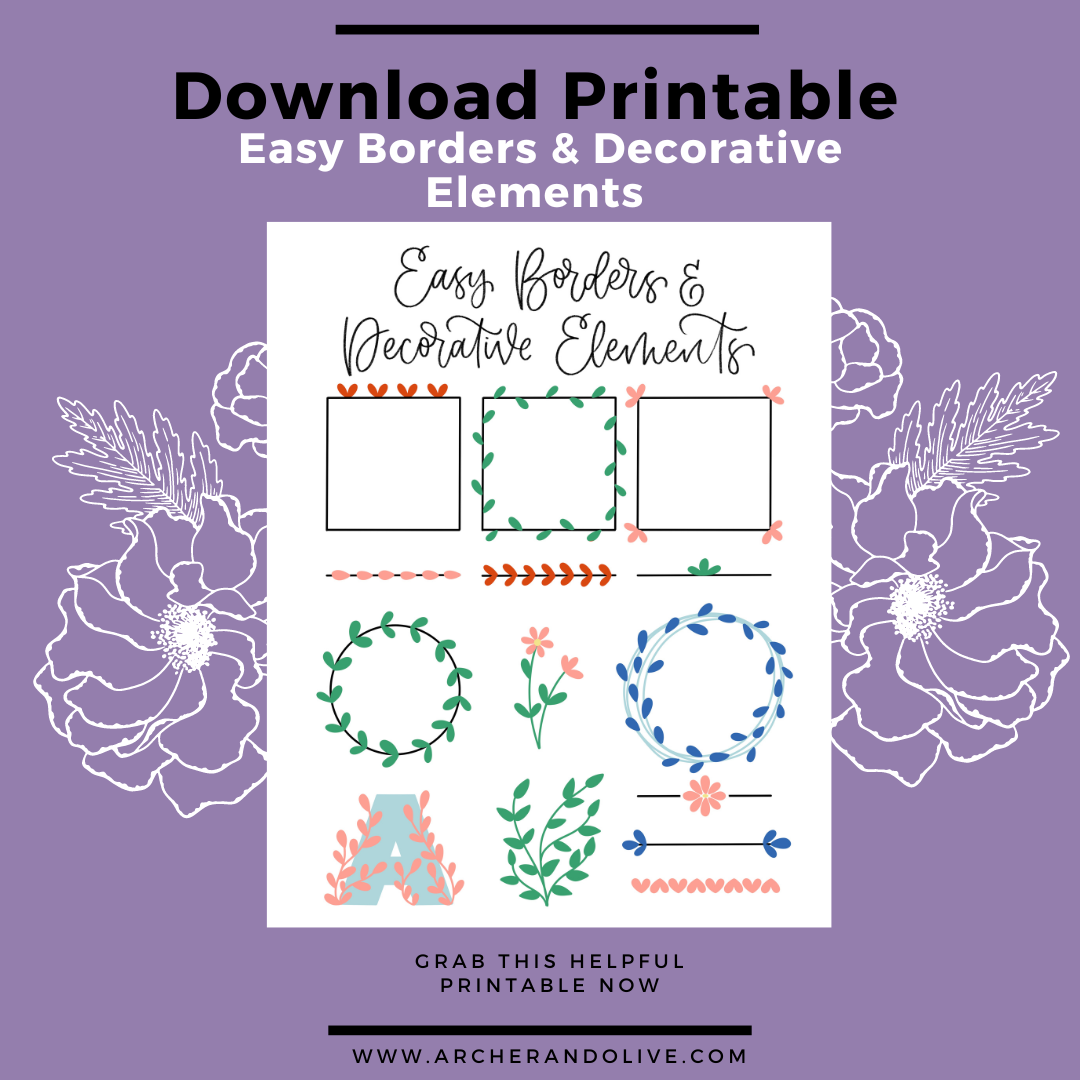
Check out my free printable with a variety of simple borders and decorative elements you can incorporate into your own bullet journal or planner!
That’s it, Friends! Those are my top 5 Calliograph tips and tricks! There are so many fun ways to get the most of these amazing pens! I really hope you picked up a new idea here today, or you are challenged to try a new technique that you haven’t dived into yet. Be sure to check out my YouTube video to see all these tips in action!
Thanks so much for joining me here today! If this blog post has whet your whistle for more on Calliographs, check out this blog post for more on using Calliograph pens as watercolors - this a great one! Also, head on over to my Instagram and let’s chat Calliographs! I’m always down to talk about stationery! If you use any of these tips/tricks, be sure to tag me and @archerandolive and use #aoshare so we can see what you’re creating! Talk to y’all soon!


0 comments