


Hey friends, it’s Sarah from @essjay_florals and I’m so excited to share this “How to Draw a Peony” tutorial with you all. As many of you probably know by now, I am crazy for florals and so I thought why not create a peony tutorial for you. The reason I chose peonies is because they used to be one of the hardest flowers for me to draw. I really struggled but then when I broke them down into some simple steps, I realized they weren’t so bad. I find breaking flowers down into a few simple shapes to really help me a lot when drawing flowers. I really hope you find this tutorial easy to follow and makes you want to give them a shot too, maybe even as your next bullet journal theme idea for card making ideas!

Supplies
You can draw these peonies anywhere, but the materials I used to create this tutorial are:
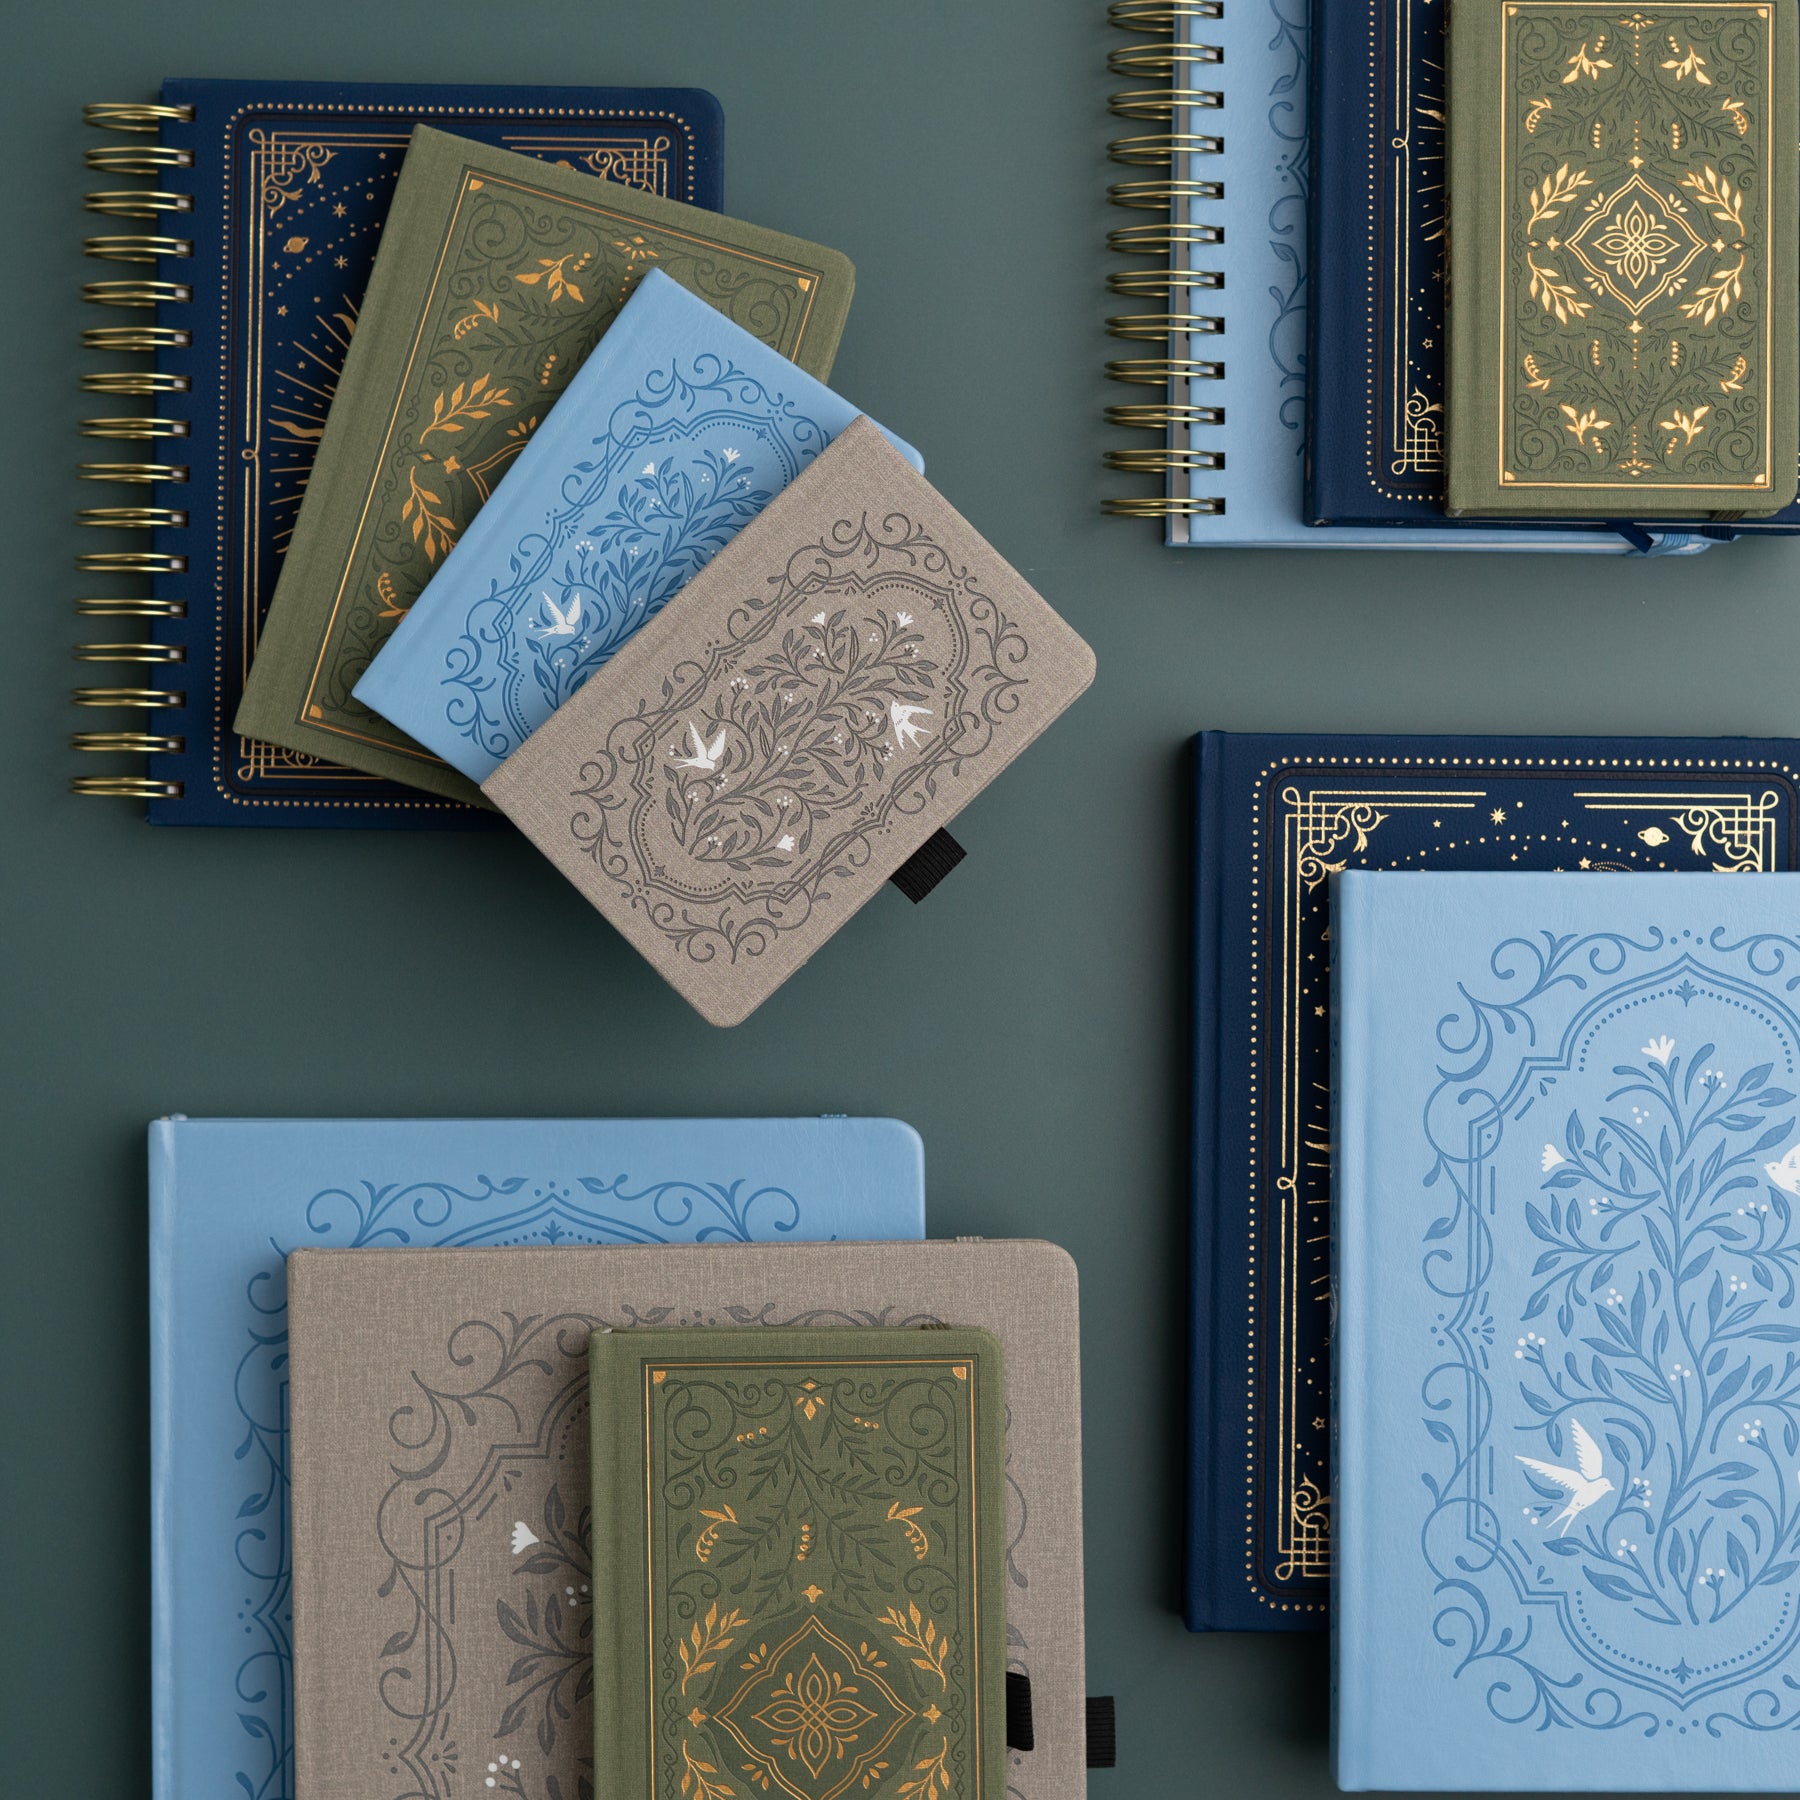
- Archer & Olive A5 white notepad
- Pencil & eraser
- Black waterproof fine liners - I’m using Sakura Microns in size 01 & 03
- I’m using Primary Red & Primary Yellow from The Watercolour Factory watercolours (feel free to use pencils or switch up the colours)
And remember to use my affiliate code SARAH10 for 10% off your Archer and Olive purchases!
Step 1: Pencil in your guides
First pencil a large circle, next add a 5-sided star within the circle and finally a small circle in the centre.

Step 2: Create the centre
Draw in the centre of the peony, it looks a bit like a small 5 petaled flower created with tear drops using the inner circle guide. Then add the stamen using the inner part of the star as a rough guide. I draw these very randomly, and overlap some of them, feel free to add as many as you’d like. I used the 03 micron for these parts, and attach the stamen to the centre using a 01 micron.
Step 3: Inner petals
Draw the innermost petals using the star as a guide. Add little folds and irregularities as desired.

Step 4: Keep adding petals
Add another row of petals in the gaps of the first row of petals and continue doing this until you are happy with the size of the peony. The fun thing about peonies is the petals have a lot of interesting irregularities so you can add folds and fun curves to the petals.
Step 5: Add shading
Now it’s time to shade the petals. I've used a fun simple technique of adding lines along the petals to add a bit of interest to the petals, but feel free to shade however you enjoy.
Bonus: Add a pop of colour
Next, I quickly added a pop of colour with watercolours, just a bit of primary red for the petals and primary yellow on the stamen and centre. But again, have fun with it and use whatever colours or tools you like to use.
See how I used this tutorial to draw a peony and draw along with me here:
Now for a fun printable! I created this tutorial in a printout form so you can trace along to practice or trace into your journal.

I hope you have enjoyed learning How to Draw a Peony and I hope you’ll give it a shot. Don’t forget to tag myself at @essjay_florals & @archerandolive if you’d like to share.


0 comments