


Hello everyone!! It’s Patricia from @lettering_and_me. I really enjoy Bullet Journaling and making my notebooks as productive and fun as possible, so today I’m sharing a fun project, that you can try in your Bujo!
Each A&O notebook is unique, from its colors to its sizes, so I like to customize the inner covers to give it that extra touch. I usually always choose the subject inspired by the colors and motif of the notebook. When I saw this notebook I really wanted to do something with a splash of red to go with the notebook color, and a poppy flower came to my mind!

Supplies For Your Bullet Journal:
- Archer and Olive Notebook
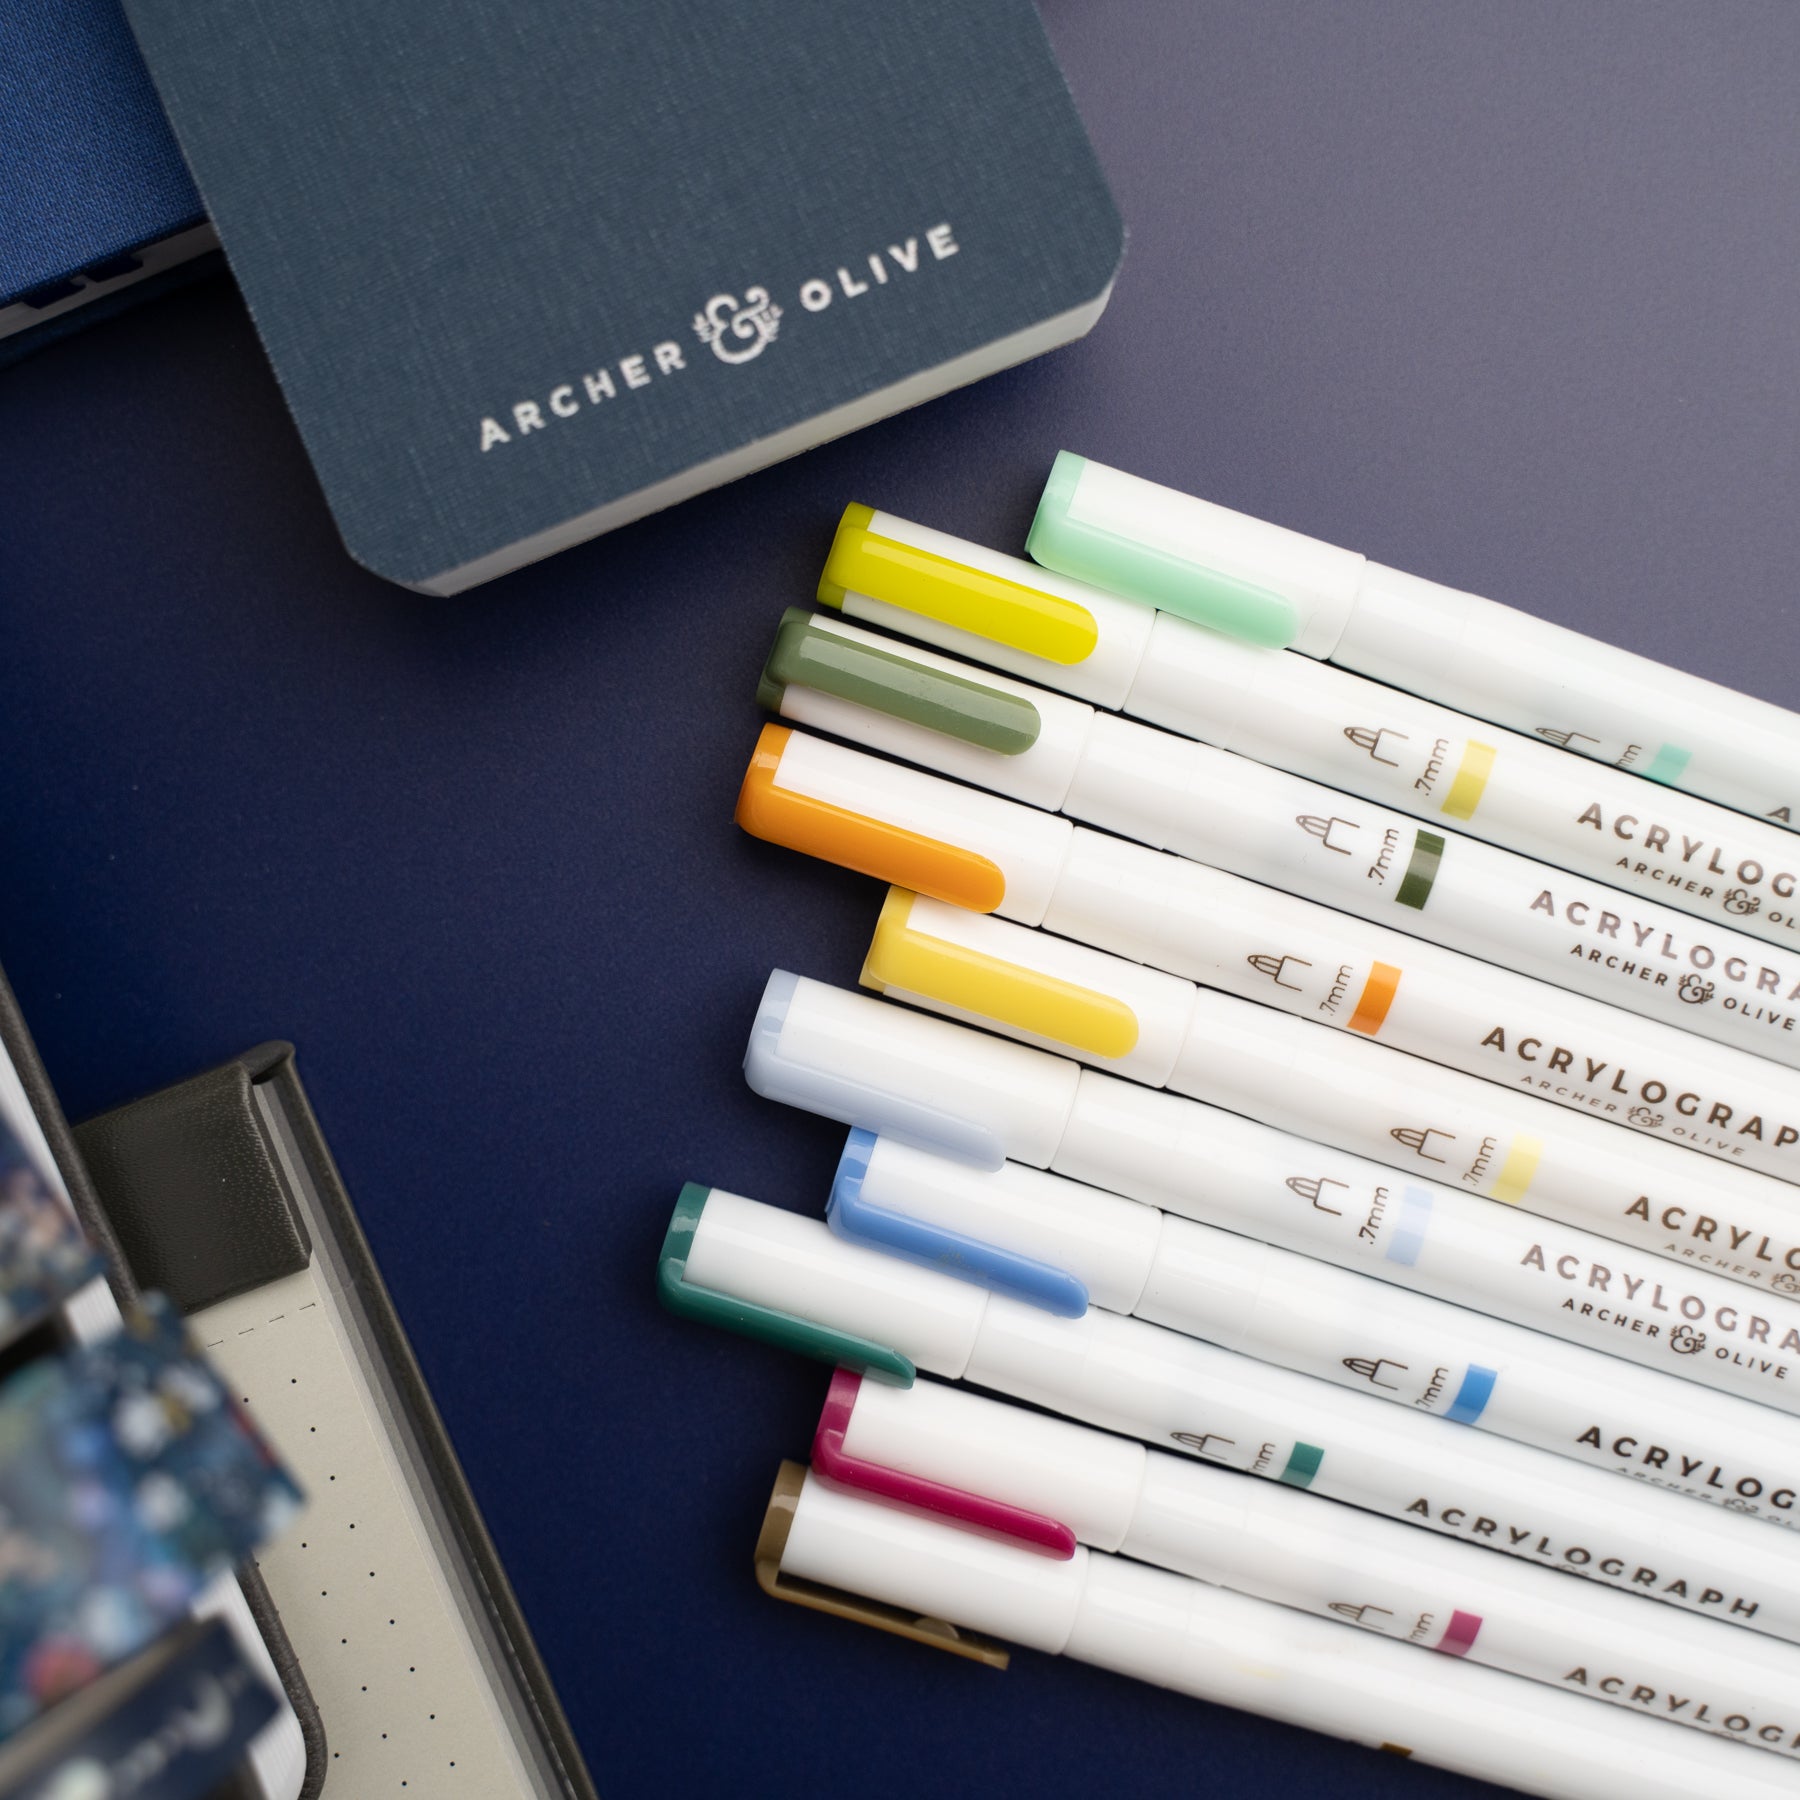
- Acrylograph Pens Cool Fall Collection 0.7mm Tip
- Fineliner pen: Sigma Micron in 0.03mm, 1.00mm and 0.8mm
- Karin Marker: Black
- Pencil and Eraser
Don’t forget, if you’d like to purchase any Archer and Olive supplies I have used for this spread, you can use code LETTERING for 10% off.
1.- Drawing a sketch:
With a pencil, we can do a rough sketch of the location of the flowers with a basic circle, we can also locate the stems.

Once we have the distribution, we can elaborate on the leaves and center of the flowers.

2.- filling with color:
Once we have the distribution, we will start filling each flower with color. For this cover I have chosen the dark blue, light beige and red colors of the Acrylograph Cool Fall collection, I like to paint in small sections, making sure that the acrylograph is loaded with ink. I'm painting petal by petal.
Also, I try to choose were to ink with color, so it can be evenly distributed throughout the cover.

3.- adding details:
Once we paint our flowers, start drawing the details with a light gray fineliner, being such a light color, it will help to enhance the base color of the flower, once the color has dried, fill the center of the flower black with a 0.8 fineliner.


Then, to really make the color flowers to pop, start drawing some fine line flowers, for all the edges and stems use a 0.8 tip black fineliner then some details with the 1.0 tip and finally to give a little more life to the flower I ended up making lines with the 0.03 Fineliner.


My advice for adding interest to these flowers is playing with the thicknesses of the fineliners to give it extra umph!
4.- Final details:
Once I finish with all the flowers, I just the only thing I need is to put my name on the cover, as I wanted a thick lettering, I used a black Karin Marker.

And that's it! We have our cover ready, what I like is that the level of detail is up to you. You can increase or decrease details, you can paint all the flowers, you can use different colors, you can make them all black and white.

When I open my notebook, I really like to see that is not blank (sometimes I find it a bit intimidating) and drawing the inner cover makes my notebook truly unique!
Plan along with me or see the spread in progress here:
I’d love to see your recreations or take on this tutorial, and don’t forget to tag myself at @lettering_and_me & @archerandolive if you’d like to share.
NOTE: If you are feeling a little intimidated by the blank space, you can grab this free downloadable that has the exact size of the notebook of 8x8:

This downloadable is a mirror image so that you place it upside down and you can draw on it and transfer the drawing to the notebook and voila! You don't need to start the drawing from scratch!


0 comments