


Hey friends, it’s Sarah from @essjay_florals and I’m so excited to share these methods and tips for using Calliographs as watercolours as well as a tutorial to paint this quick and easy watercolour wreath with you all! Lately I have been loving painting with these super versatile pens and so I had to share some of the methods I’ve found to be useful as well as some tips. The fun thing about these methods and tips are you can use them with all of your Calliographs to paint anything you like.

Here are the materials you’ll need to paint using the various methods:
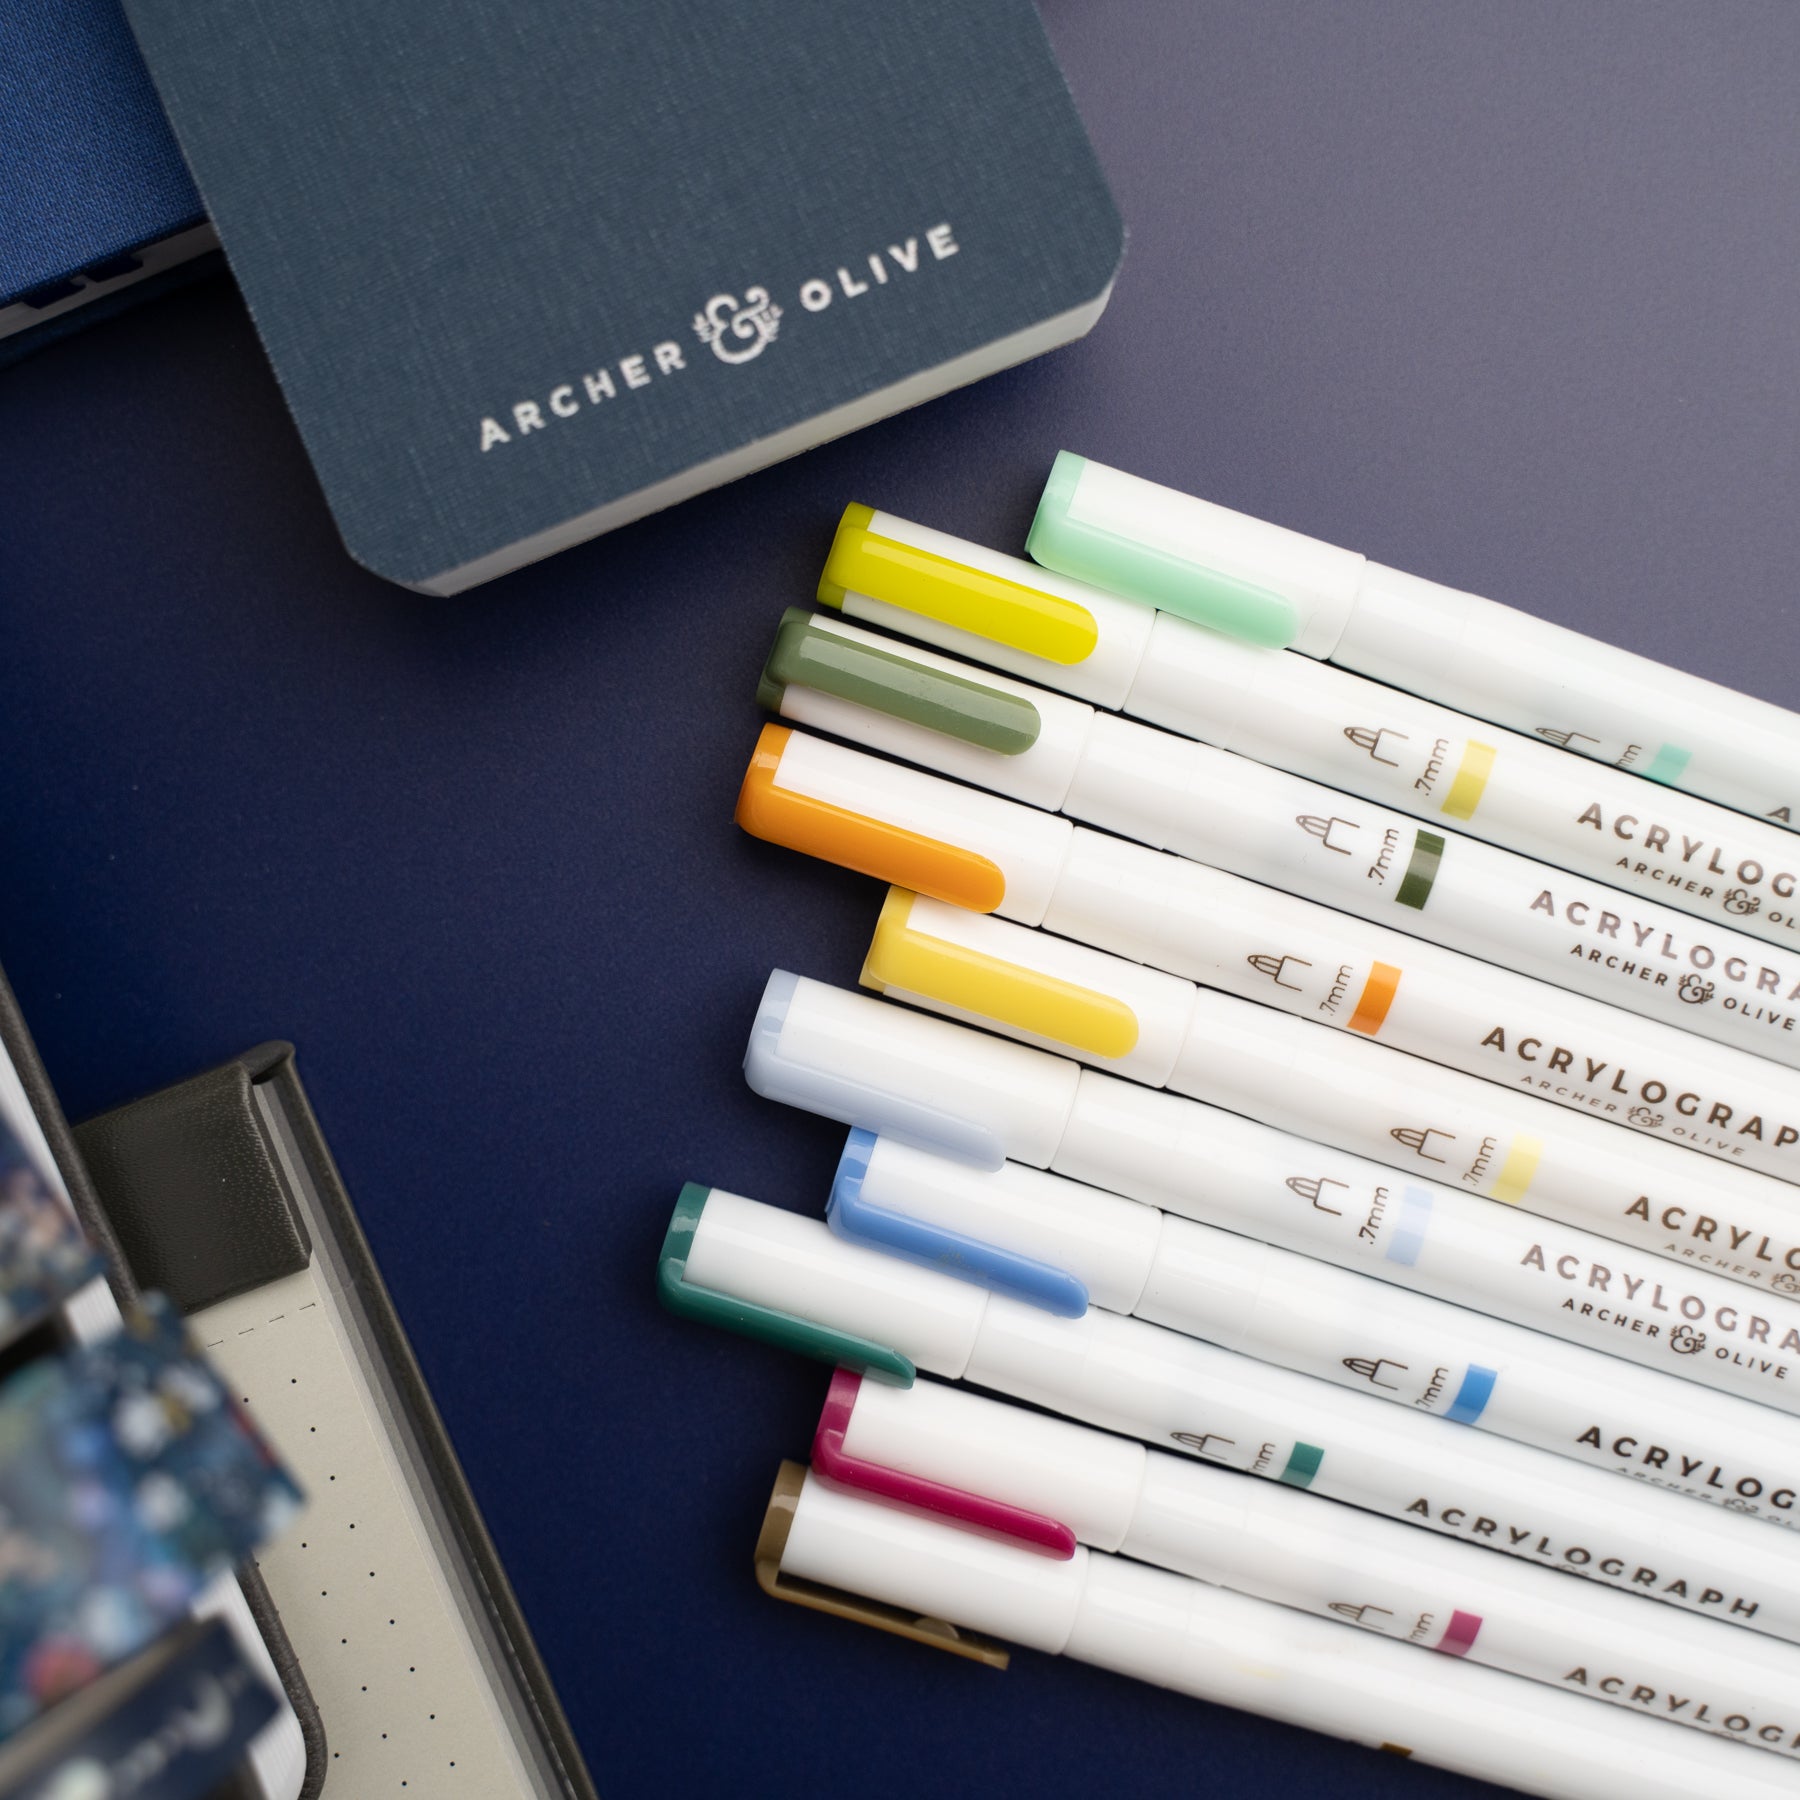
- Calliographs
- Paper to paint on:
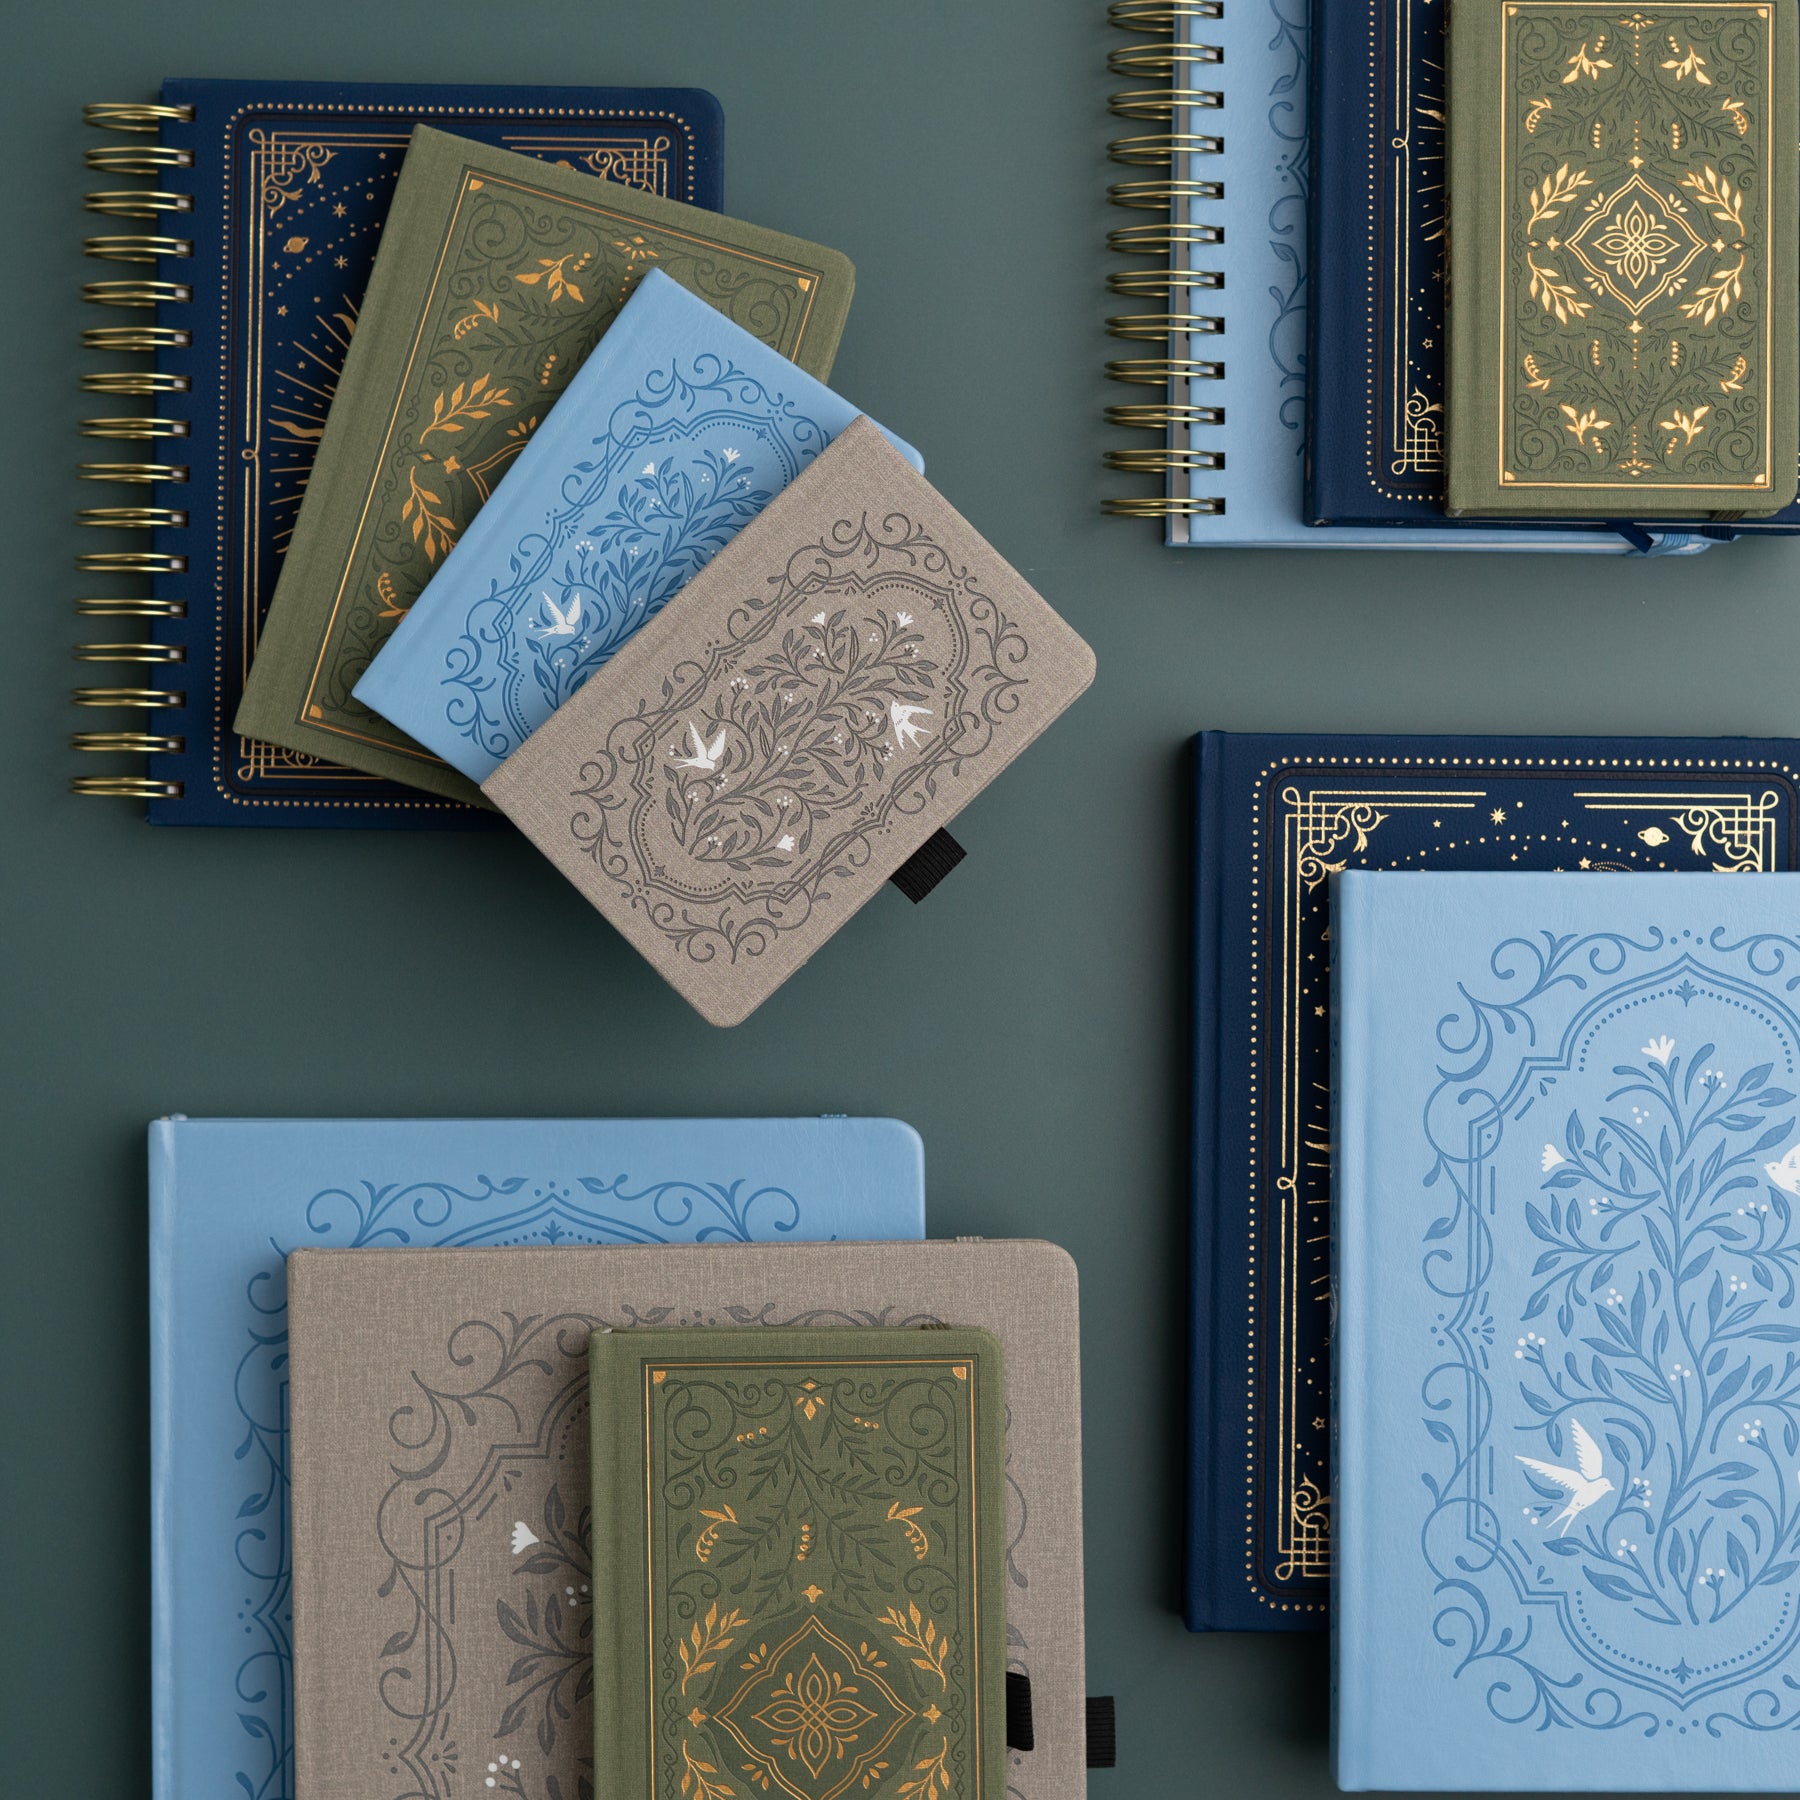
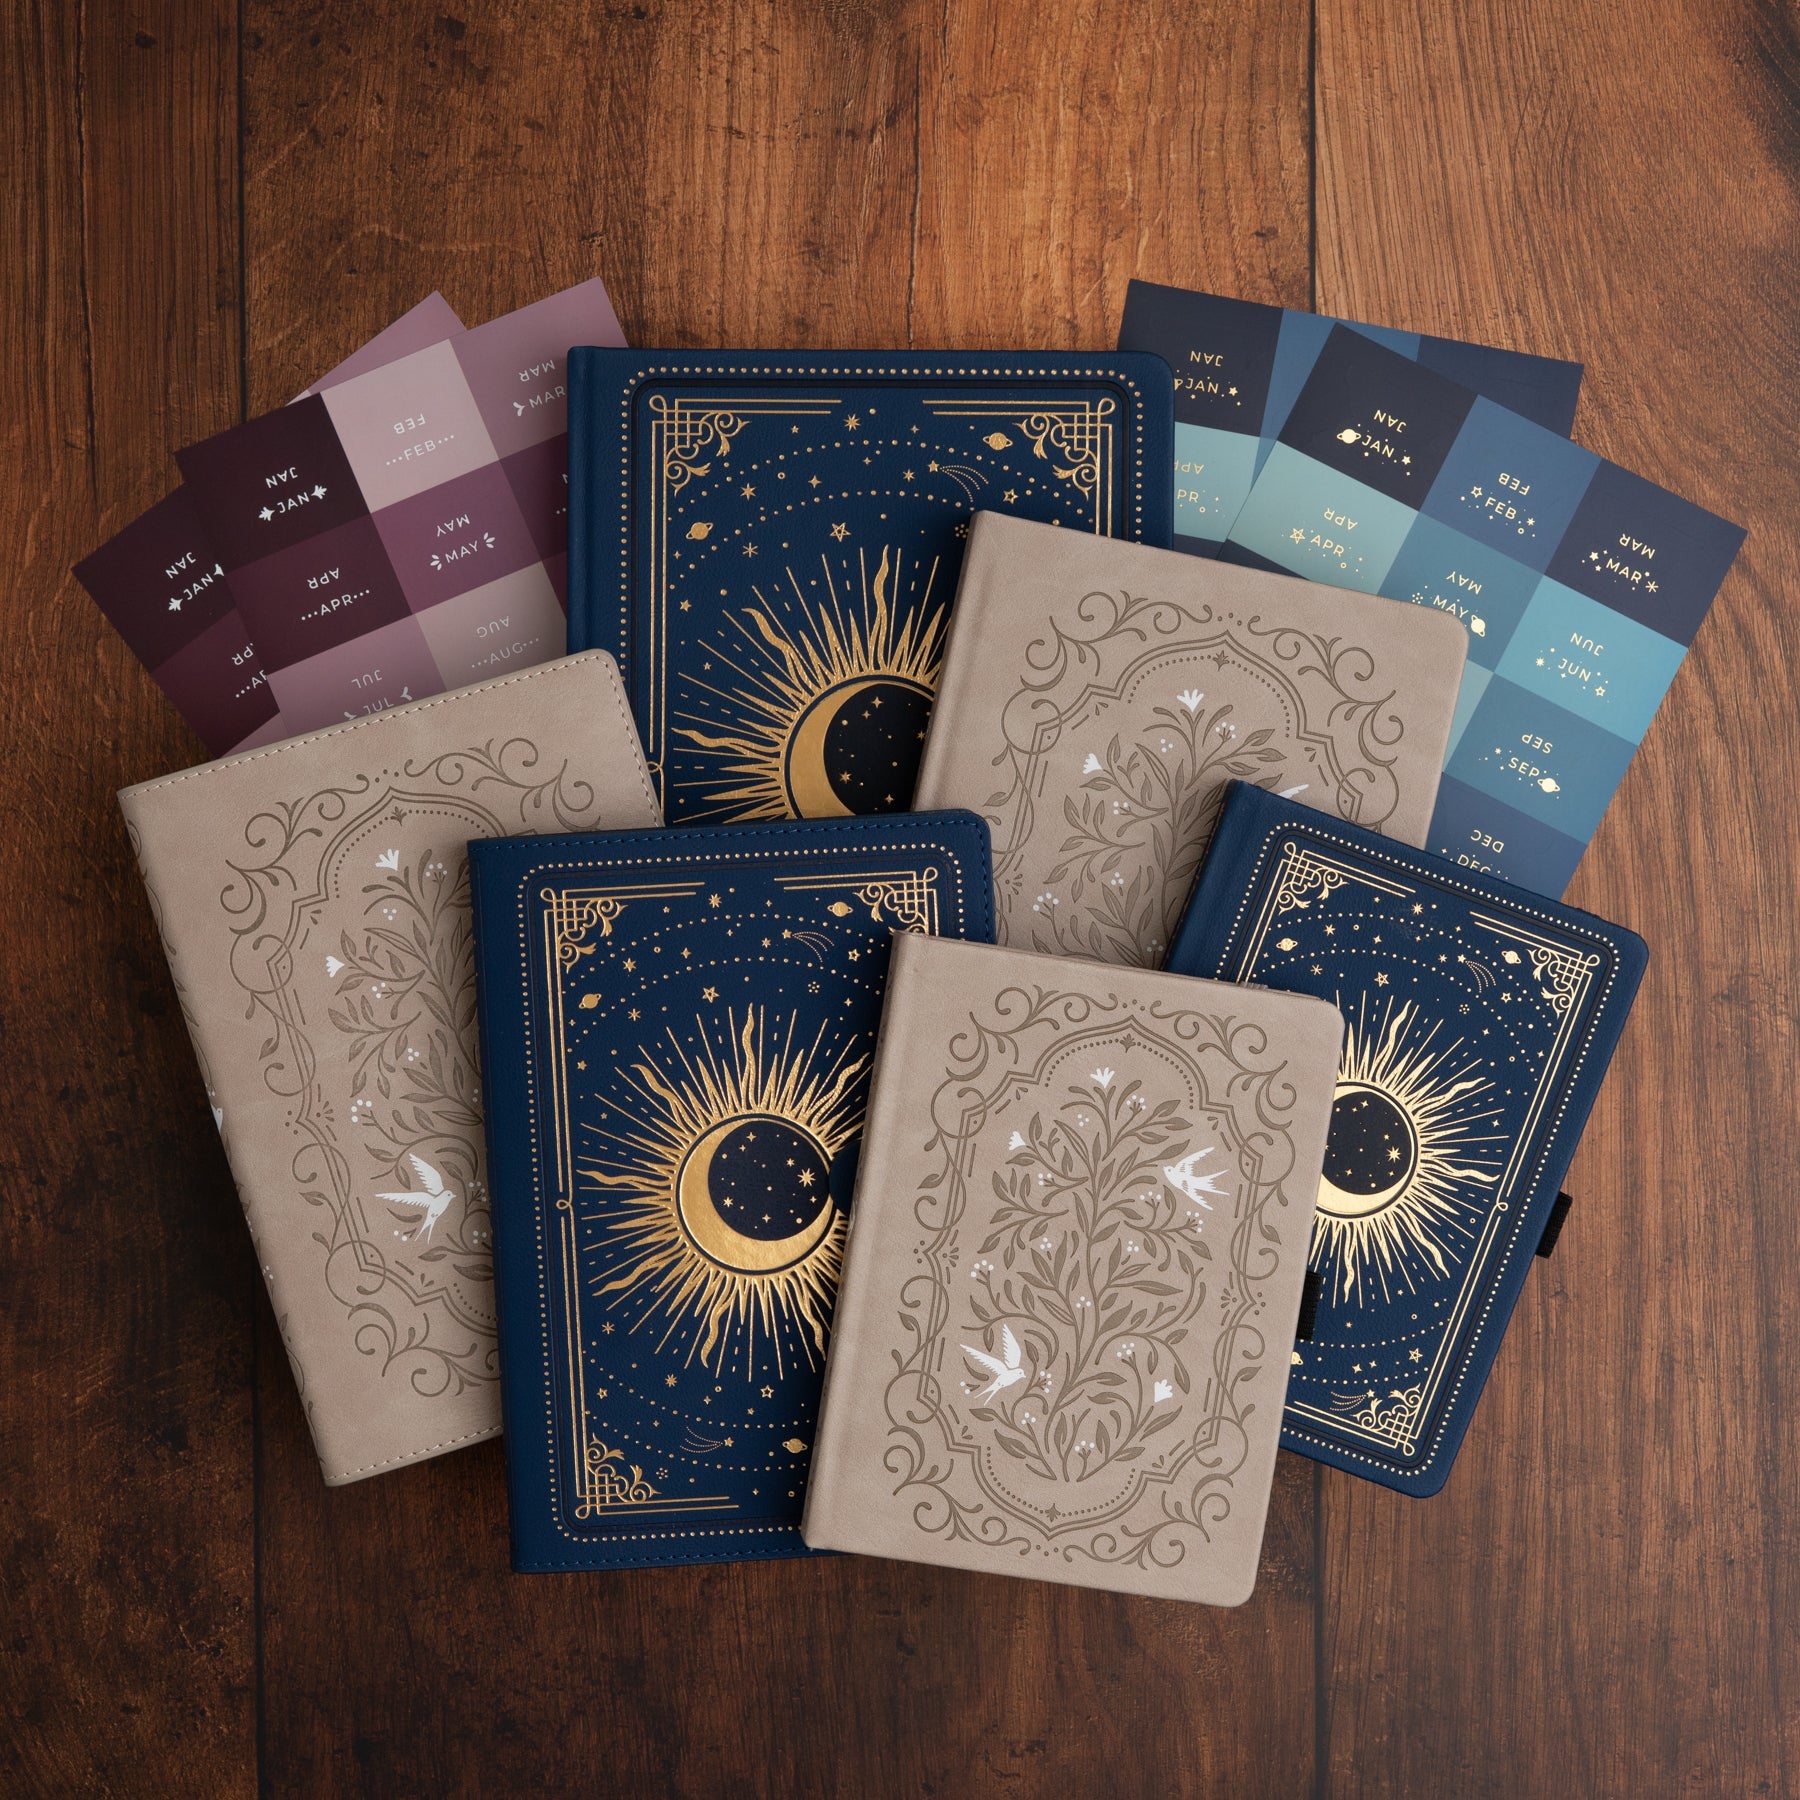
- A&O A5 Dot Grid Notepad
- A&O watercolour notebook (retired)
- Student grade watercolour paper (I’m using Fabriano)
- 100% cotton watercolour paper (I’m using Eraldo Di Paolo)
- Paintbrush
- Palette
- Plastic bag / cling wrap
- Spray bottle
- Glass of water
- Paper towel
Remember you can use my affiliate code SARAH10 to get a discount on your Calliographs, Notebooks or any other Archer and Olive products! For a quick overview of the methods you can use Calliographs as watercolours, check out this video:


Methods
- Pen on paper and then lift the colour and blend – this method is one of the trickier ones to use as you need to test on the paper you want to use beforehand.
- Draw on a palette (ceramic, plastic or even a laminated piece of paper) and then lift the colour with a wet brush. This technique I find to be the one that works with most success across most papers. I also feel this gives the best “Watercolour” effect.
- Draw on a plastic bag or piece of cling wrap and then spray with water, then place on paper and press down. This technique is really great for creating beautiful backgrounds.

Here are the materials you’ll need to recreate the tutorial it:
- Jewel Calliographs
- Indigo
- Olive
- Blue Bell
- Mauve Pearl
- A&O A5 Dot Grid Notepad
- Pencil
- Something round, a compass or a helix circle maker (a tin or jar does a great job)
- Paintbrush
- Glass of water
- Paper towel (to blot paintbrush of excess water or lift colour/ excess water of page)
Remember you can use my affiliate code SARAH10 to get a discount on your Calliographs, Notebooks or any other Archer and Olive products! For a quick overview of all the steps to create this wreath, check out this video:

- Prepare your palette and pencil your base
First pencil in a circle use for the base of your wreath. Then using your Calliographs start to colour on your palette with the colours you are going to use.

- Paint your leaves
Add a few drops of water to your palette to activate your colours (and turn them into watercolours). Then begin painting leaves around your wreath. Whilst painting the leaves feel free to mix colours and dab in extra colour as you paint the leaves. Once you’ve completed the wreath add little berries as desired.
Tip: You want to make sure your brush is wet when picking up the colour to ensure a watercolour coverage (but not too wet that it floods the page). To be honest the best way to get the feel of it is trial and error, I still often will go one way or the other, just know that if it’s too dry add some water to your brush, if too wet, dab some water off with a paper towel.

- Outline your wreath
Using the fine nib on your Calliograph begin outlining the leaves and draw little branches connecting all the leaves. Outline berries, at this point feel free to draw extra berries to create some contrast.

Tips
- Be aware of how much water you use, particularly in a regular notebook, as too much water will cause bleeding (make sure to test how much water your paper can take before bleeding).
- If you are going to do the lift method, have your water and paint brush ready to go as soon as you put the marker to paper. The sooner you try to move the ink the better success you have.
- As mentioned before using certain papers the pigment of the pen can start to set in the paper quickly and so it is difficult to lift the colour.
- By now I’m sure you know that the important thing to do with any of the methods is to make sure you test. Test the amount of water, colour, paper etc that you need for it to work with the best success for you.
If you need help with leaf placement with your wreath, download the free printable to help with creating your wreath.

I’d love to see your recreations or take on this tutorial, and don’t forget to tag myself at @essjay_florals & @archerandolive if you’d like to share.


1 comment
I use vines and leaves often in my journals but I’ve never used them in a circle before and I’m anxious to try it. You do a beautiful job. I’ve used them in faces and attach hearts to them all types of things but I can’t wait to use your method.