


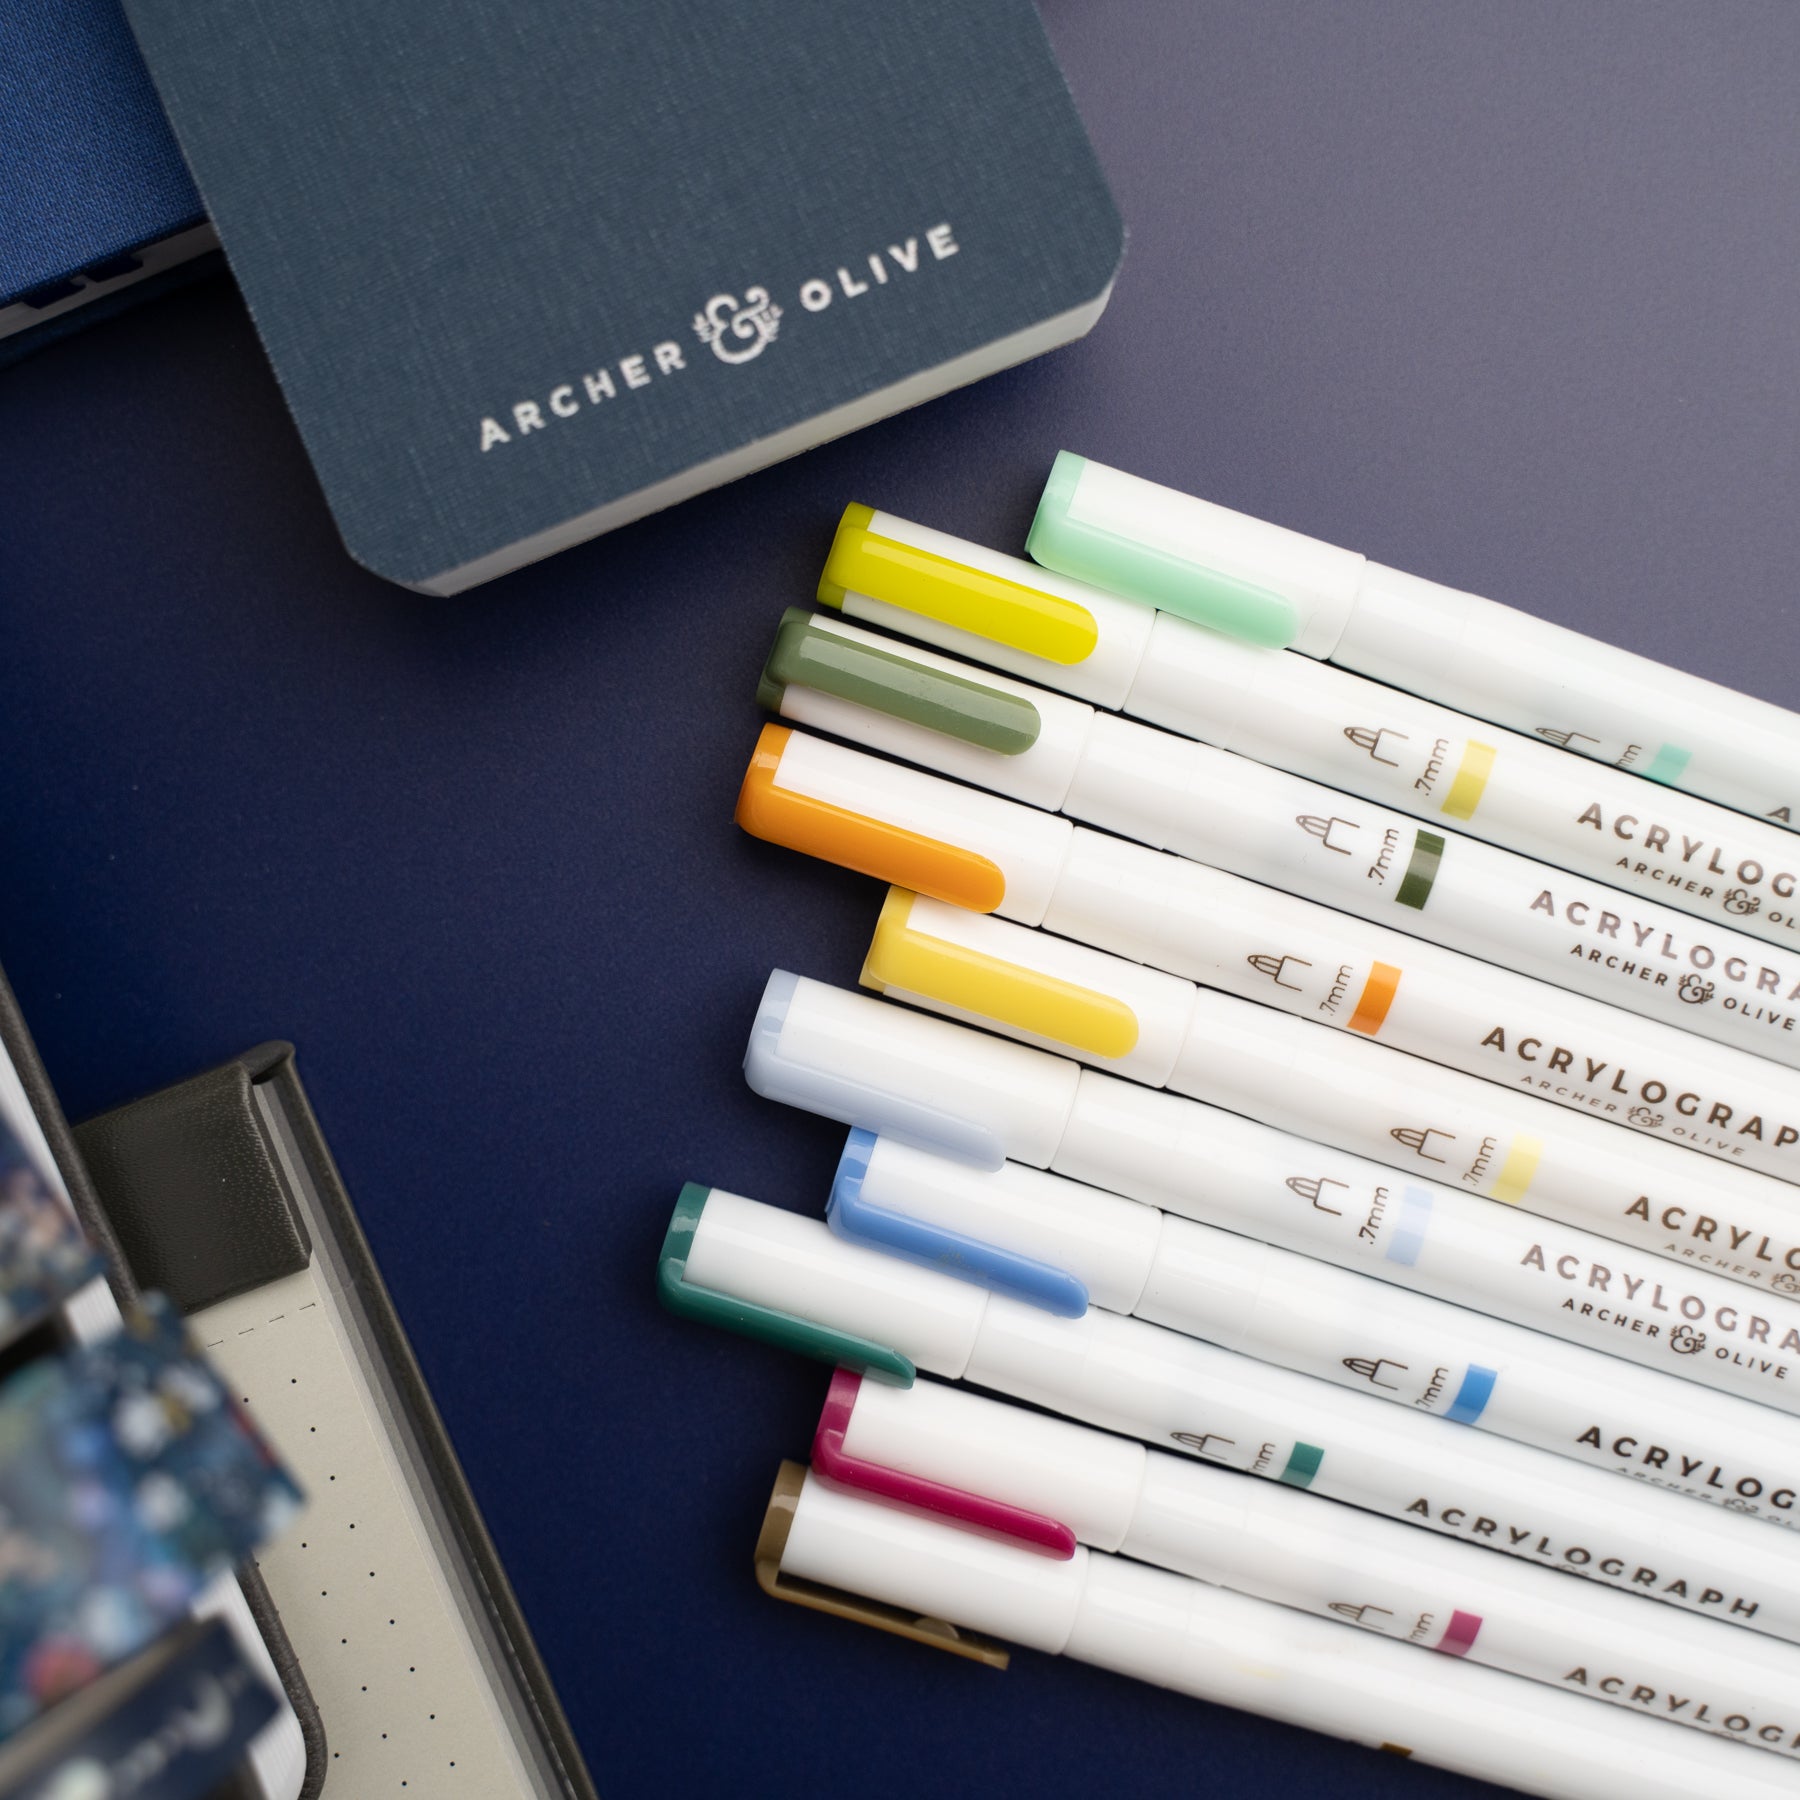
Hi friends, Adrienne from @studio80design here to share a fun tutorial on how to create a geometric pattern using the all new Archer and Olive Metallic Acrylograph Pens! I’m only using the metallic colors that make up a rainbow for this tutorial, which turns out to be seven colors!
Tools you’ll need:
- Archer and Olive .7mm Metallic Acrylograph Pens
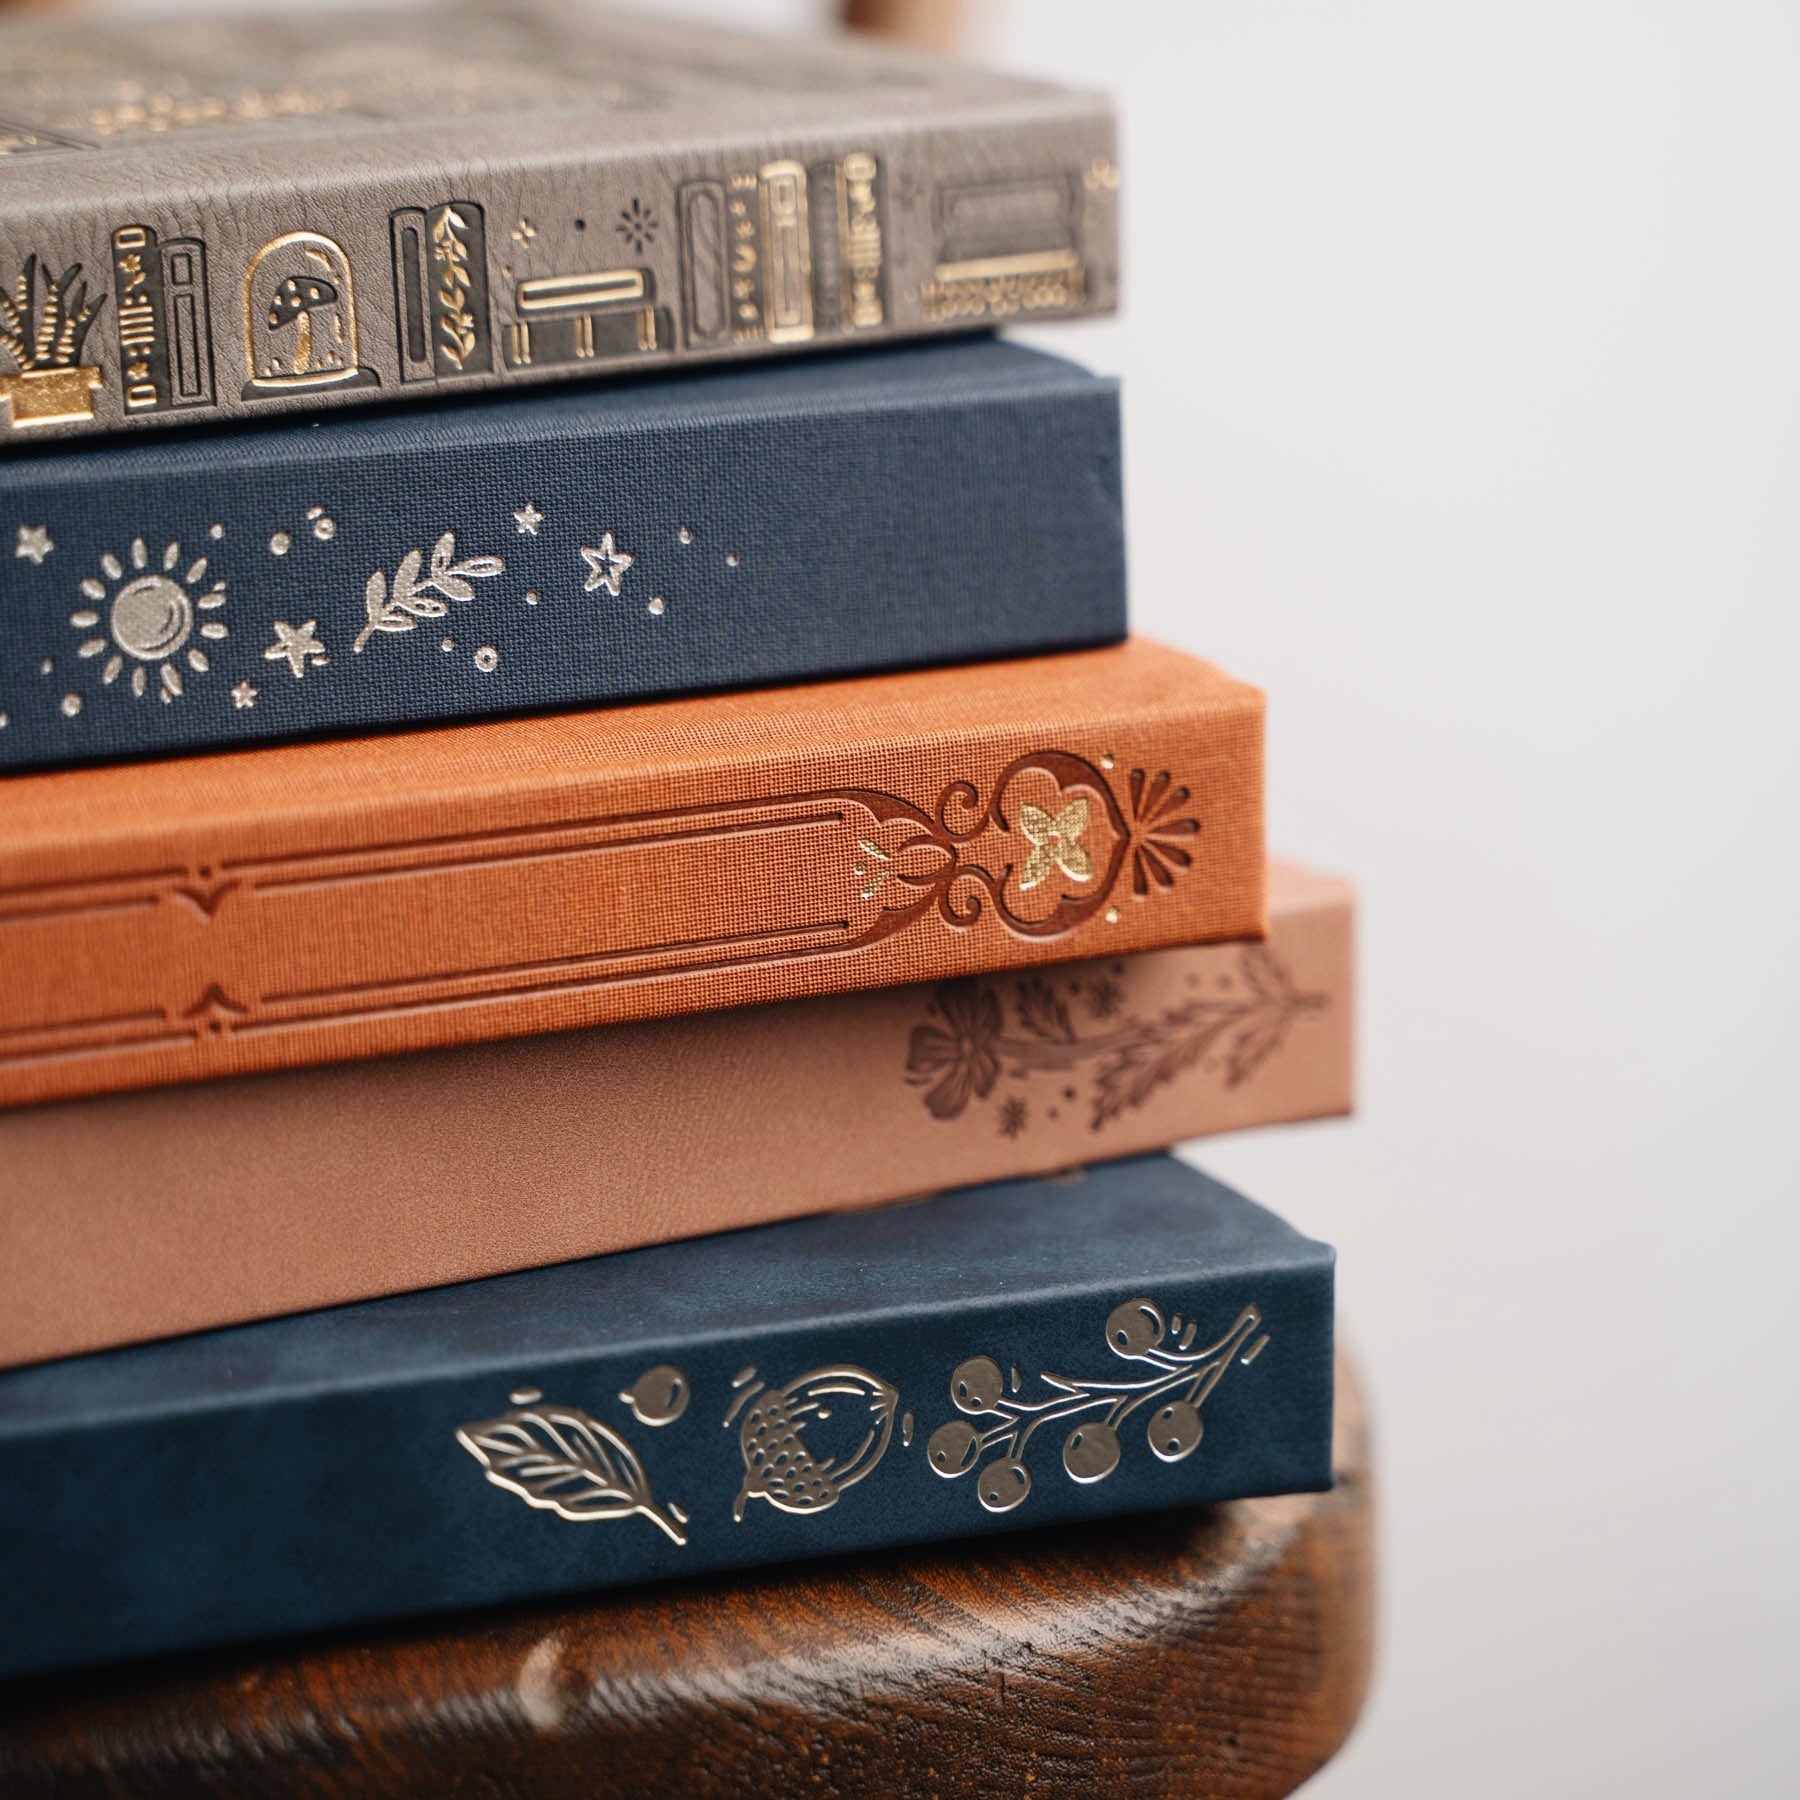
- Archer and Olive A5 Signature Dot Grid Notebook
- Pencil

Step 1
Take the red .7mm metallic Acrylograph pen and draw a rectangle that is five squares long and twenty five squares wide. If you need to, use a pencil to sketch out the rectangles on your page before drawing them in!

Step 2
Go through the matallic palette, drawing the same size rectangle for each color.

Step 3
Next, divide the long rectangle into squares that are 5x5 squares for each of the colors.

Step 4
Then, draw an X inside each square, going from one corner to the next for each color.

Step 5
Last, draw curved lines from each corner to the middle of the square. Work one color at a time until it’s all filled in!


Thank you for visiting today! I hope you try this tutorial out and make sure to follow and tag @studio80design so I can see your work! And don’t forget to use code STUDIO10 to save on all the Archer and Olive goodies!

2 comments
Awesome
Thankyou. I Will they this design on my journal.