Hello friends, Crystal from @thecrystallinaperspective on Instagram and Youtube. We are six months from the American holiday Christmas and it’s time to start our Christmas crafts.
Aside from being obsessed with planners and journals, I absolutely love challenging myself to a good craft! I prefer crafts that are festive or surrounded around on occasion. This helps my creative juices flow. Christmas creations are one of my favorites! Bring out the glitter, tinsel, and let's craft! For this month’s blog post, we will be making Christmas cards following 3 easy steps! There are sooo many ways to make a card but we are going to use 3 easy steps and getting them done just in time for the holiday season.
Supplies You’ll Need:
- Archer and Olive Dot Grid 8x8 Notebook
- Decorative Papers
- Embellishment Stickers
- Scissors
- Adhesive Tape or Glue
- Decorative Christmas pieces
- Envelopes to place cards in
- Corner Rounder
**With your supplies, look around your house and find things that you aren’t using. Use those things! Some supplies in this list do contain affiliate links where I receive commission at no additional cost to you.**
Please remember to use the code CRYSTALP10 or my link to save on your Archer and Olive purchases.
Check out this video to see the process of creating these Christmas cards.
Step 1: The base and size

The base and size of the card is important and will determine what you can do! Your card can be whatever size you choose but keep in mind that the size you choose will determine the amount of elements you can add. There are folded cards and flat cards. I recommend starting with making the decision about whether you want to create a (vertically or horizontally) or flat card. For this blog, I will be creating folded cards.
The next thing you need to select is your base. You can cut your base based on your card dimensions by hand or with a die cutting machine or you can use a pre-made card. For this blog, I will show you how to make a card that is pre-made and a card that is made by creating your own measurements.
Step 2: Layer & Embellish

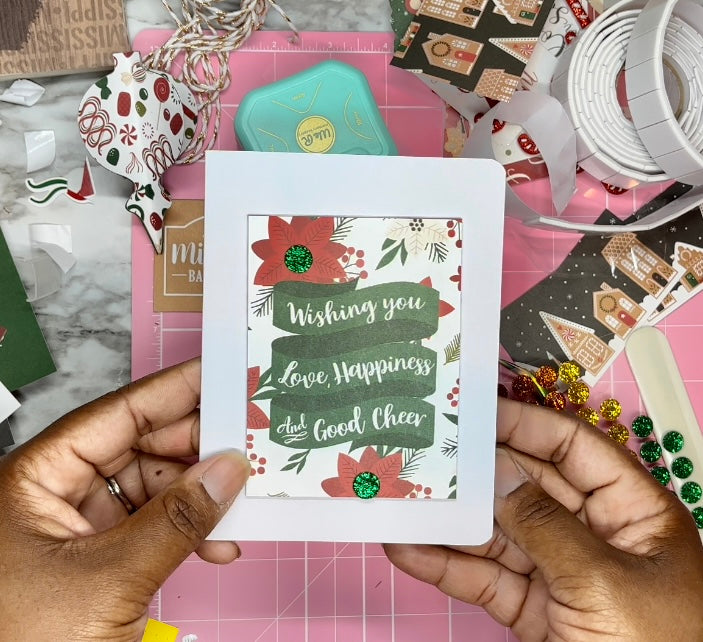
The first card that we will construct will be a premade card. These cards are already prepared for you. So I like to layer the elements that I want to embellish on top of the card first. This allows for me to see if I like the placement of things before committing to elements.

I may go back and forth with this decision several times before committing. That is okay because at this stage, you do not want to glue anything down until you are sure that’s what you want/ prefer. This is also a good time to add height to elements. I add height to elements by adding a foam dot behind the item. This creates dimension and gives your card a more 3D look.

Sometimes, you may only see one element and that element allows for you to create a 3D effect. This effect allows for you to have one element and make it the star of your card. These cards are also very pretty and take a fraction of the time.
Step 3: Attach & Bedazzle

Now that you have layered your times, it's time to attach. I like to use foam and liquid glue to attach my cards together. Sometimes, I use glue sticks or adhesive glue tape. Attaching the cards is the fun part because you get to see everything come together.

BEDAZZLE!!! Of course this is optional, but I love some sparkle. You can add rhinestones, glitter, or sequins to create some sparkle. The sparkle makes it feel more festive to me but that is my interpretation. Skip this step if you don’t like sparkle.

Don’t forget the inside of your card! There’s nothing like a gorgeous card on the outside but a dead card on the inside. Add wording or space for writing. Stickers can help this section. Or take out your Archer and Olive Calliograph Brush Pens and create a masterpiece with wording.
Card making is so much fun. Of course, there are people who emboss their cards or use paints/ inks. If you are skilled in those areas, do it!! Have fun with it, get messy, and be festive.
Please make sure that you check out the printable freebie! Use a high quality paper for the elements such as 28lb or higher paper. Use cardstock for the card pieces/ templates.
If you decide to make this spread or one similar please tag @archerandolive, @archerandolive.community and use hashtags #AOShare and #archerandolive. You can find me on Instagram or YouTube: @TheCrystallinaPerspective


0 comments