


Introduction
Hello! Lisa from @nolalettering here today to show you how to create a variation on the About Me page for your journal. We’re going to do a collage of all the different words that represent who we are - it can be composed of single words or short phrases if that works better for you. The great thing about this version is that it’s very adaptable to your preferences and needs. Since my specialty is hand lettering, I’m going to be using block letters for my About Me page. But if you’re not much of a hand letterer, you can also just write the words and instead change up the sizes of the different words to give it some variety. Again, it’s very adaptable and lots of fun, so let’s get started!
Materials
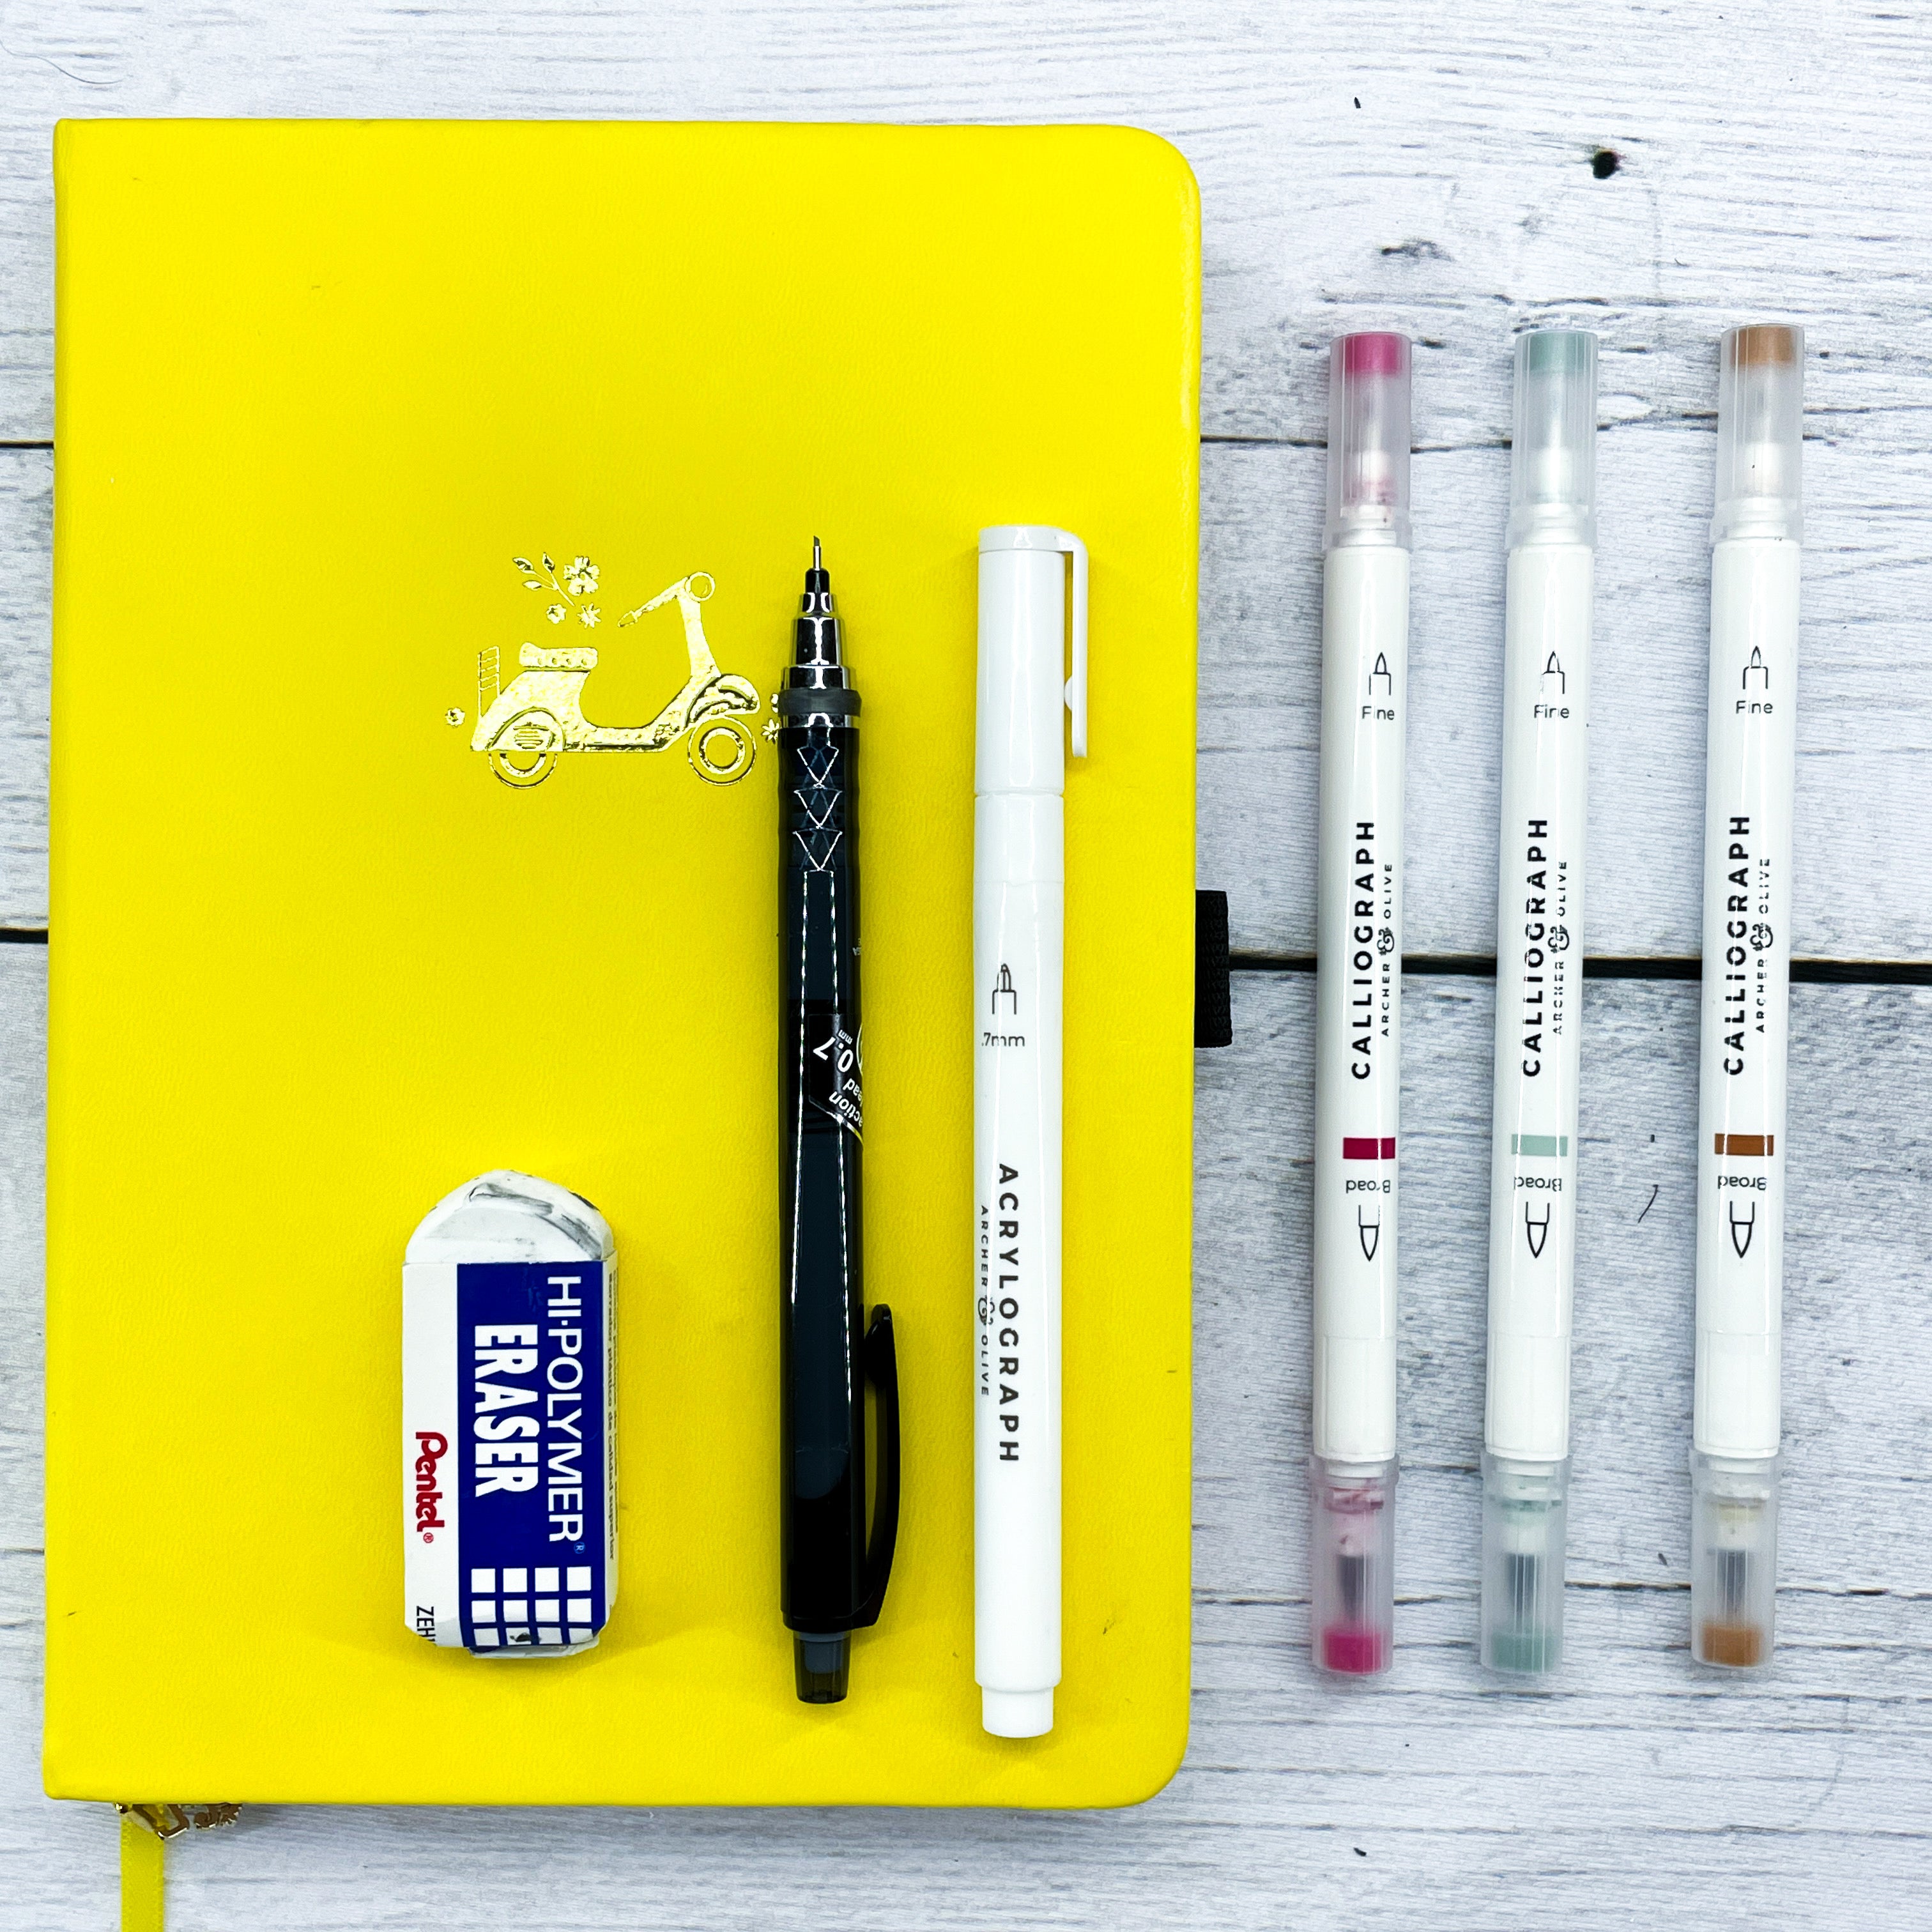
These are the materials that I’m using in today’s tutorial -
- Archer and Olive dot grid notebook
- A wide variety of Calliograph Brush Pen
- White Acrylograph
- Pencil and eraser
Don’t forget to use my affiliate code, nolalettering, to get 10% off your Archer and Olive purchase!
Step One: Brainstorm
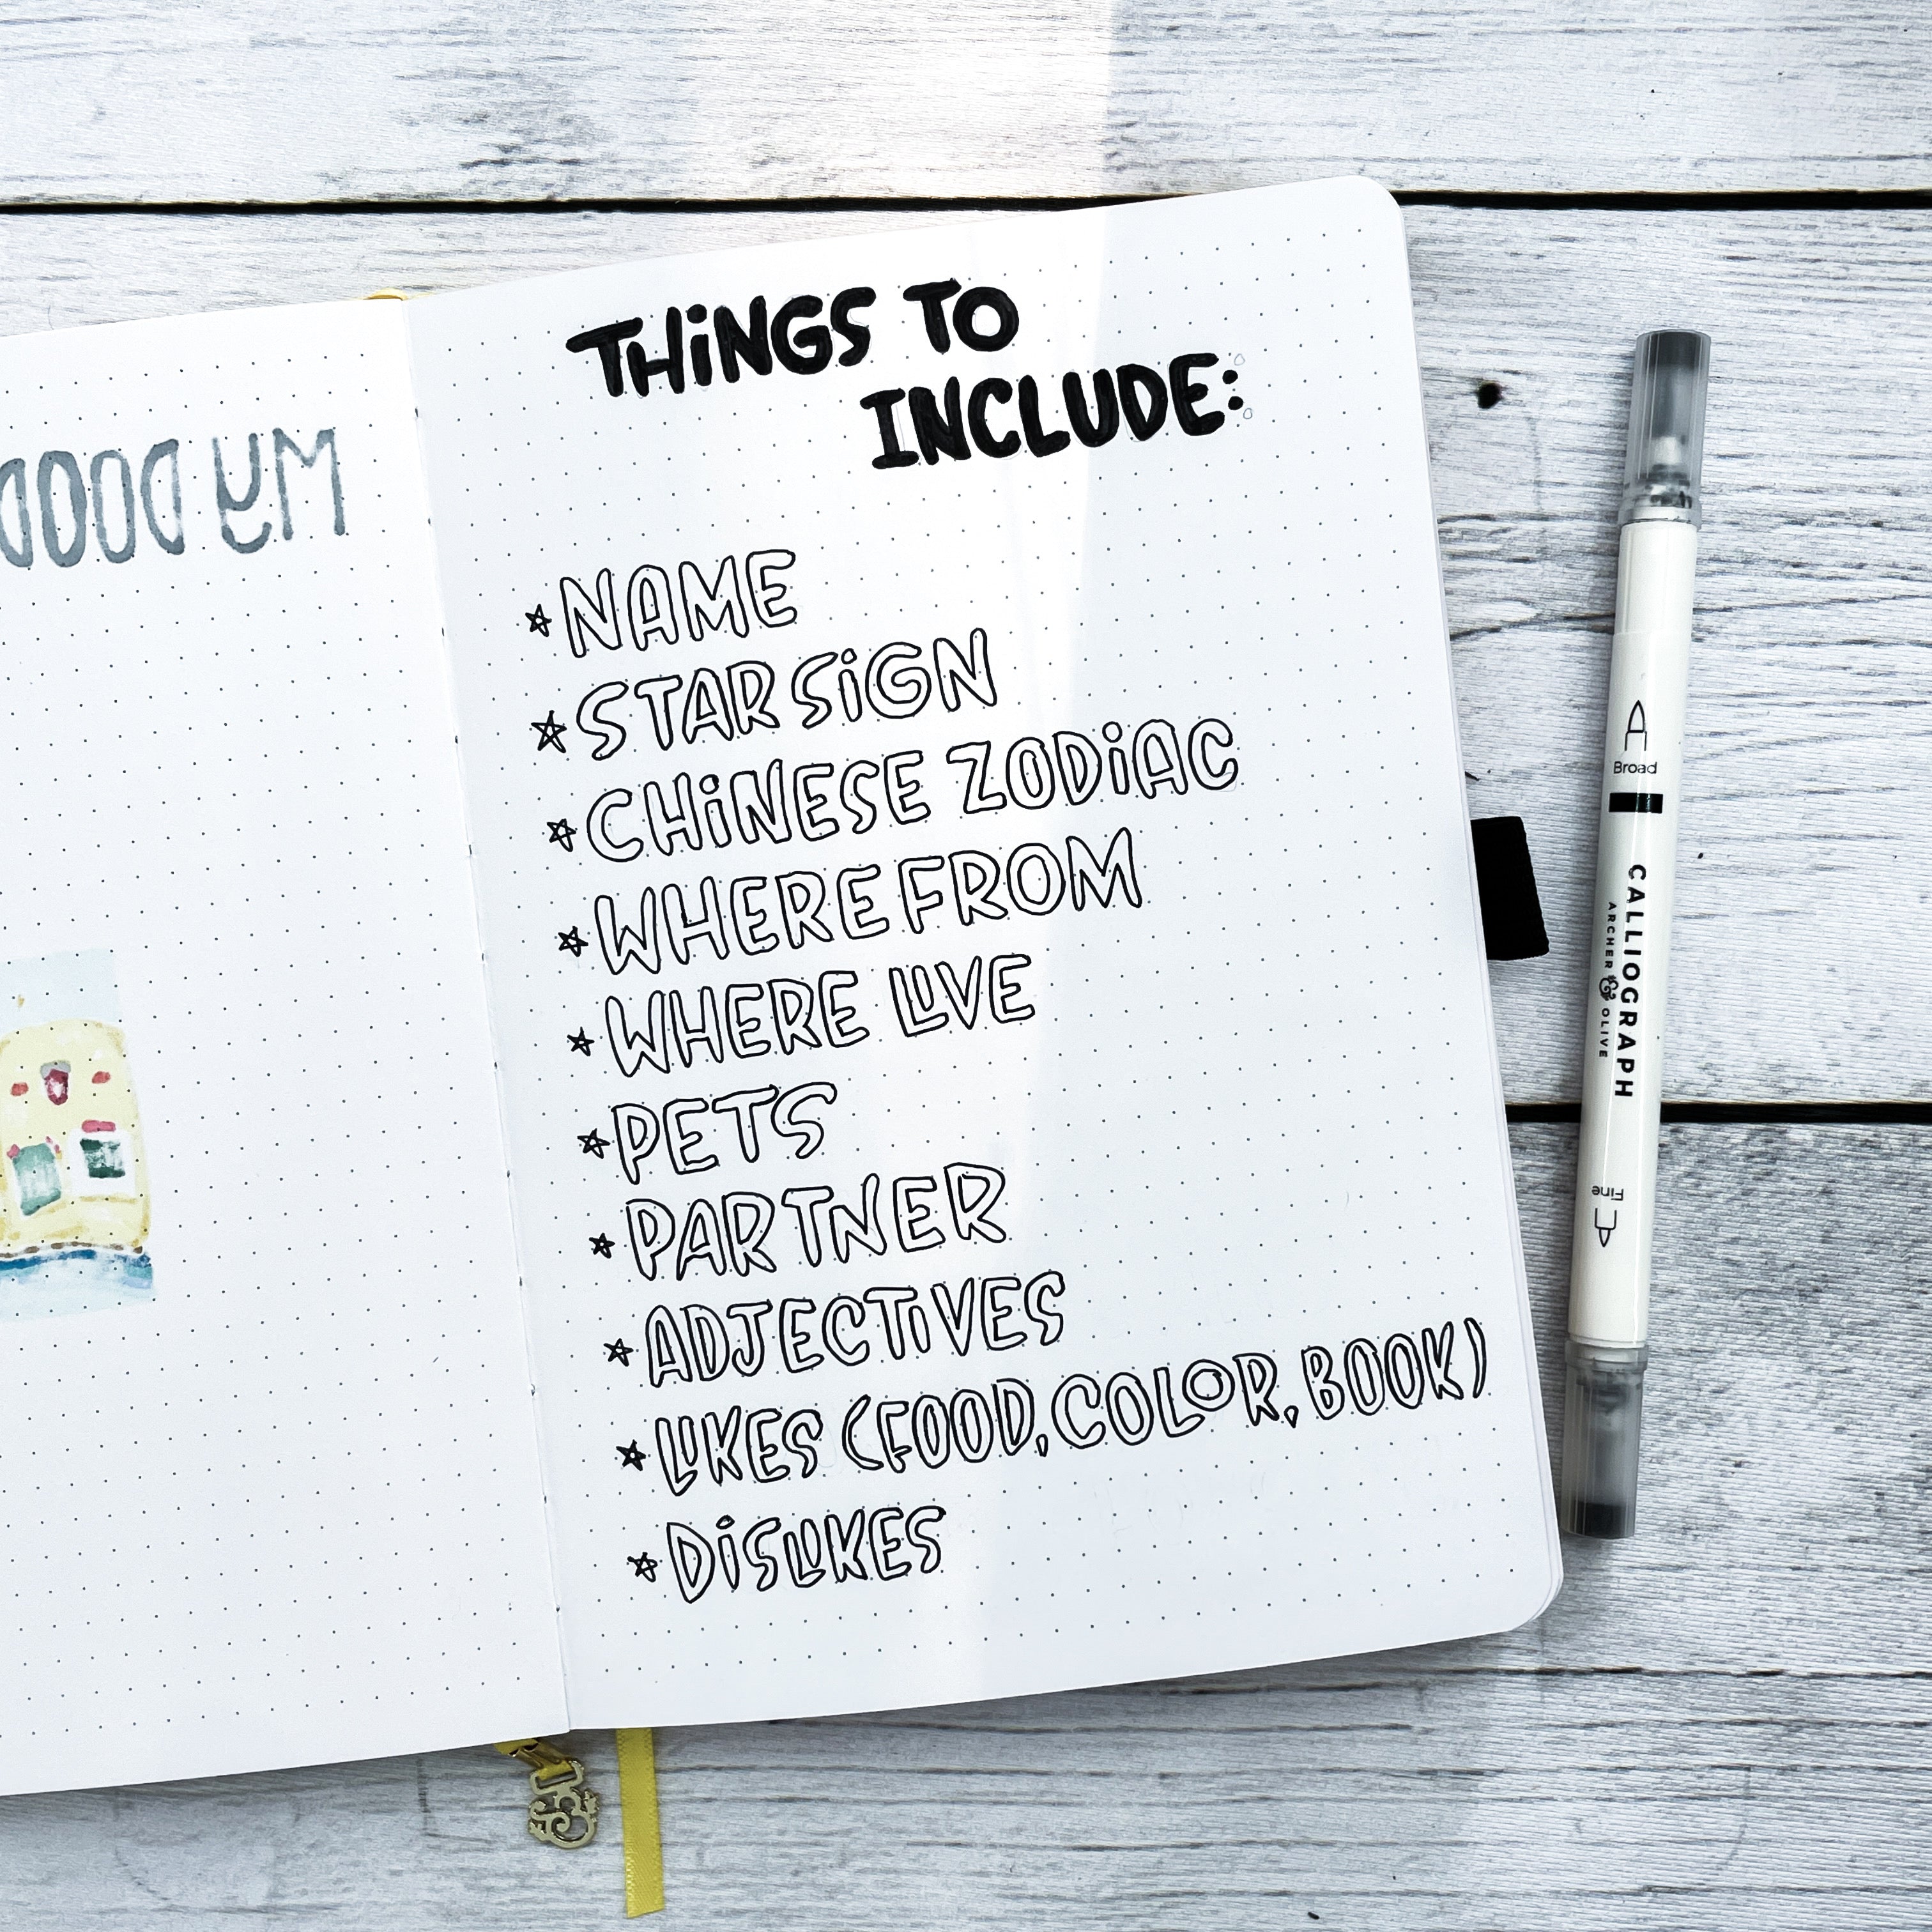
Before we jump into the collage, it’s best to first think through what we want to include in our spread and come up with a list of words that describe us. In the above photo, I’ve included a few suggestions to get your brain juices flowing, but this isn’t a comprehensive list at all.
Write down about 15 words, preferably of various lengths, some shorter and some longer. You’ll see why in the next section. We might not use all the words, so don’t worry if you can’t come up with 15. Or if you’ve come up with a lot of words, you can do a bigger spread or have multiple About Me pages.
I’ve come up with 13 words, which is a good amount, so let’s get to laying out our composition!
Step Two: Lay it all Out
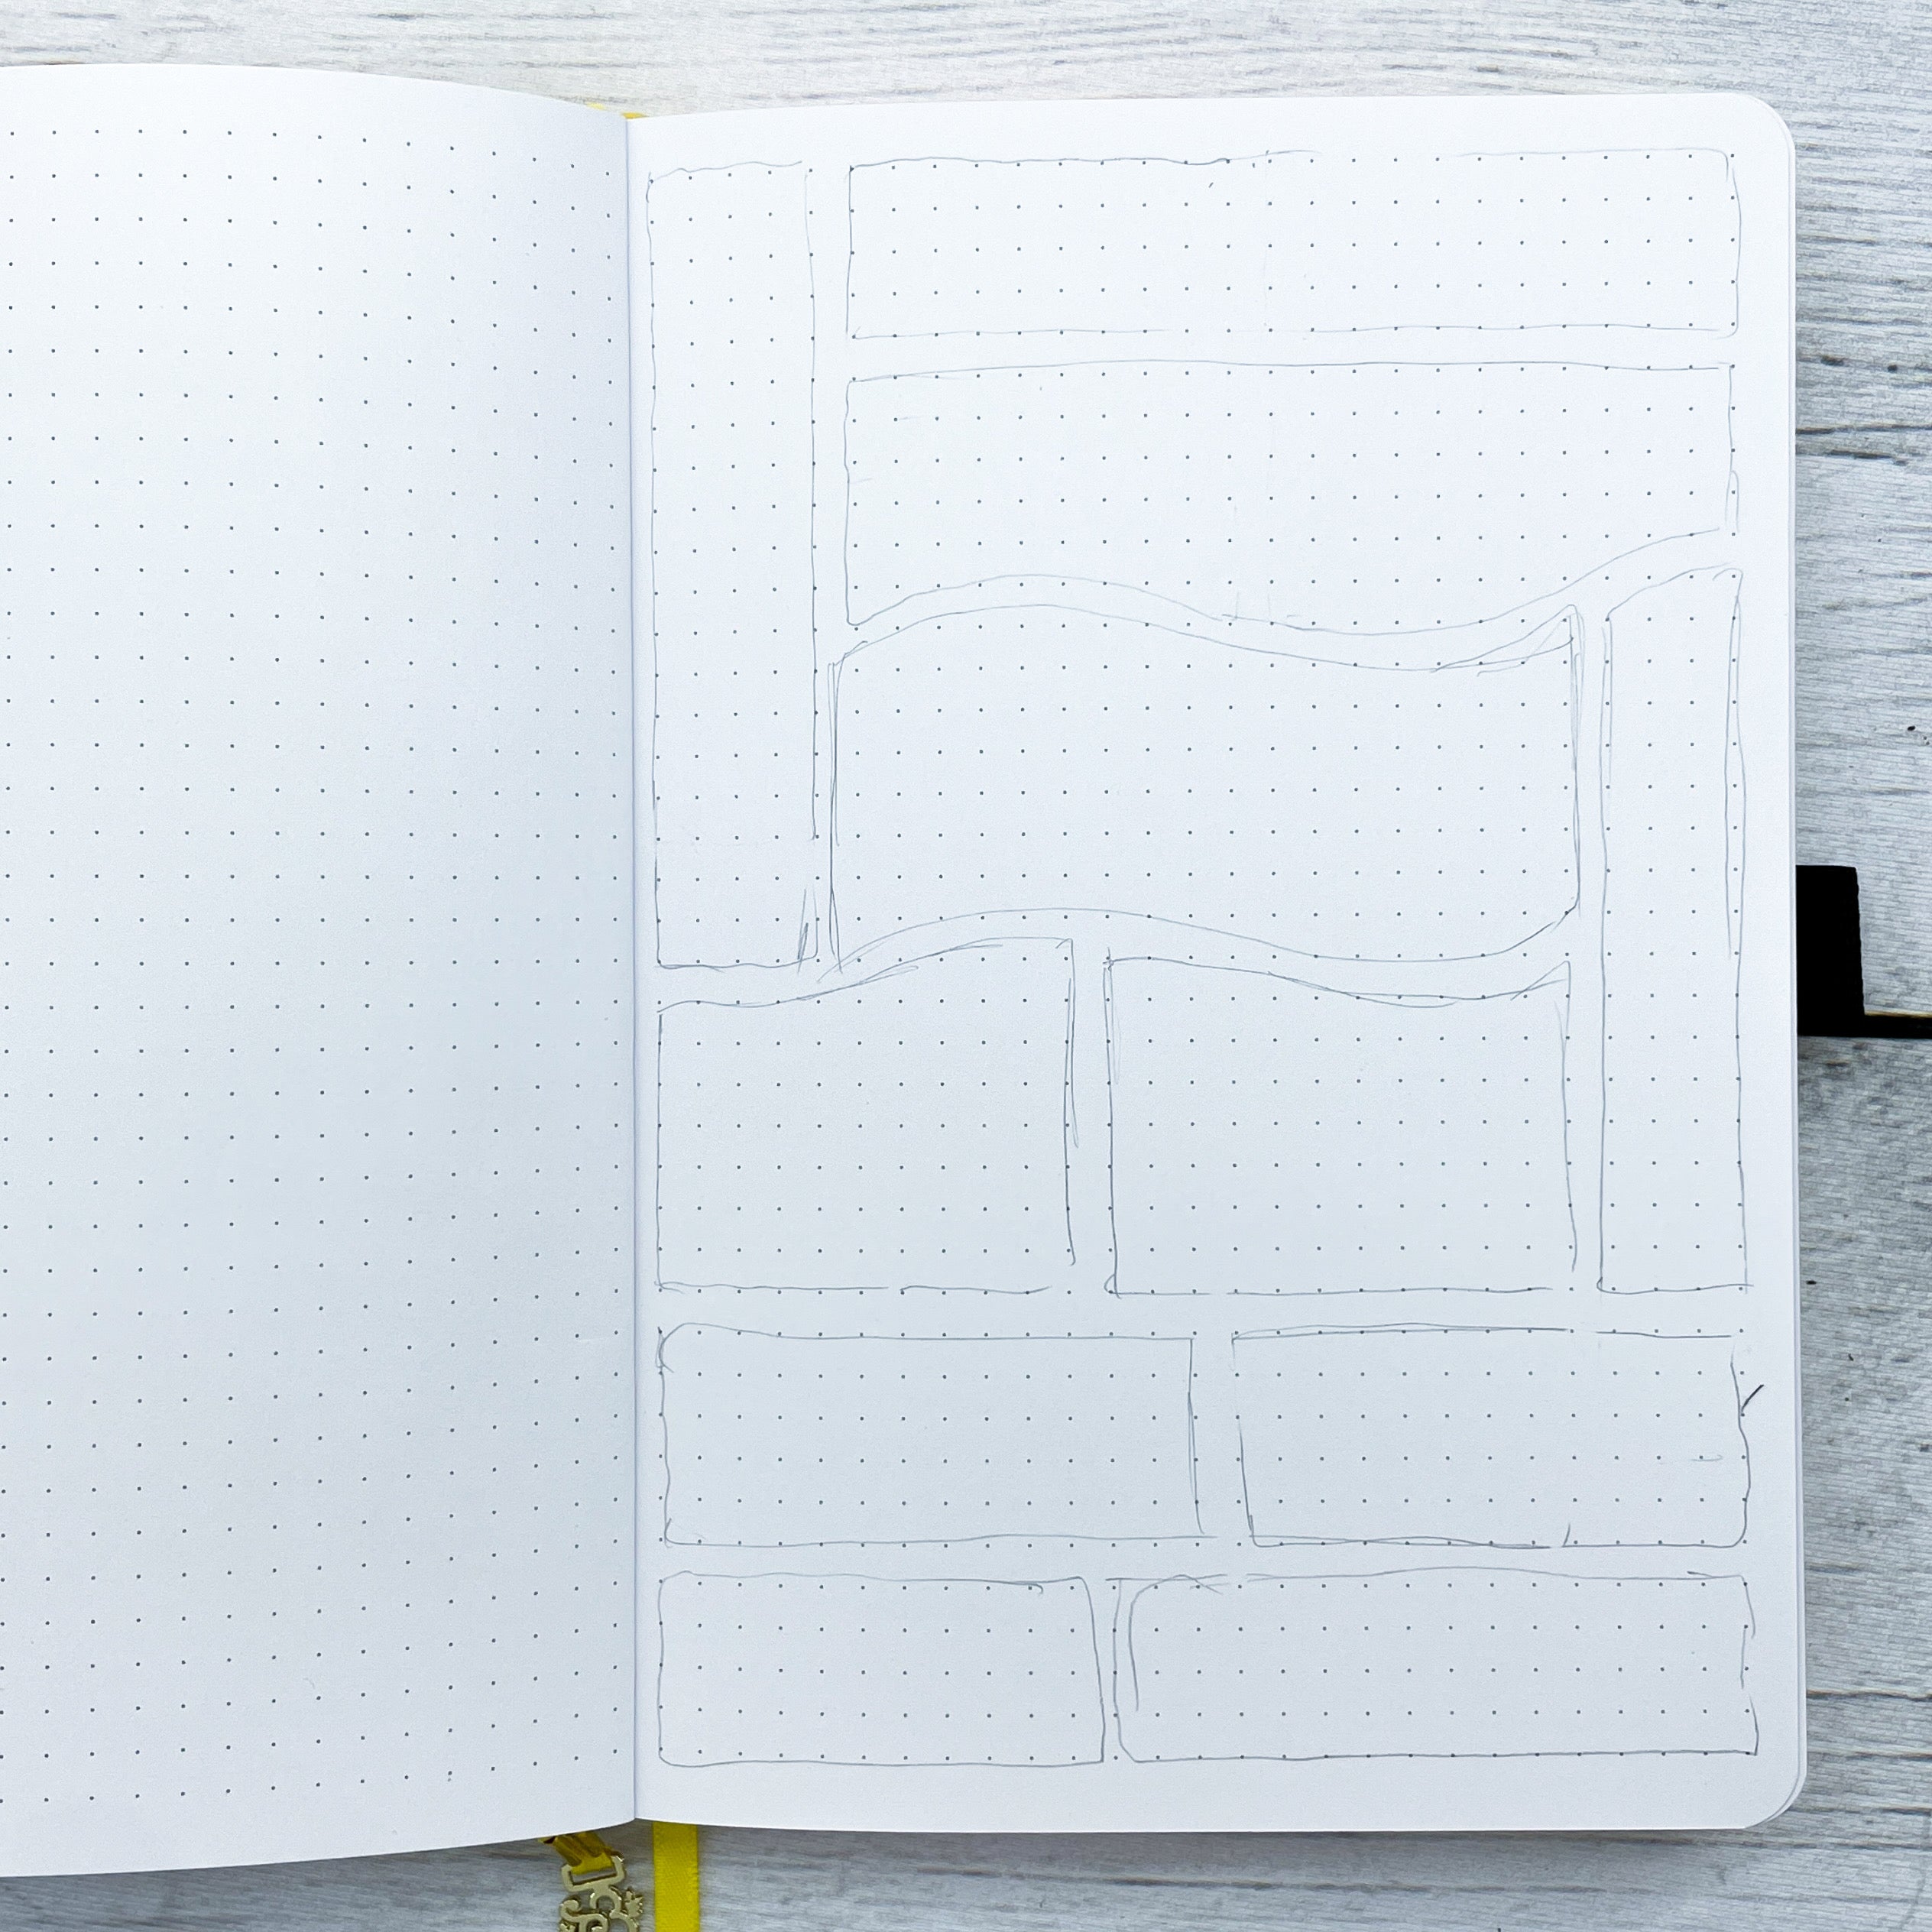
I like to start off first by drawing different shapes for each of my words. They don’t all have to be rectangles; you can do any shape you’d like. Rectangles are the easiest if you’re just starting out, though. They also shouldn’t all be the same size, either vertically or horizontally. Having a variety of shapes, sizes, and orientation can make your collage feel more like a collage. And that is why I suggested you come up with words of various lengths when you were brainstorming. It’ll make filling in the shapes easier. Speaking of which, let’s get to filling!
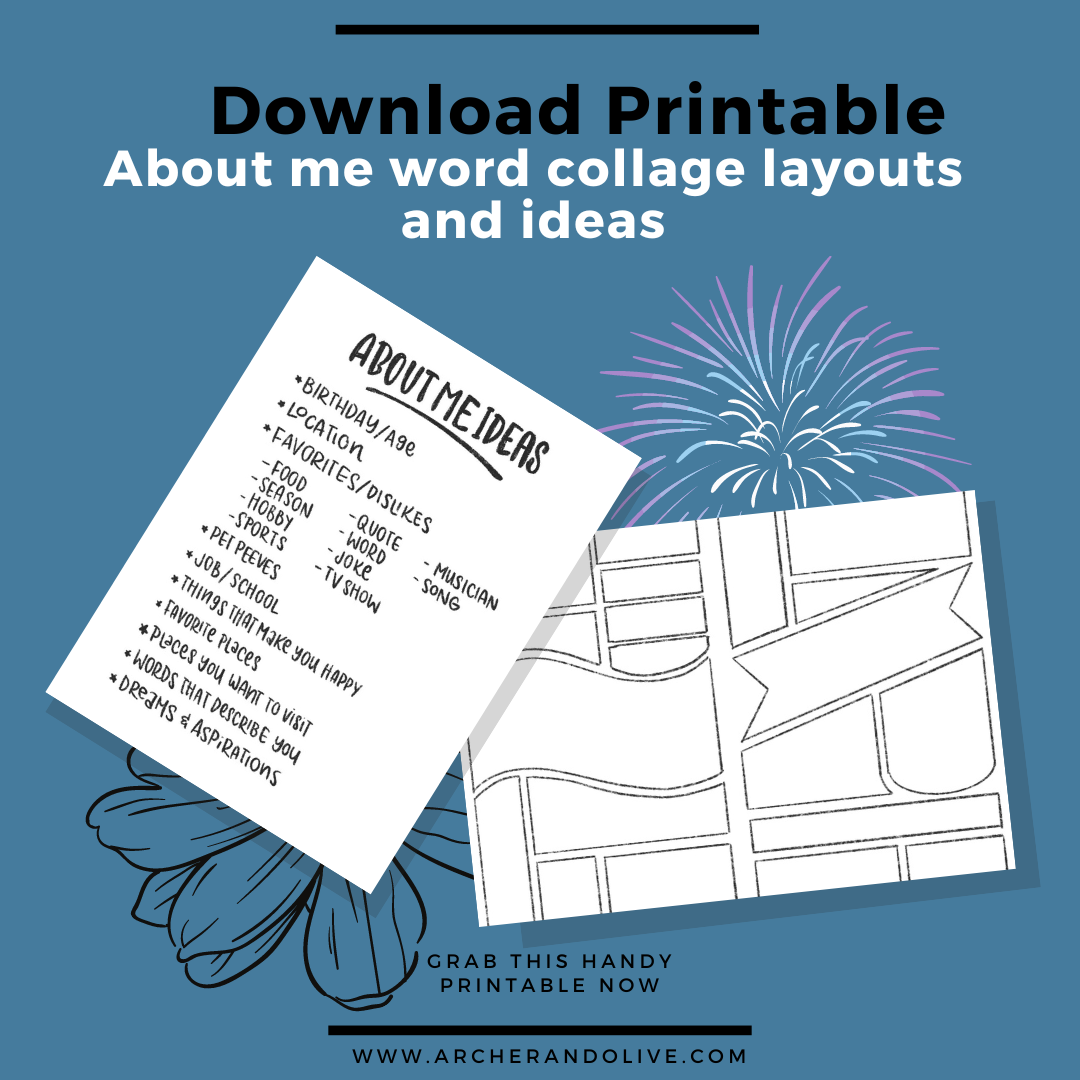
If you need more layout ideas, I’ve included a few different examples in the printable along with some other suggestions of words you can include in your About Me spread.
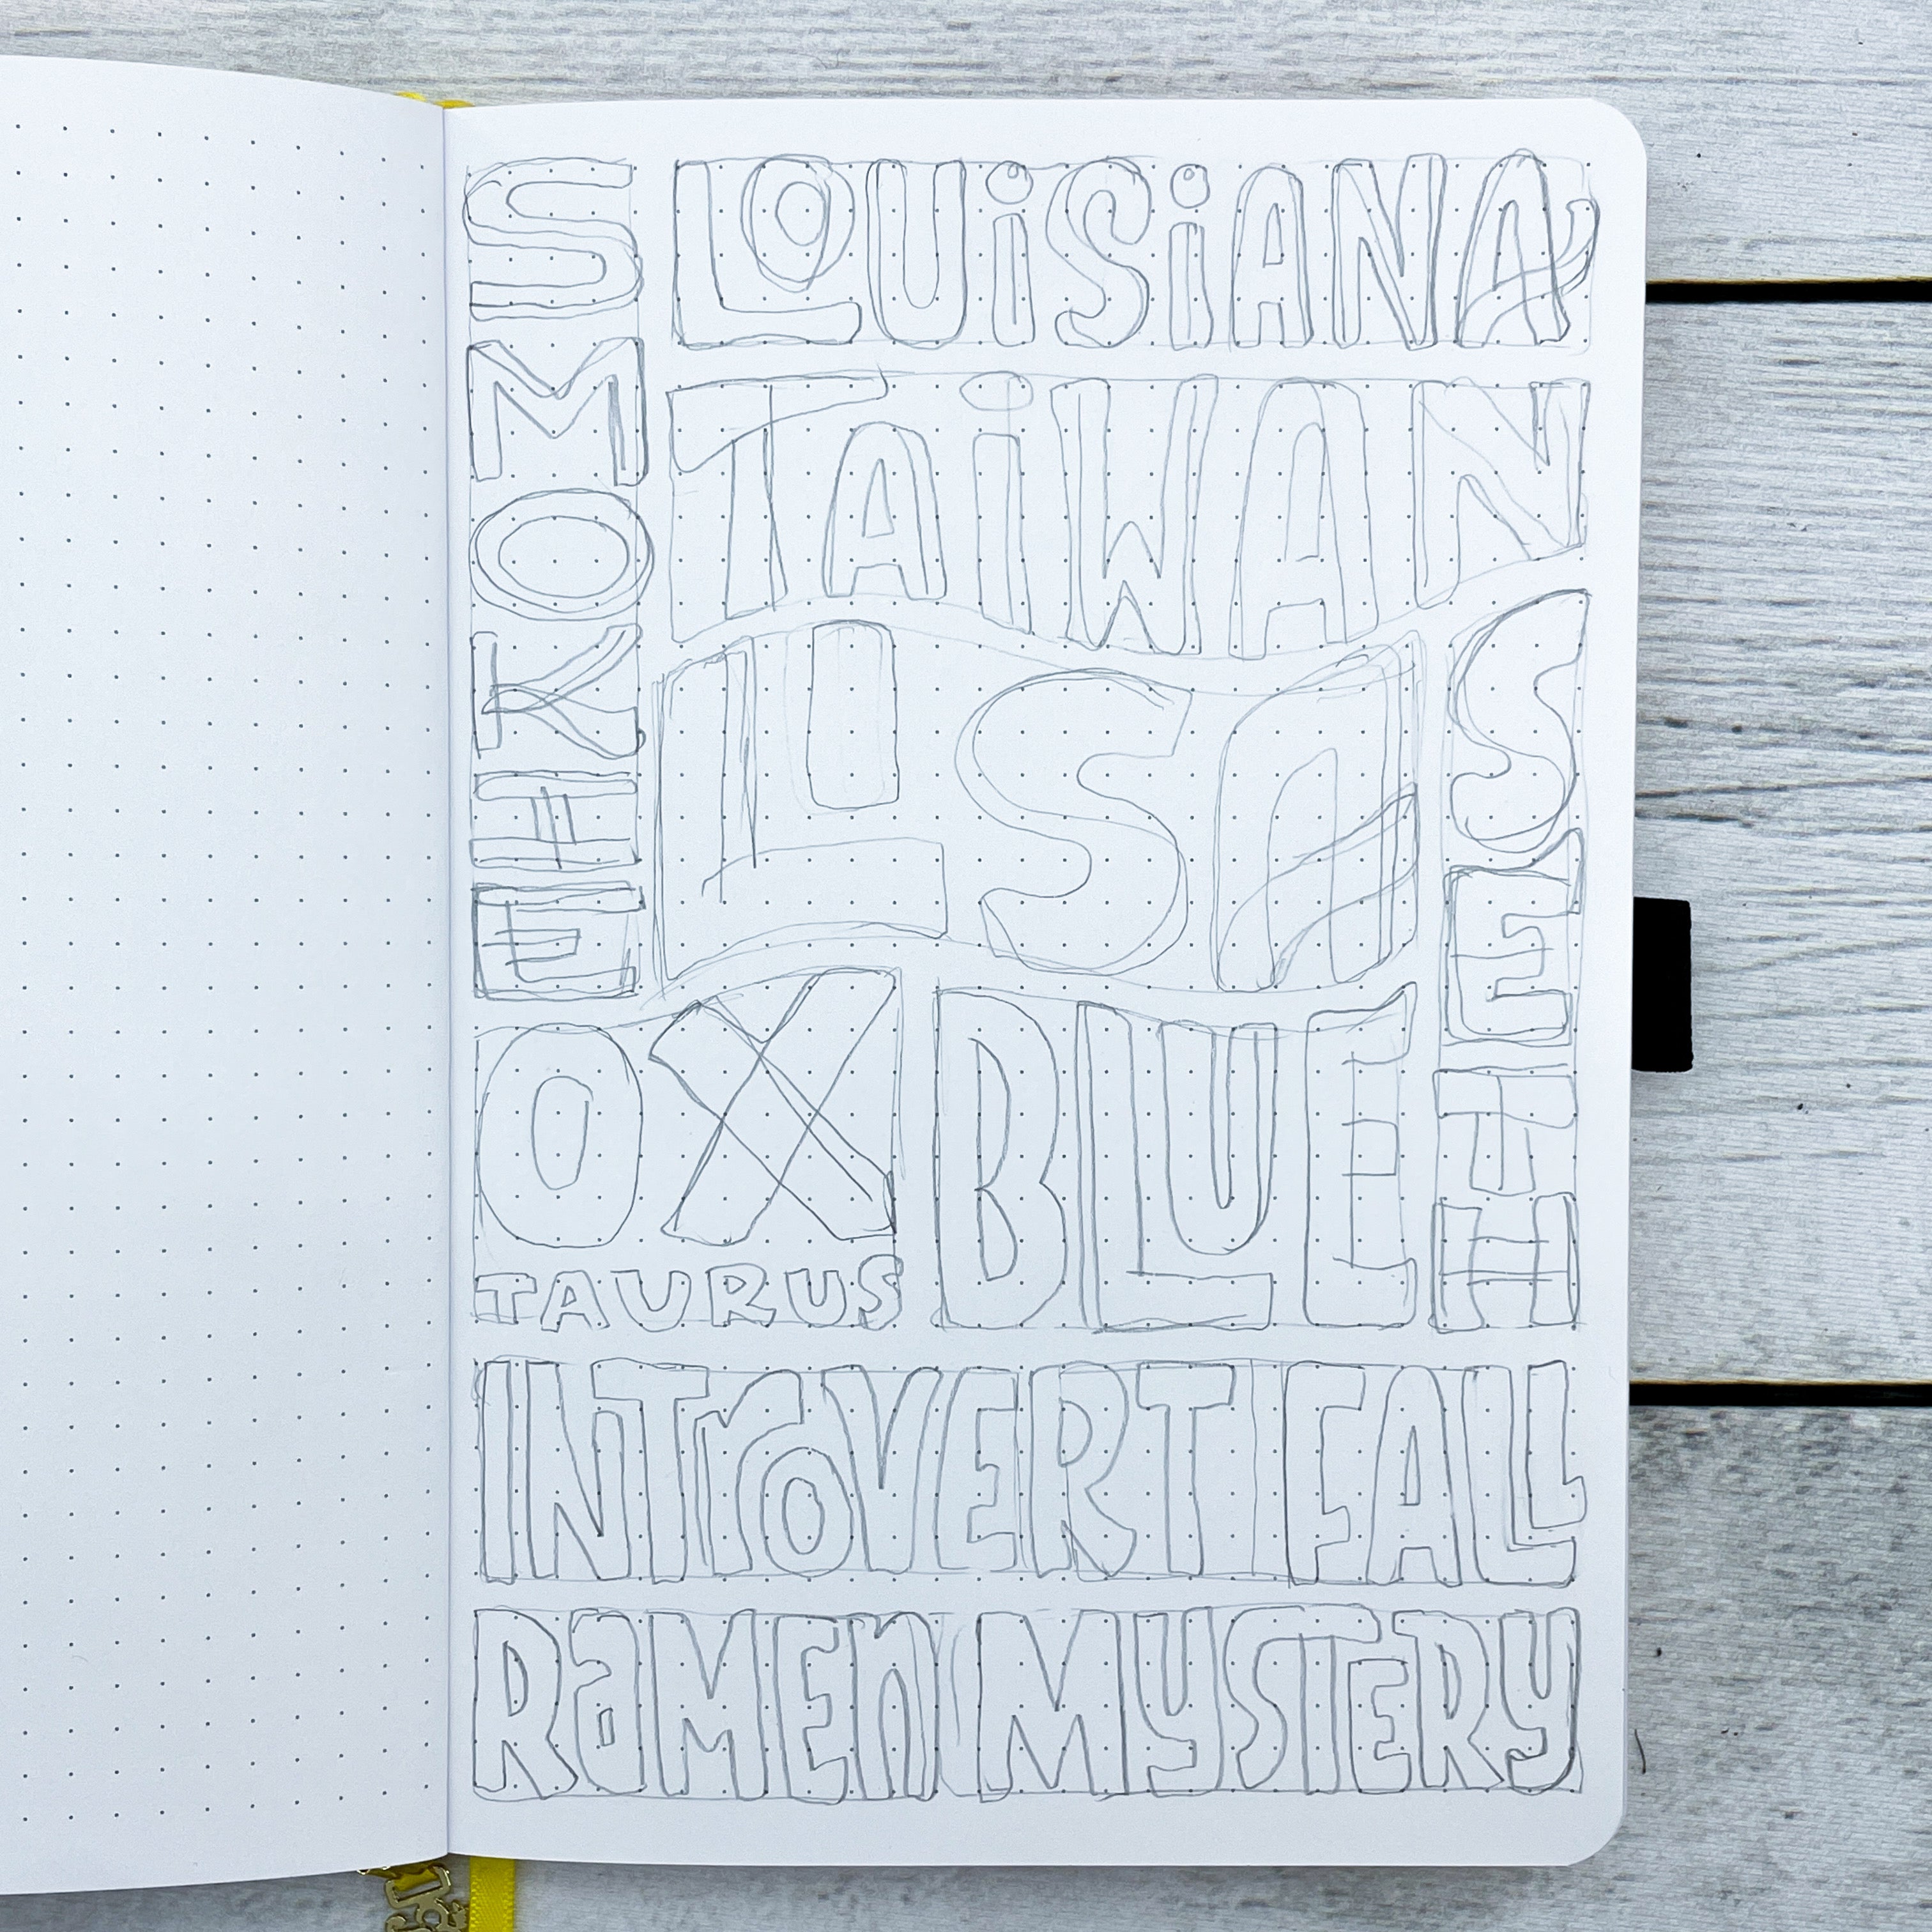
Once you’ve laid out your shapes, now comes the fun part. Start filling in all your words! I feel like the different sized shapes and words make the whole composition look more fun and less orderly. A little chaos is good for the soul.
You can stick with the same lettering style for all the words, or you can use different styles. I’ve mostly stuck with block letters with rounded corners, but I’ve varied the weight of them - some are thinner and others are chonky. Since I will be coloring each word in a different color, I don’t have to worry too much about using different styles to differentiate each word. But if you plan on making yours black and white or monochrome, I’d vary up the styles a little bit more.
In the above video, I show you how I came up with the composition for my About Me page and talk through my decision making process. There is quite a bit of erasing, which is okay! It’s hard to get it how you want it on the first try, so don’t worry about making things perfect in your first version.
Step Three: Fill in your Words
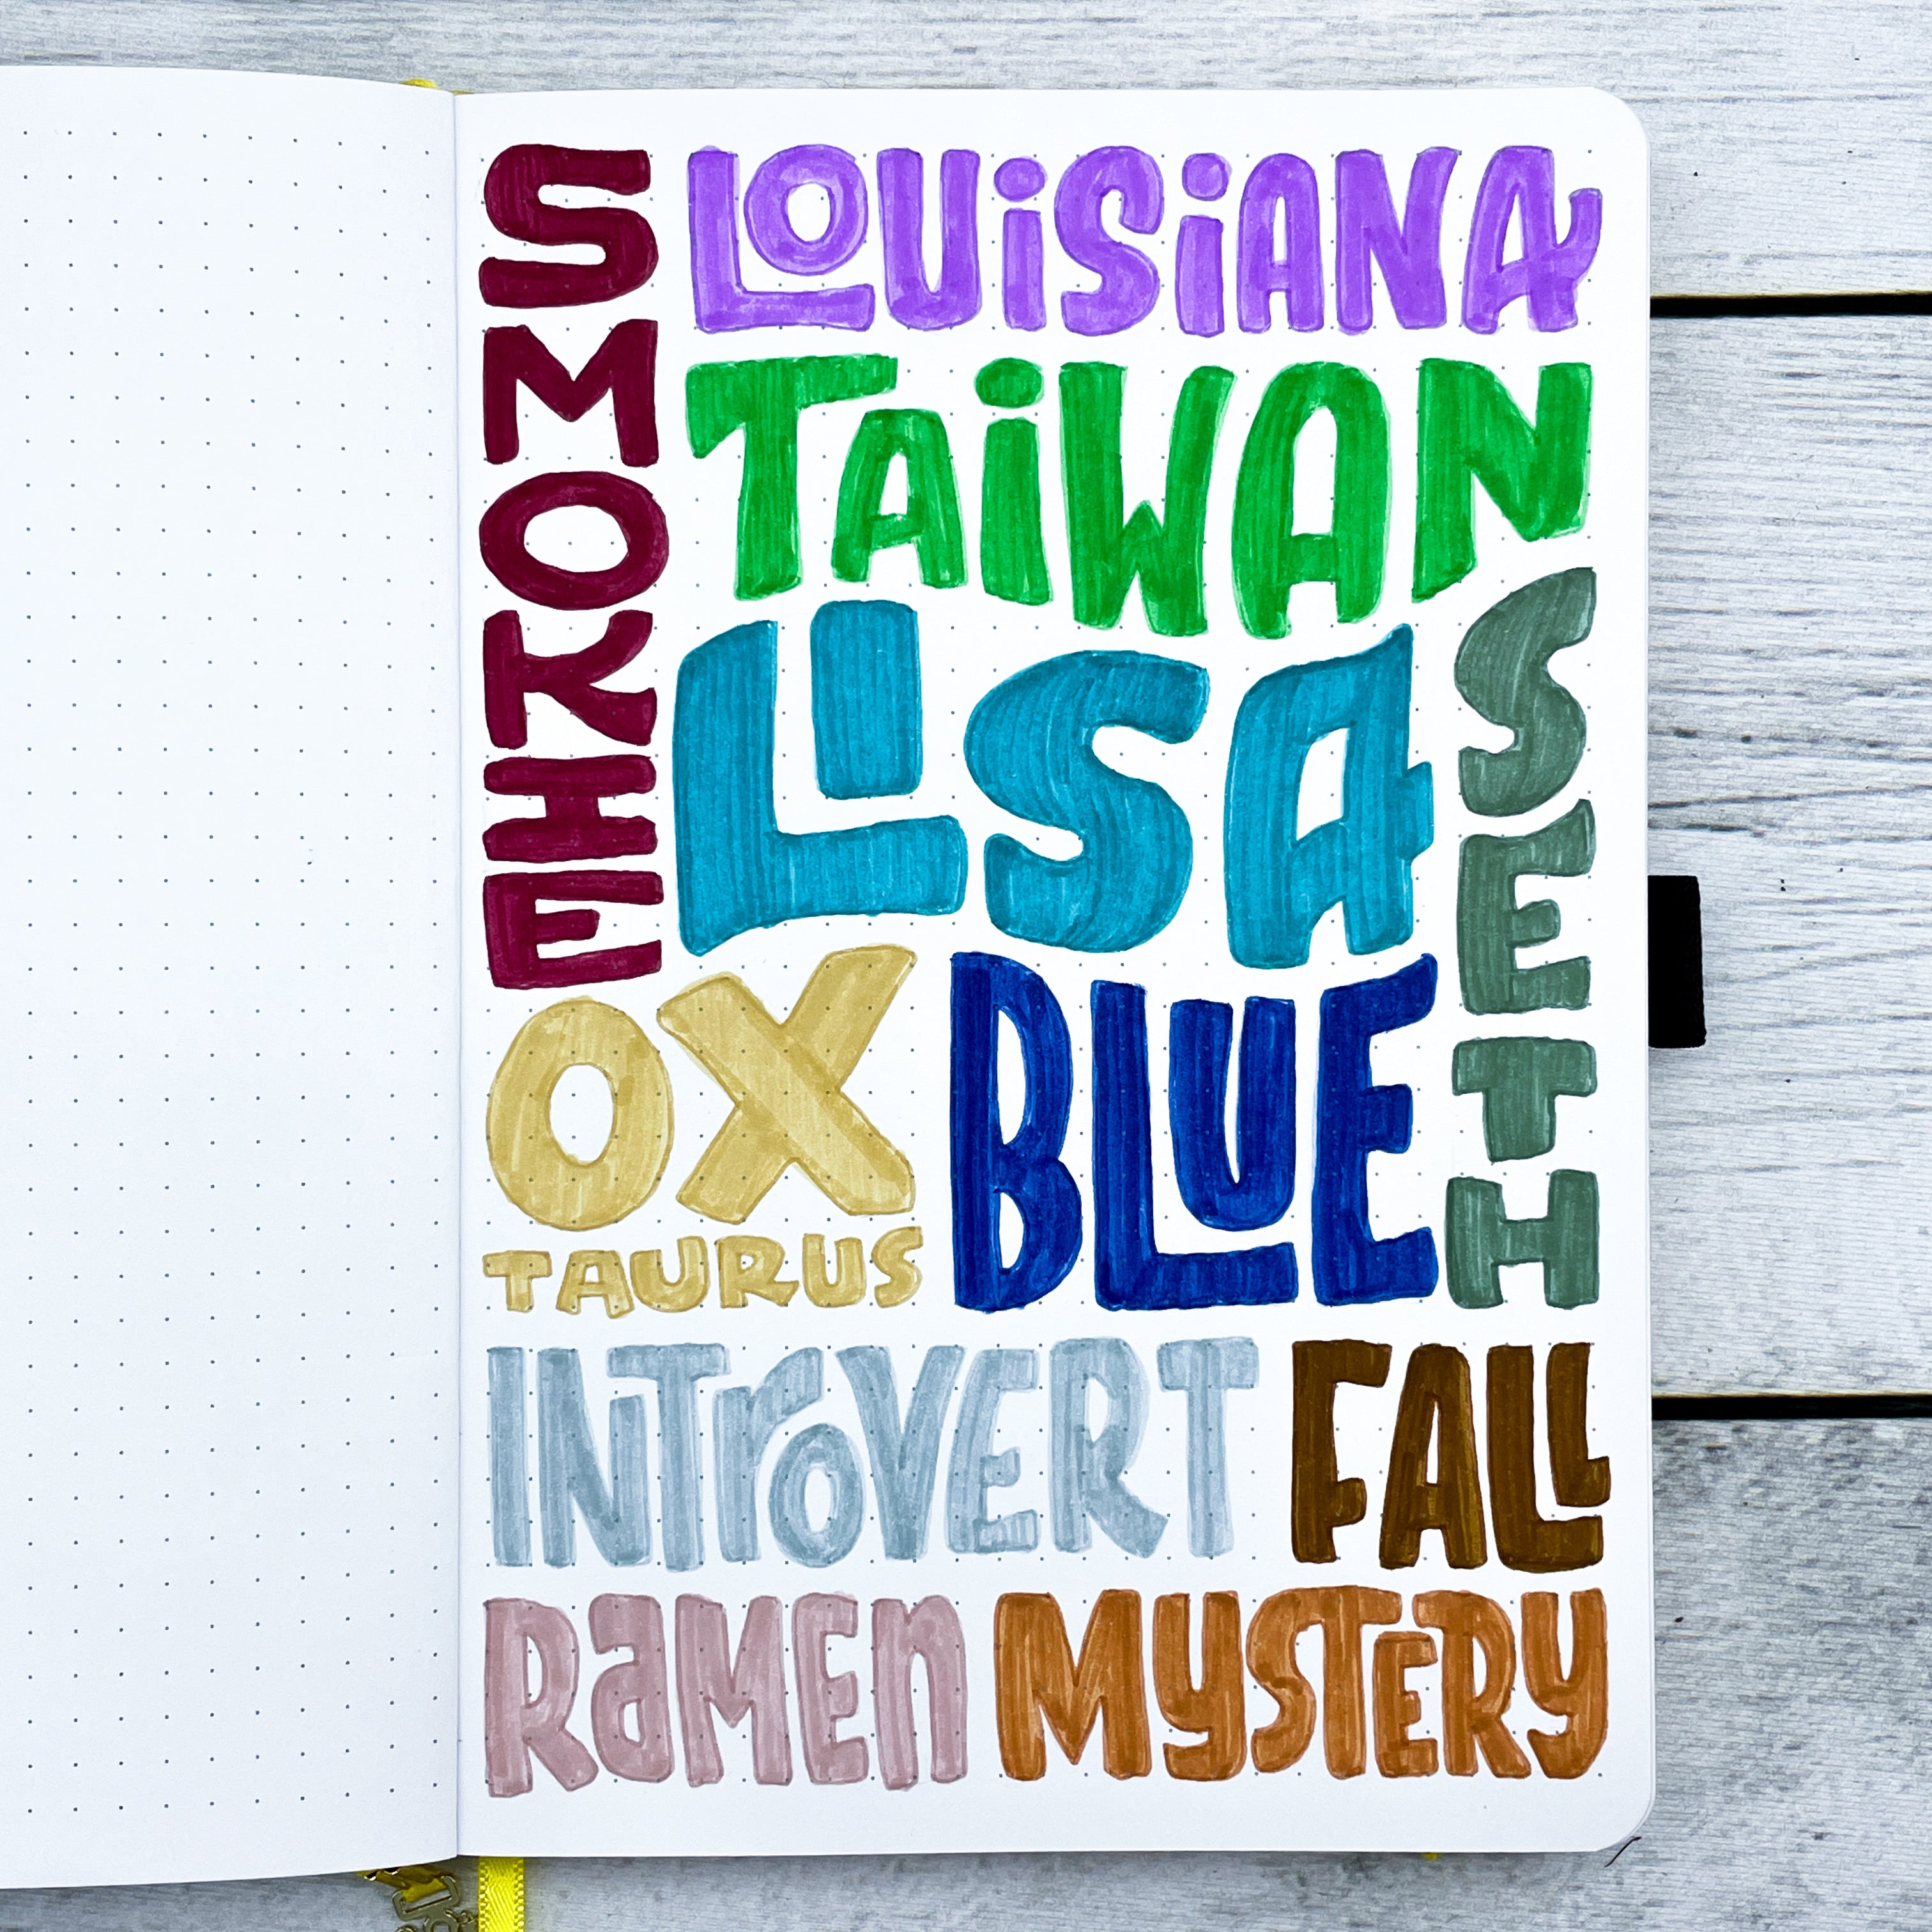
You’ve filled in your shapes, so now it’s time to fill in your words. Once you’ve sketched out your composition and all the lettering styles you’ll be using, you can color each word in a different color, like I’ve done, or do one color, or keep it black and white. You don’t even have to fill in your words if you don’t want to. There are many different ways, so go with what you like. Whatever you decide to do, you can stop here and have a complete About Me page. But if you’re like me, more details must be added!!!
Step Four: Add Details
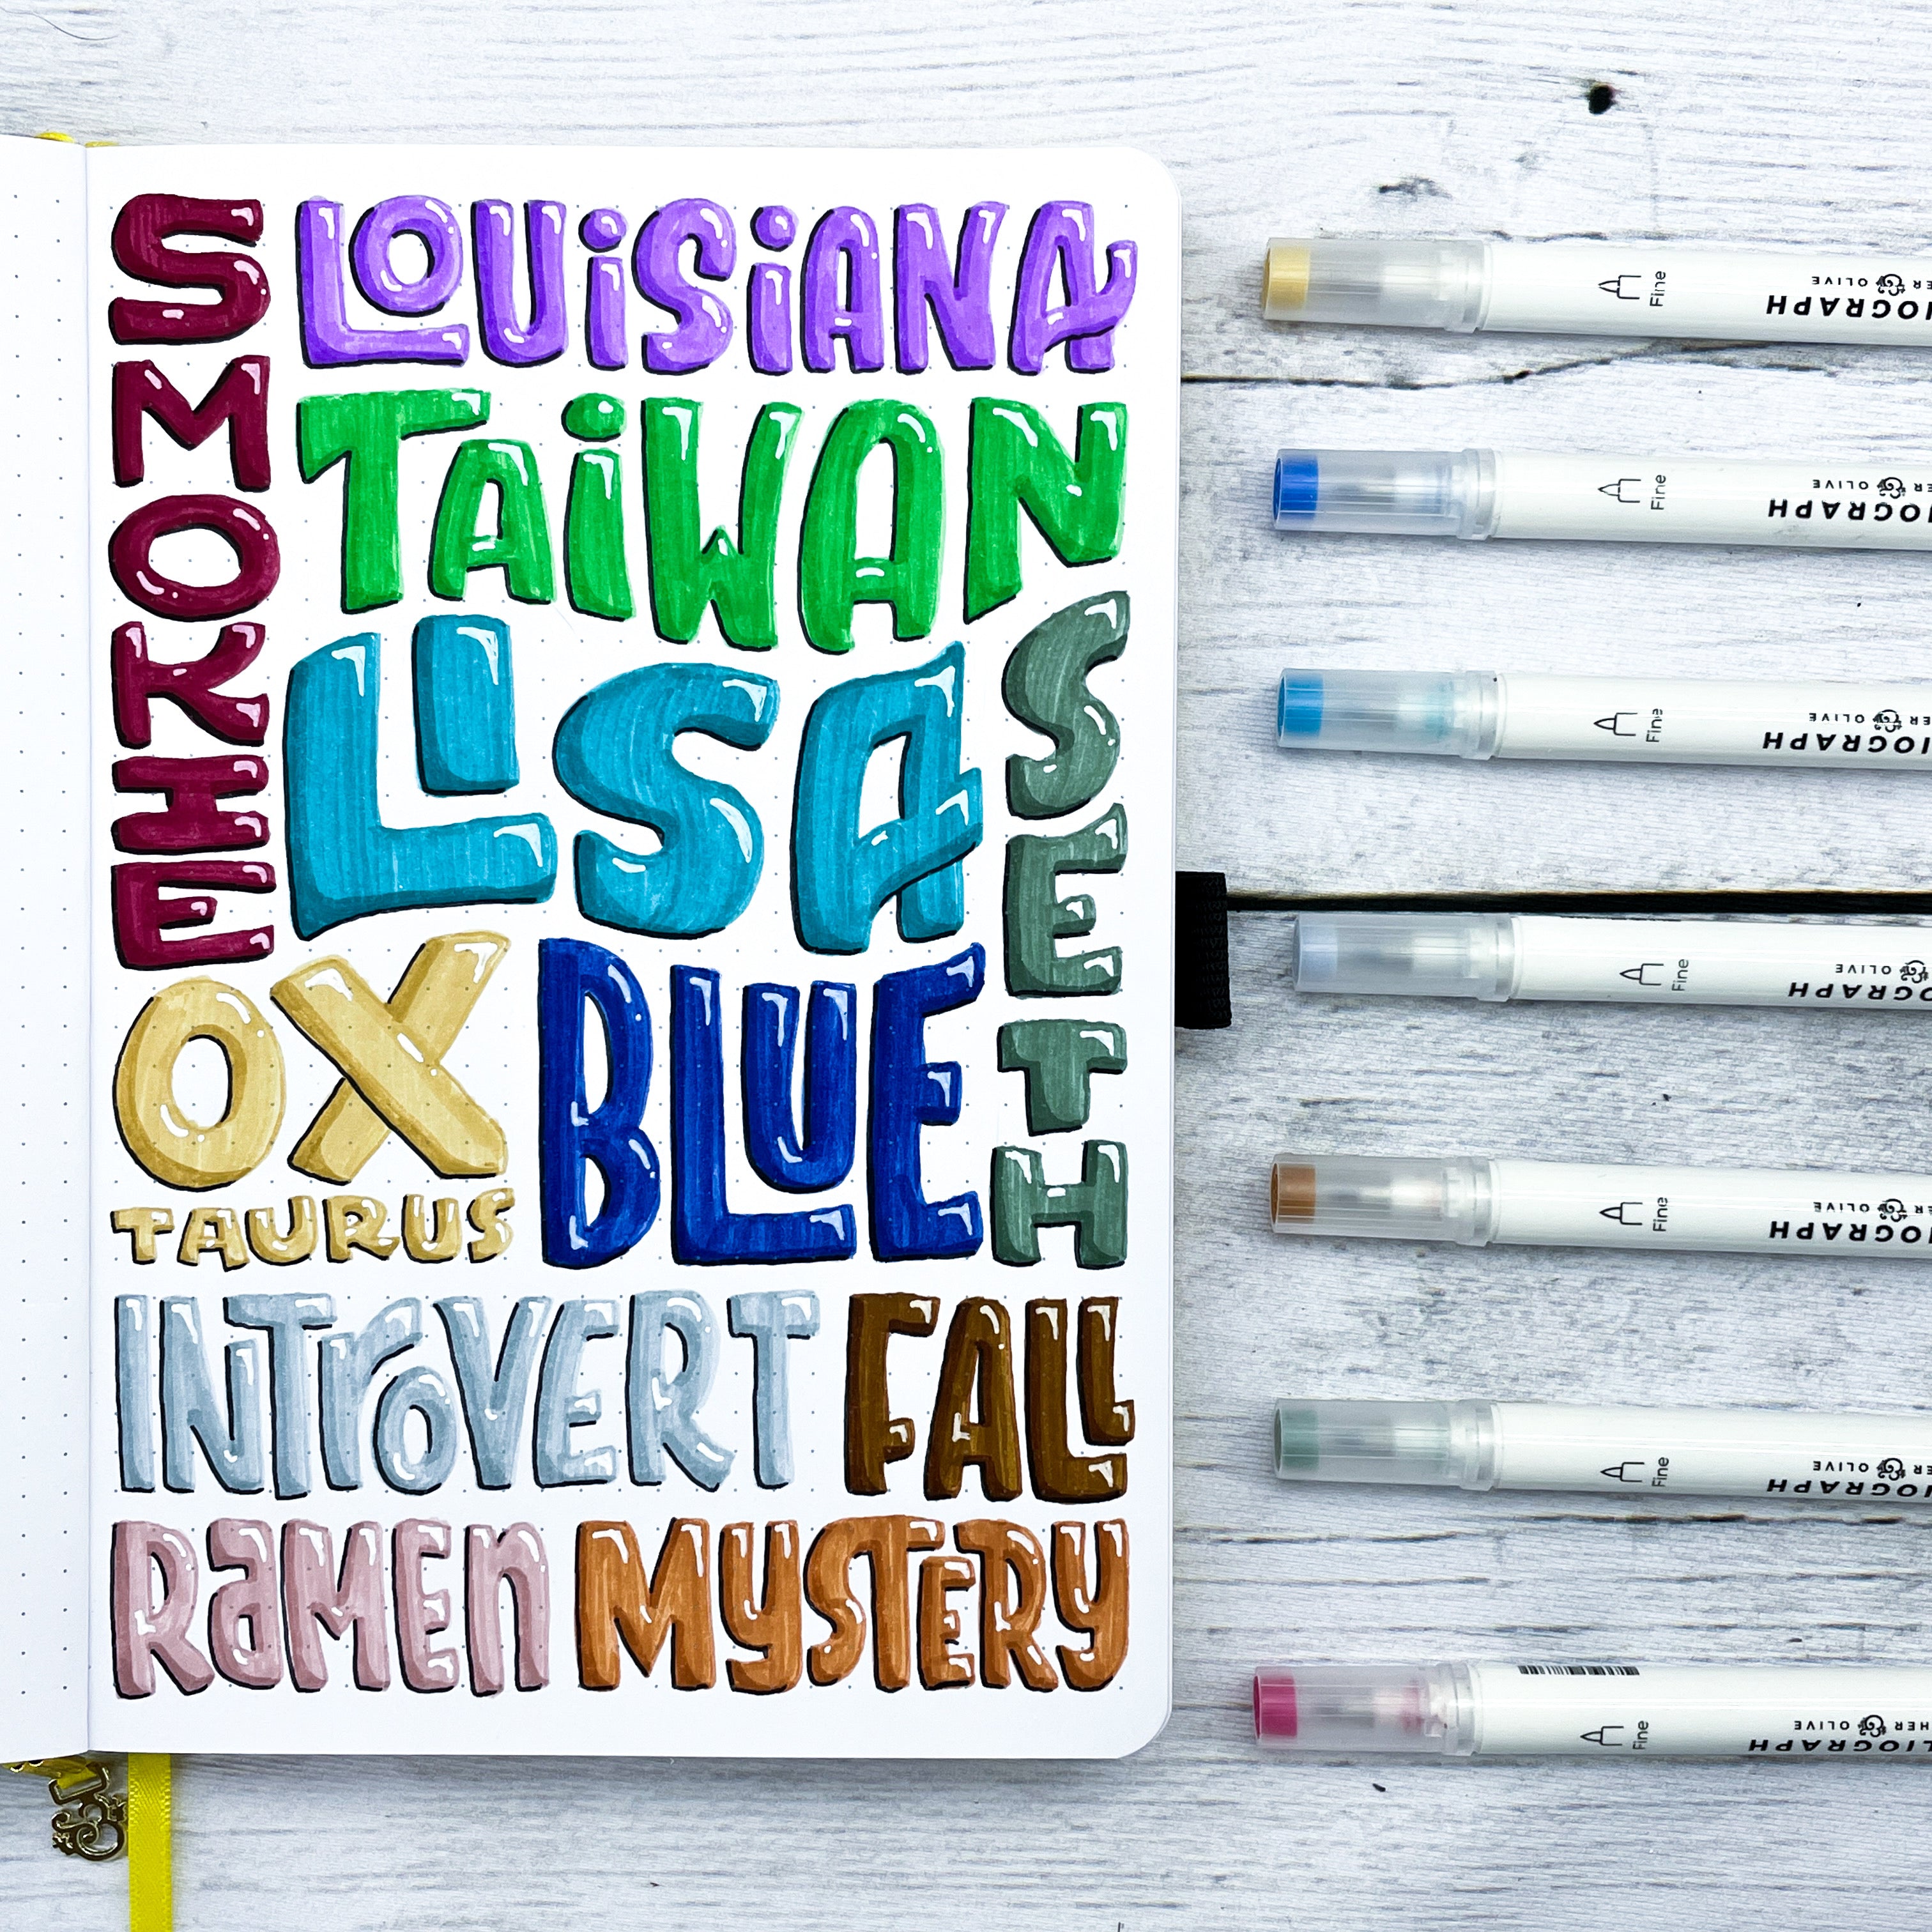
When using Calliograph brush pens, if you color over an already colored section, that area becomes darker. You can use this to make your words look more 3D. For each of my words I made the shadow the bottom left corner, so I went over those areas with the same marker a few extra times compared to the rest of the letter.
Then I used a white pen to make the highlights on the upper right corner. This gives my words a bubbly feel and makes them seem like they pop off the page more.
Finally, to emphasize the shading even more, I used the black Calliograph to outline the shadow parts of the words, and voila! I have completed my About Me spread in a word collage style.
If you need more ideas for About Me page compositions or what else you can include in yours, check out these other Archer and Olive blogs:
- How To Make An ‘About Me’ Page In Your Journal
- How To Create An About Me Page In Your Bullet Journal
- Creating an About Me Page In Your Bullet Journal
I hope you found this tutorial helpful and fun! If you do create an About Me word collage, please share with us on social media and tag me, @nolalettering, on Instagram along with @archerandolive, @archerandolive.community and use the hashtags #AOShare and #archerandolive so we can see your beautiful creations.


0 comments