


Hello friends, Crystal from @thecrystallinaperspective on Instagram and Youtube. Please remember to use the code CRYSTALP10 or my link to save on your Archer and Olive purchases.
Check out this video to see the process of creating this spread.
Let’s Plan a Wedding:
Congratulations!
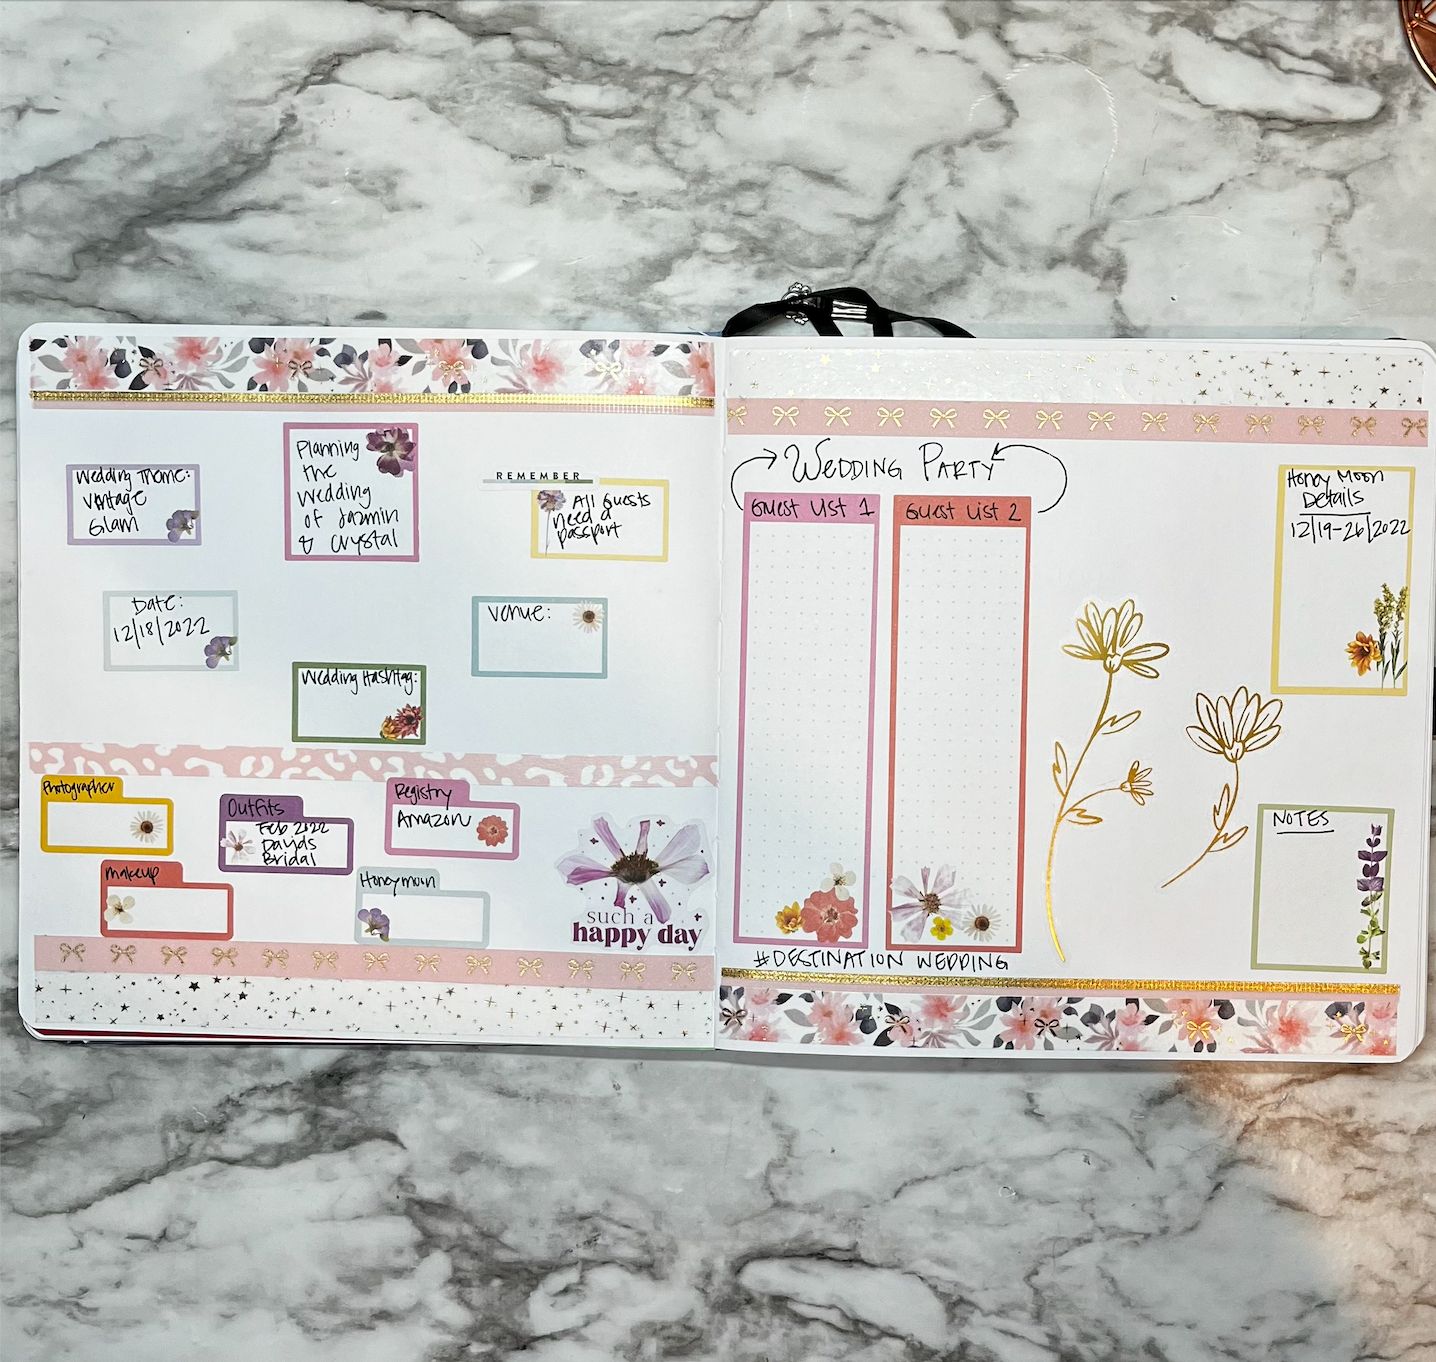
You are about to embark on such a rewarding yet fun journey- planning a wedding! Wedding planning can be very fun or very stressful. In this blog, we will make wedding planning both fun and stress less! In order to plan your ultimate wedding, a few things you may want to consider is your budget, wedding type (elopement, small, medium, large), wedding party or lack of wedding party, and date/season. These things will help you to land answers to other areas such as theme, colors, etc. Today, we will create a 4 page spread after looking at the areas previously listed. In fact, I am showing how I am planning my wedding. I am currently in the last 6 months of wedding planning but this spread can be used for any length of time for the wedding.
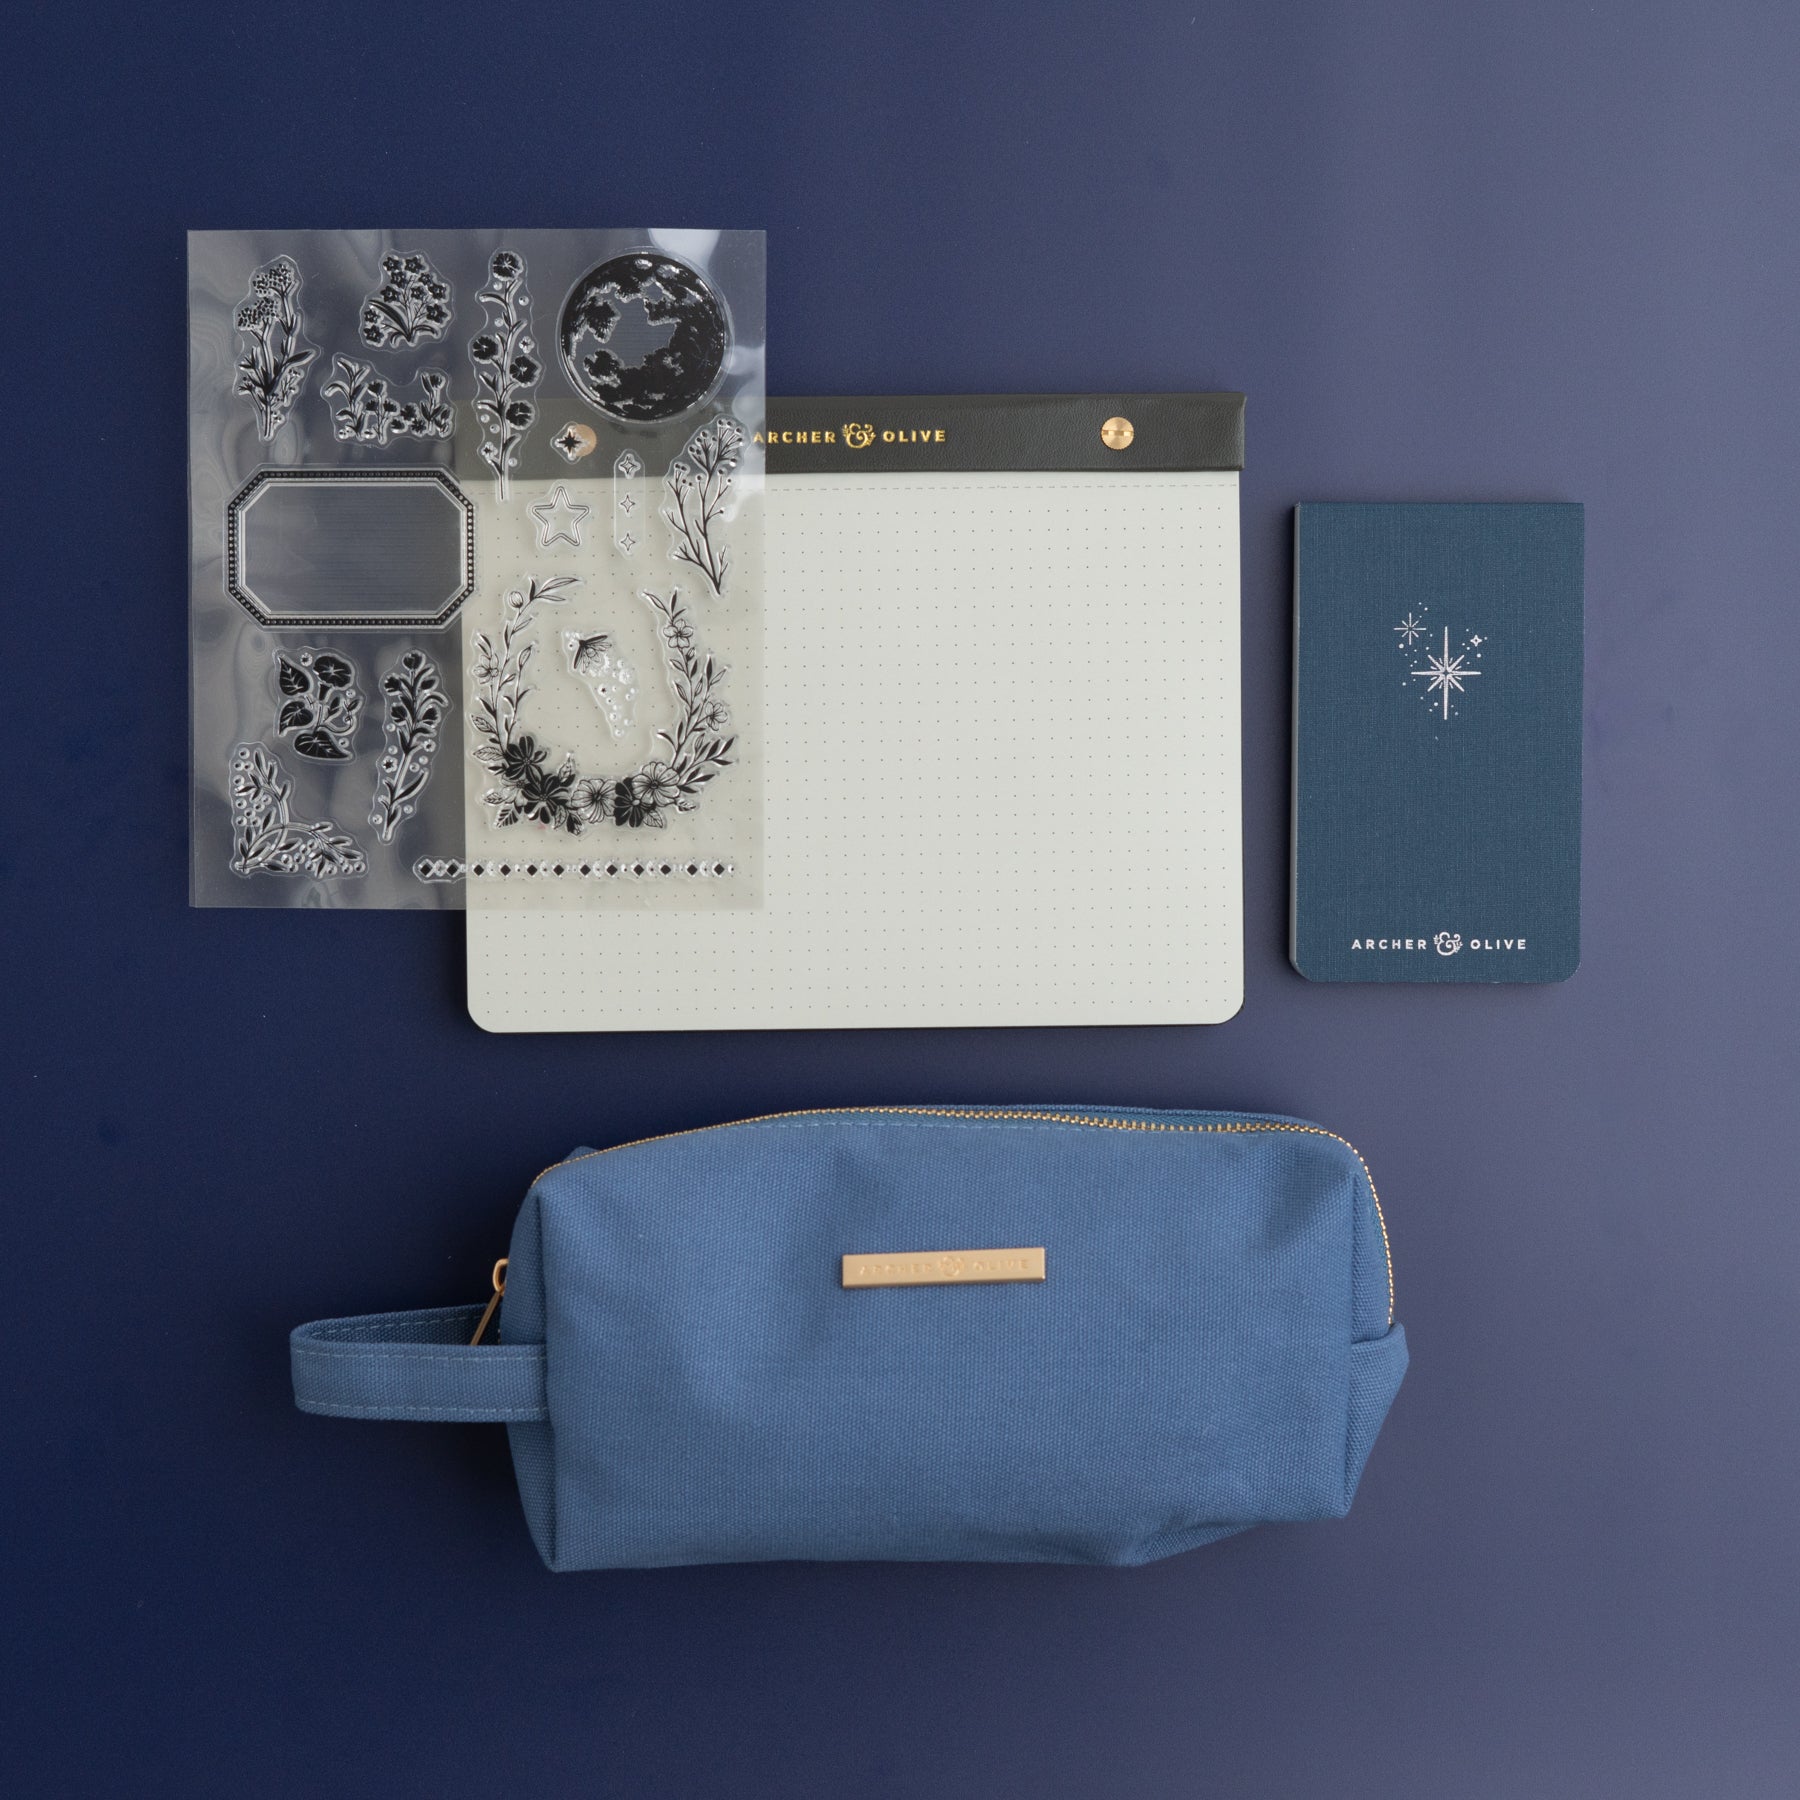
Supplies You’ll Need:

- Archer and Olive Dot Grid 8x8 Notebook
- Archer and Olive A5 Pastel Notepad
- Decorative Washi Tape
- Box Stickers
- Embellishment Stickers
- Scissors
- Adhesive Tape or Glue
**With your supplies, look around your house and find things that you aren’t using. Use those things! Some supplies in this list do contain affiliate links where I receive commission at no additional cost to you.**
Let’s Create!

To start this spread off, I lay decorative washi at the tops and bottoms of pages on the first spread (first two pages). The washi that I am using is from the Archer and Olive and Simply Gilded Collaboration. Once the washi is layered, begin to lay box stickers or cut boxes onto the pages. These boxes will be used to highlight a few areas of the wedding planning process. It is easier to have these boxes so that you have a general idea of how you want things to present.

In these boxes there are several things that you can consider writing in them. In my boxes, I will write things such as our wedding theme, date, hashtag, venue, photographer, outfits, registry, honeymoon, makeup/flowers, guest list, and honeymoon details. Other things you may want to have a box for is your budget, invitations, save the dates, colors, jewelry, wedding party gifts, and so much more. It is totally up to you what boxes you need for your spread.

I am a creature of habit so the next thing that I love to do is embellish! Embellishments can be anything from stickers to flowers. So, I am making the spread my own by adding embellishments. I love embellishments because they give the spread a different look. If you are not an embellishment person, you can stop at this step. Embellishments are a great way to use up white space. Now, you don’t have to cover all the space but some people may not like white space.

Let’s write!!! Now that you have the base of your spread down, it’s now time to fill in your spread. I did fill in a few spots to show you what I am planning for my wedding. You can use this space to write ideas or actual concrete decisions for your wedding date. You can even create this first page to serve as a brainstorm and then follow up with your checklist or a timeline.
Closing things out: Creating the Timeline
As we close this blog out, the last thing you want to do on your final two pages of the spread is to create the timeline. Unfortunately, the wedding process is on a timeline. If you have an elopement, you may want to have a special outfit, flowers, or photographer. Therefore, you must keep yourself on an accurate timeline.

For the third and fourth page, I simply cut some boxes out of the A5 pastel notepad and created a 6 month timeline leading up to the wedding date. In this timeline, you want to write different things to accomplish each month leading up to your big event. Remember this special time in your life is all about YOU! This moment is YOUR TIME to do what you want and be happy. For all my newly engaged couples, CONGRATULATIONS and happy wedding planning.
Please make sure that you check out the printable freebie!

If you decide to make this spread or one similar please tag @archerandolive, @archerandolive.community and use hashtags #AOShare and #archerandolive. You can find me on Instagram or YouTube: @TheCrystallinaPerspective

0 comments