


Hey-lo, Marsha here from Do You Salut! Hopefully, everyone is doing well and hanging in there. I recently stumbled upon a decorative tile coaster that I got during a trip to Greece a couple of years ago. It reminded me of all of the beautiful tiles that I’ve seen across my travels. Portugal is well known for its beautiful tiles called “Azulejos.” Today we're going to make decorative tiles. You can use these designs for your bullet journal monthly spreads. You can even frame your creations and put them up.

Recommended Supplies:

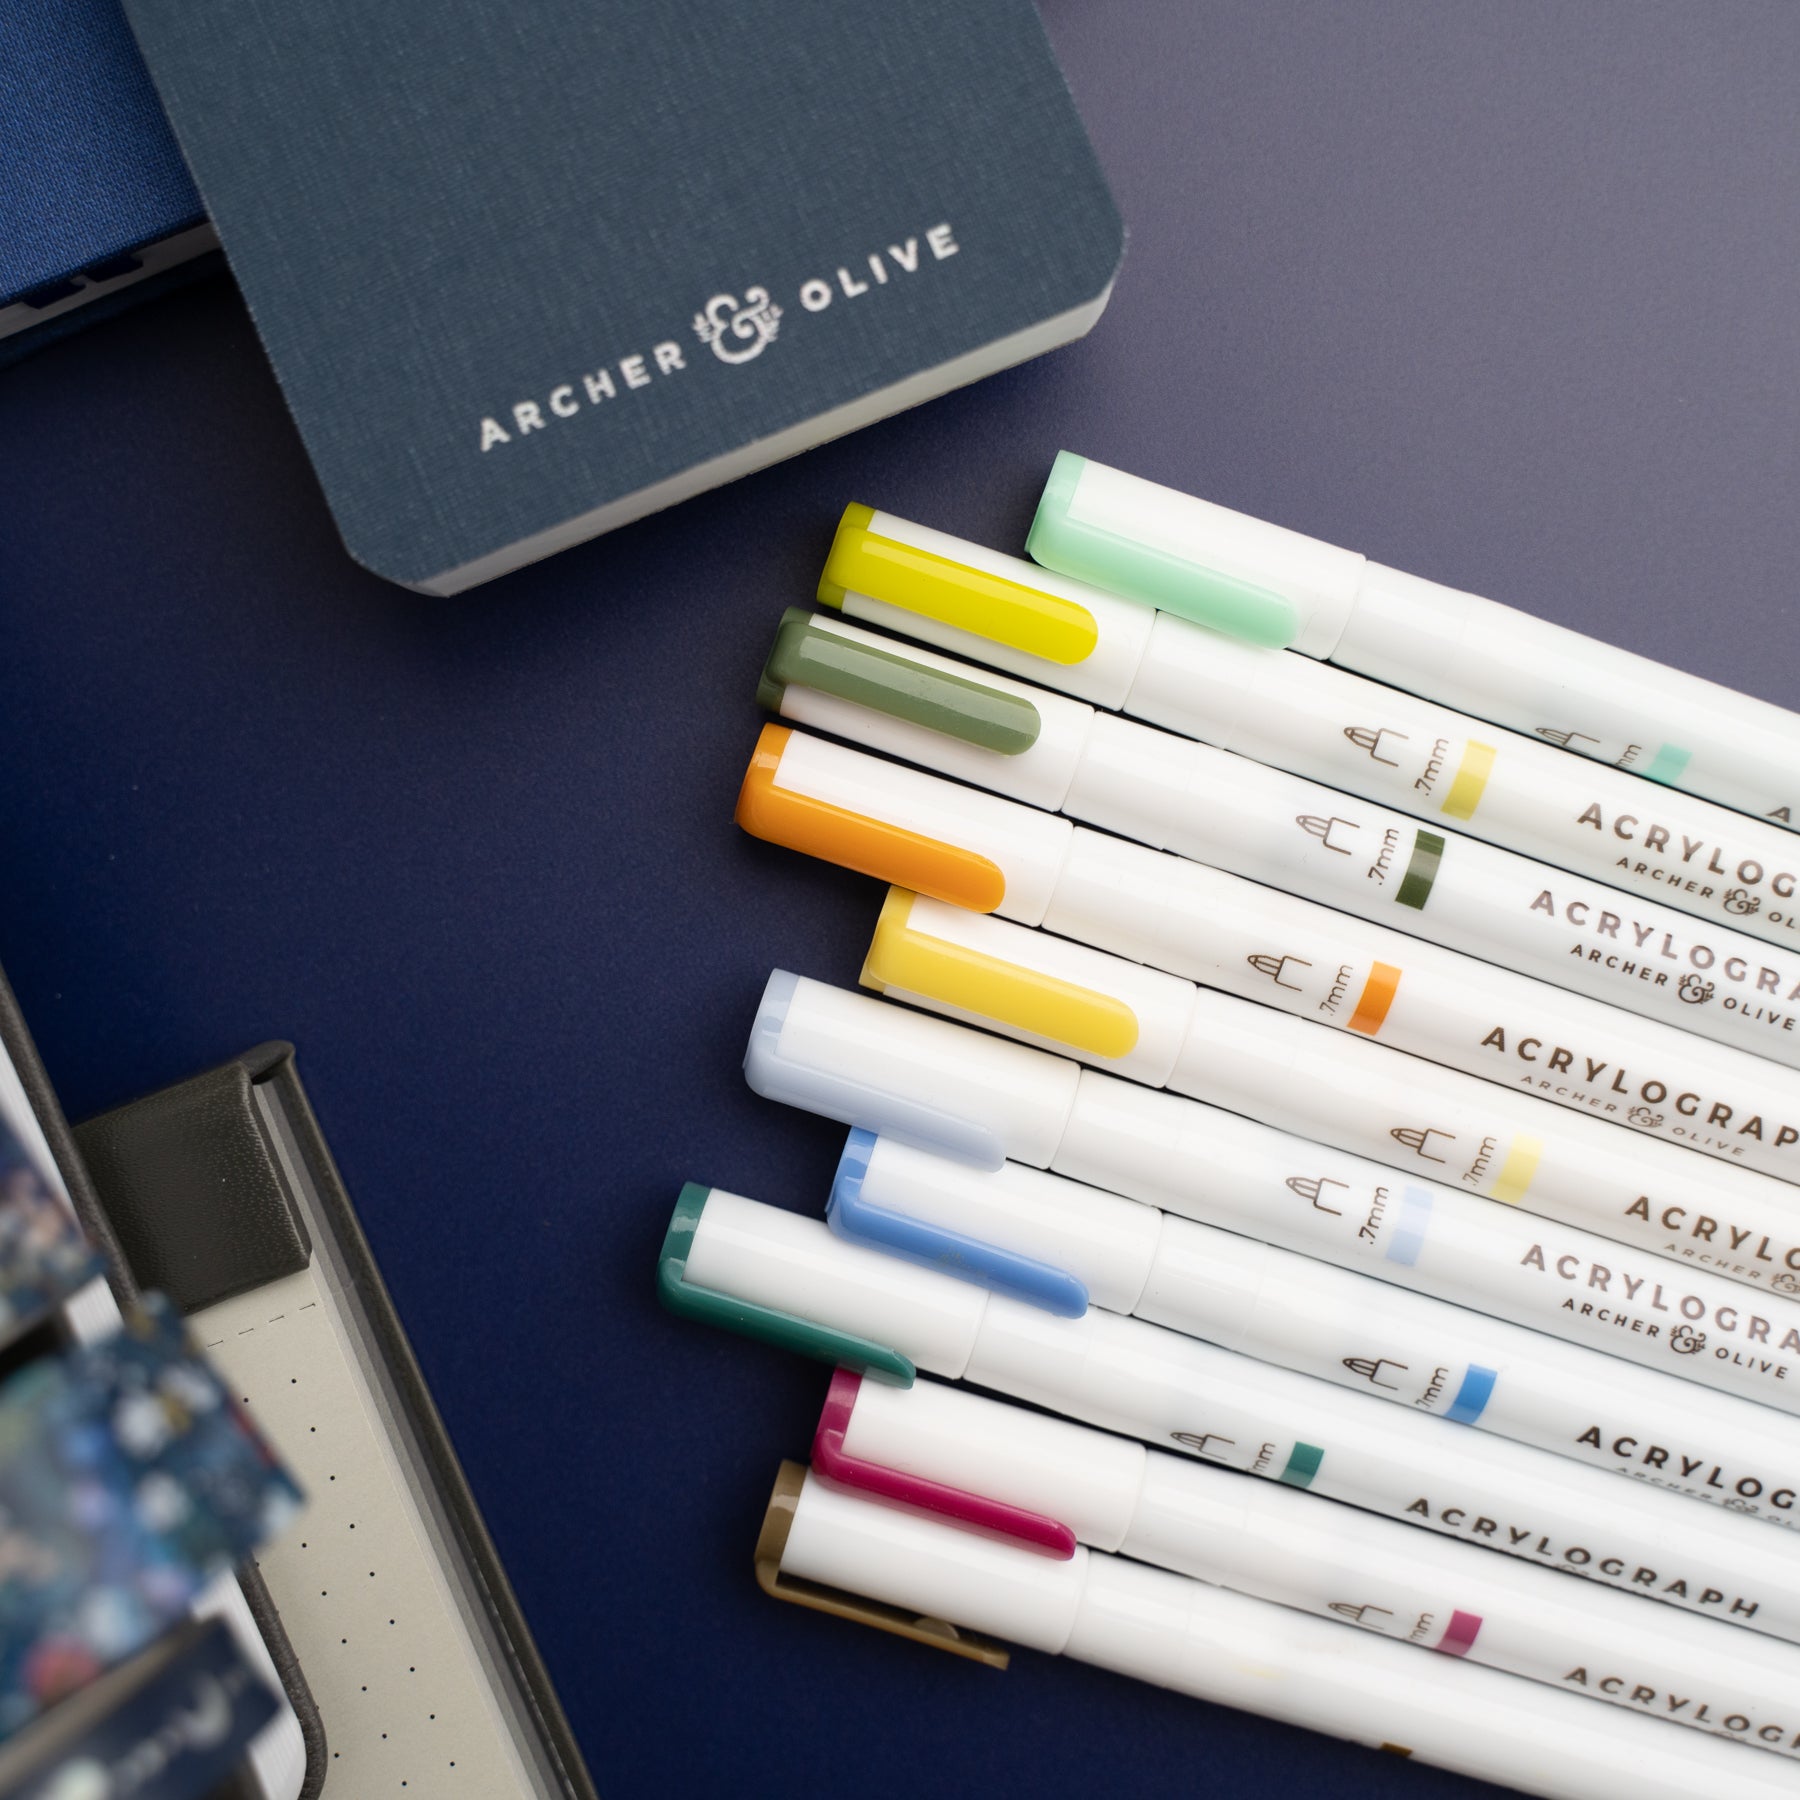
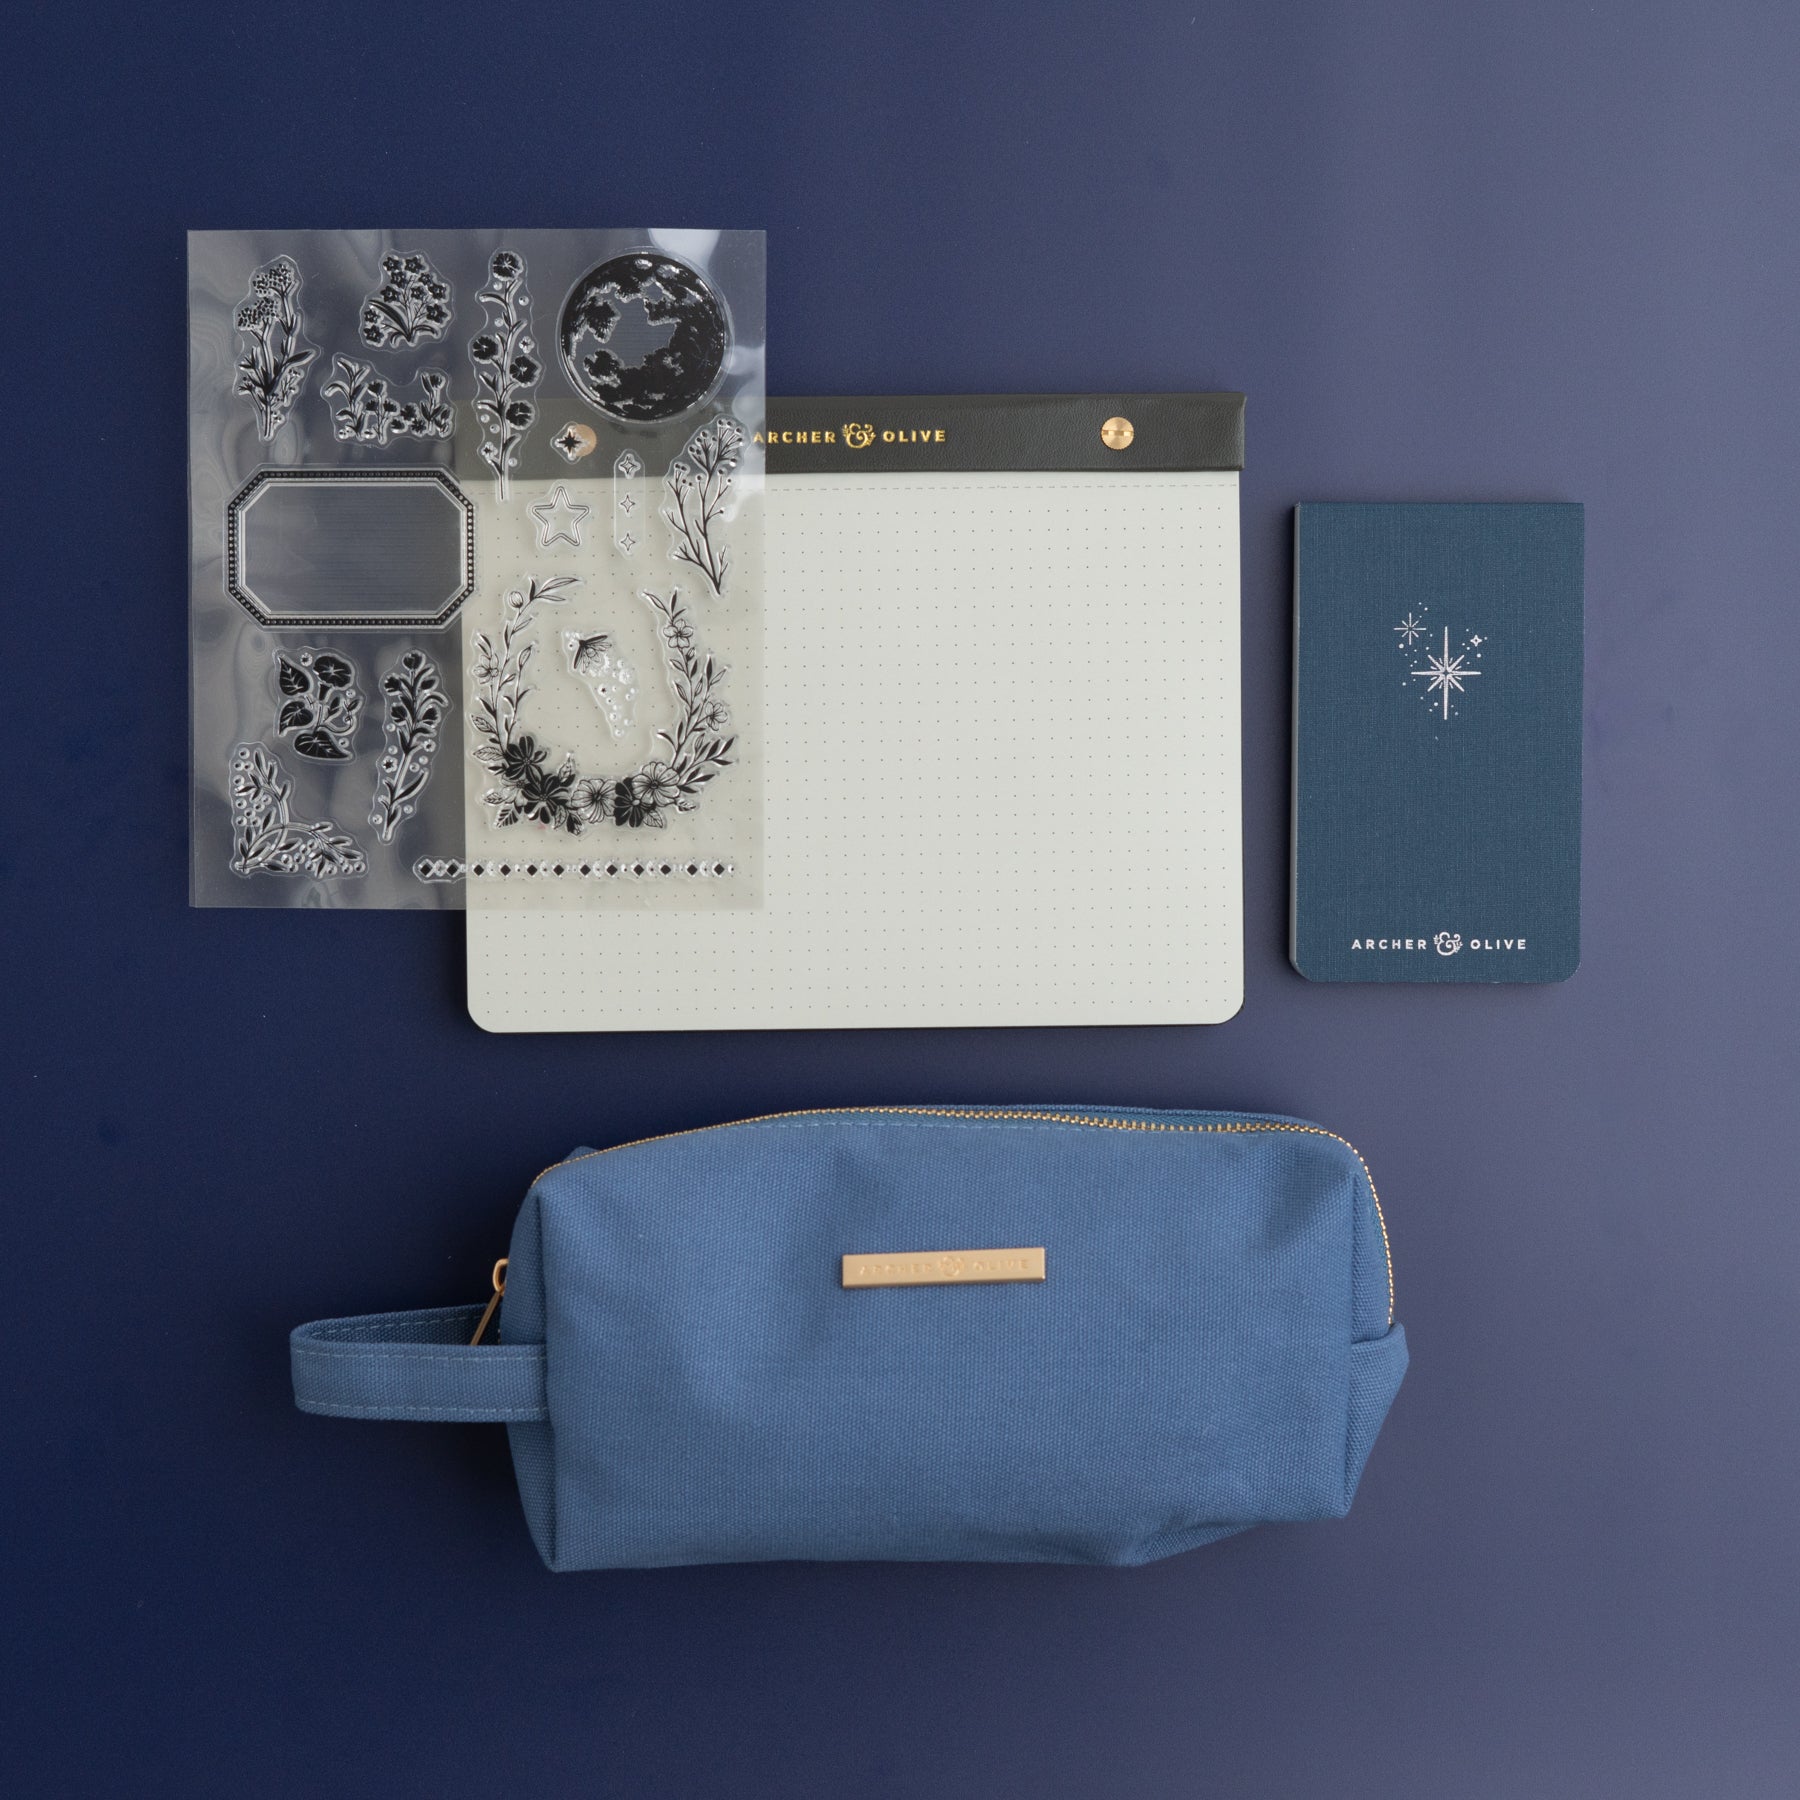
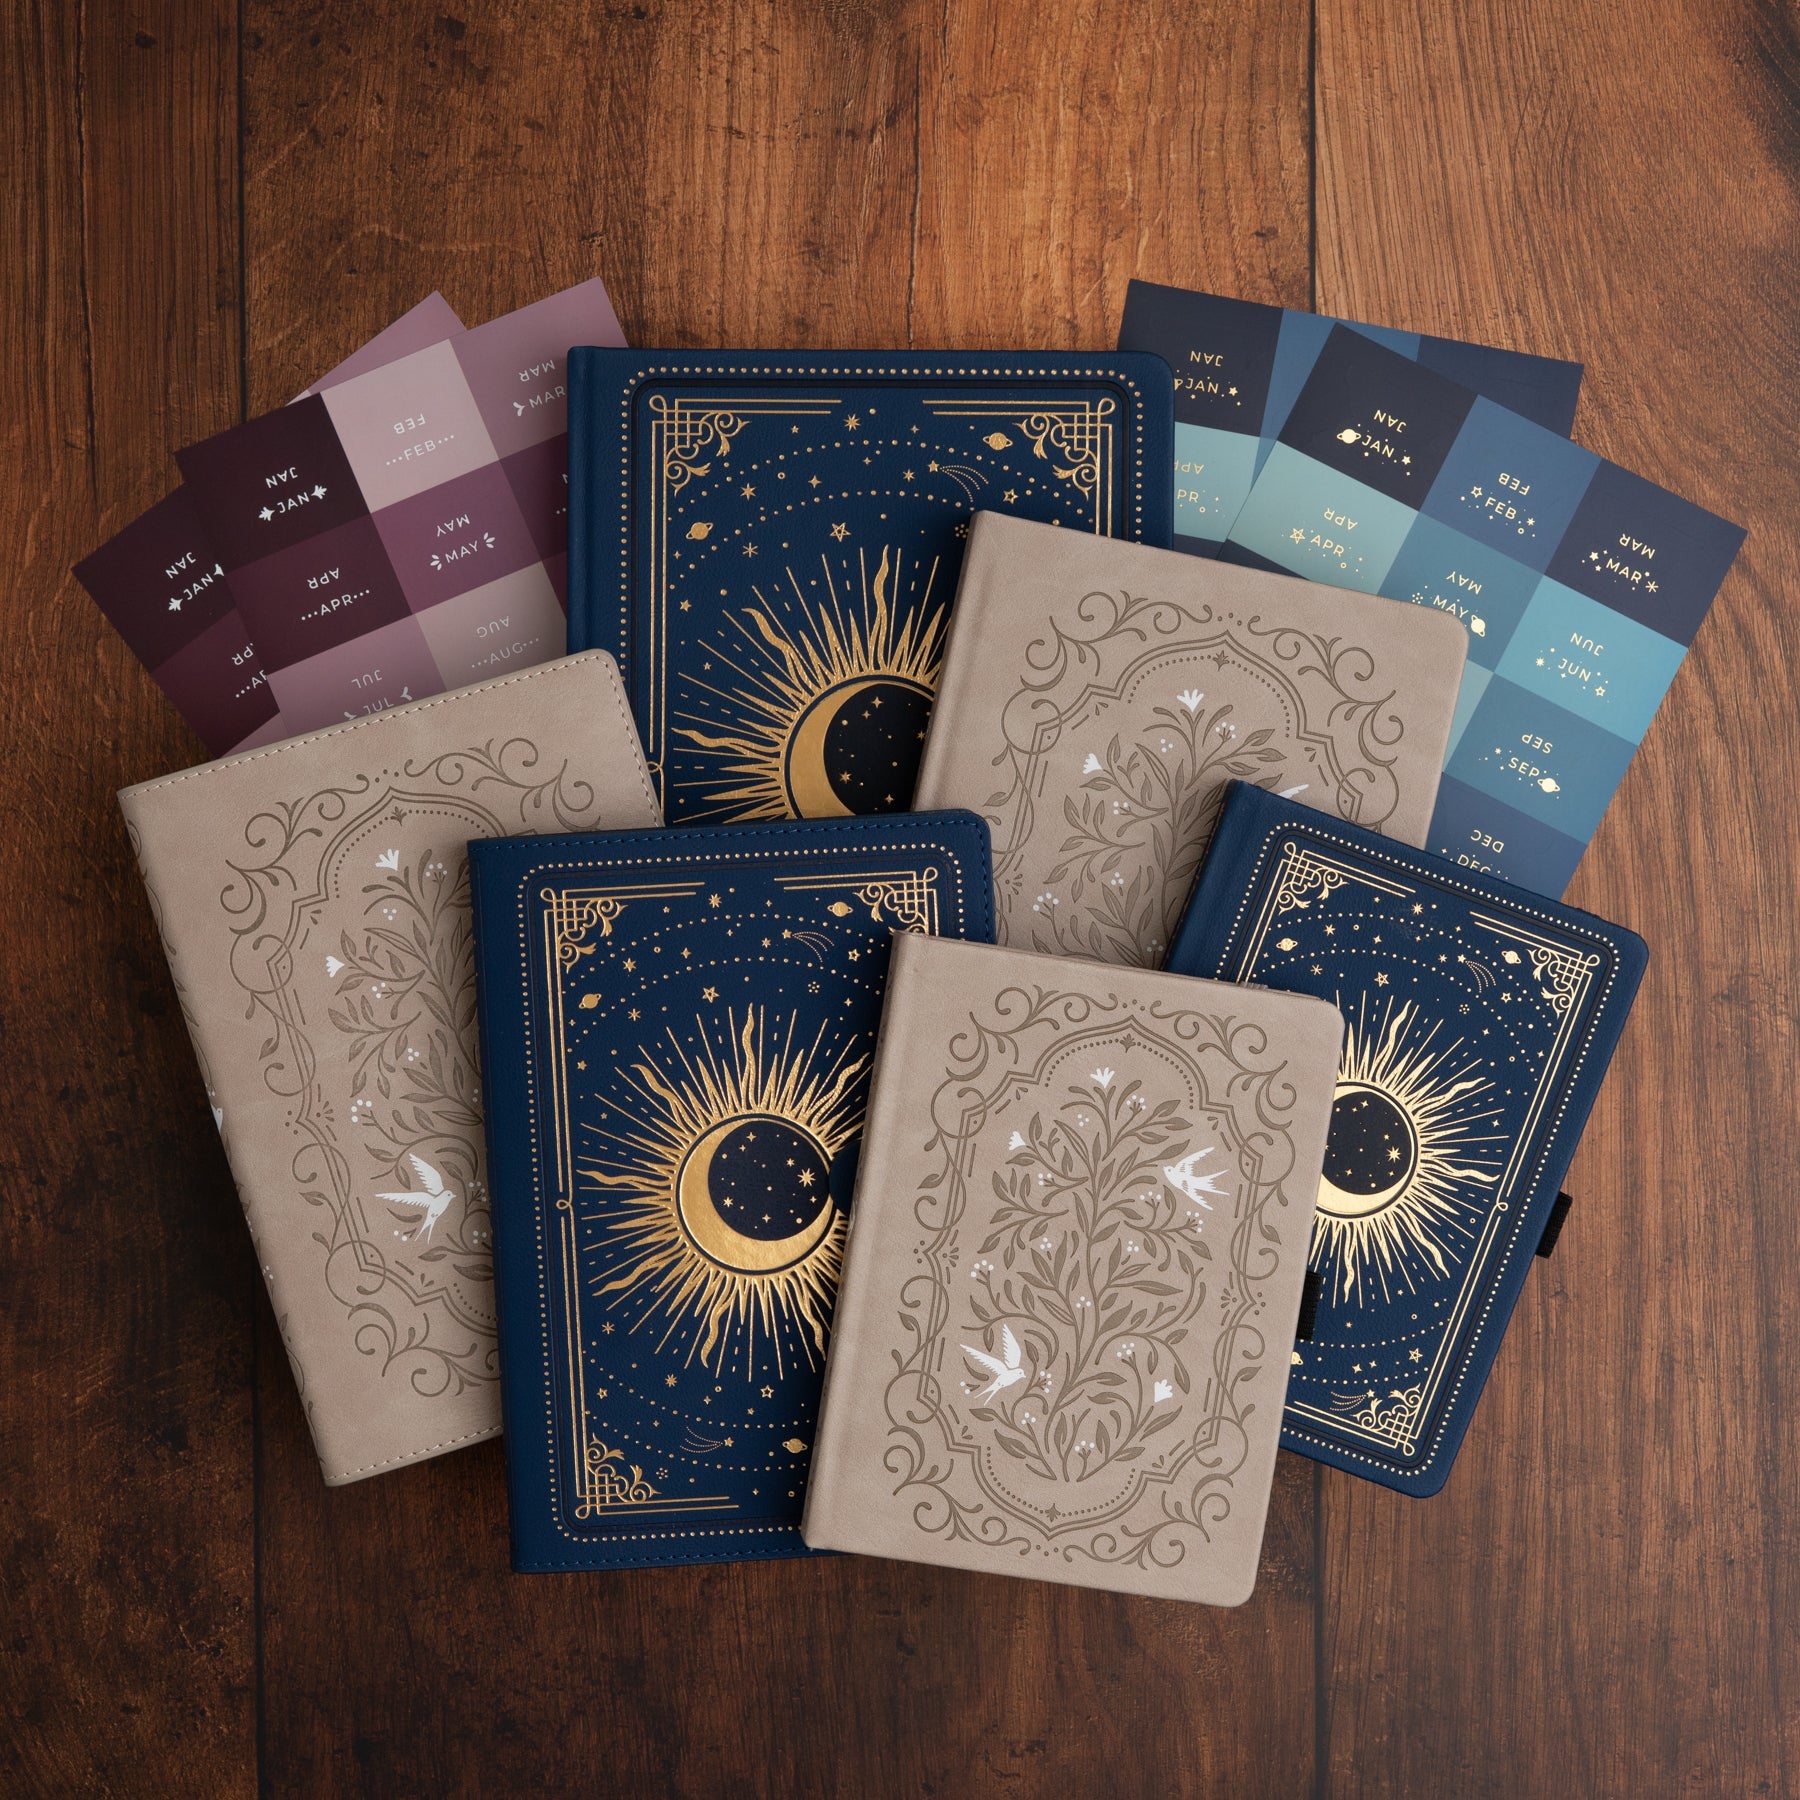
Archer and Olive A5 Dot Grid Notebook
Acrylograph Pens (0.7 mm Primary and Tropical Set)
Tombow Dual Brush Pen (Gray- N52)
Black or Dark Gray Pen
Step One: Draw One Big Box

First, we’re going to draw one big box in the center of the page. The box can be 27 dots by 27 dots. Then, at the 14th dot across draw a line down the page. After that, draw a horizontal line at the 14th dot down. This should give you four smaller boxes within the big box.
Step Two: Time to Make the Grout

Draw a thin line about a centimeter parallel to the original lines of the big box. These lines will make the grout effect.
Step Three: Pick a Pattern Any Pattern
You can either pick a pattern to recreate or you can freestyle a design. If you’re looking for some bujo inspiration check out the following accounts: @bujo_aly or @remilettering @bujoyourlife @bitingthebulletjournal
Here are some key tips to keep in mind.
Tip 1: Shapes:
Although at first decorative tiles may seem intimidating but they are shapes that are repeated. Some popular shapes are circles, squares, diamonds, flowers, curved lines, teardrops, curved teardrops, “1920s emblem”, and what I call a blossom.

Tip 2: Symmetry
Another thing to remember is that symmetry is key. I recommend starting from the center of the tile and work your way out. You can make the right side be a mirror reflection of the left side or make the top tiles a reflection of the bottom tiles. You can also just make each tile unique from each other. If you do that I recommend choose about 2-3 shapes and just repeat them within the tile.

Step Three: Color in the Patterns and Grouts

After you sketch out your pattern it’s time to color it in. I used my blue Arcylograph pen. Portuguese, Moroccan and Greek tiles tend to have royal blue and white colors with hints of other colors like sky blue or red. Spanish, Mexican or Italian tiles tend to use colors like reds, greens, oranges, and yellows. The Acrylograph pens are great to use because you can layer colors. I layered the sky blue and white on top of the blue. After you’re finished coloring the pattern use the light gray Tombow pen to lightly color in the grout.

Hopefully, your tiles will transport you to a new place since we can’t travel the way we want to right now. Click below for some printable design coloring sheets to help you practice tile designs before you make your own.


If you create decorative tiles be sure to tag us at @doyousalut and @archerandolive so we can see your lovely creations. I love listening to Fado music (traditional Portuguese music) while working on my bullet journal. Here is my favorite album. Hope you enjoy listening to music while drawing to your heart's desires.
Until next time… Salut!

0 comments